
Residential Slate Roof Projects
It is ten in the morning and the light is flat and honest. No golden hour drama, no warm glow — just the kind of daylight that shows you every lump, every ripple, every corner that does not quite sit right. This is when I prefer to look at a roof. I have been installing, repairing and replacing residential slate roofs for eighteen years. Over a hundred houses, from terraced streets in Yorkshire to a one-off chalet at 1,600 metres in the Tyrol. And the one thing every project has taught me is this: the roof decides more than the walls do.
People commission a slate roof for all sorts of reasons — heritage rules, resale value, a plain refusal to ever reroof again. But once you are on site with the tiles stacked in the driveway and the scaffold up, the reasons matter less than the decisions. What size? What pitch? What fixing? What do you do with the old tiles? Can the structure take the weight? These are the questions that decide whether the roof lasts a hundred years or twenty. This article is a site diary from six of my residential projects — not a portfolio gallery, not a brochure. Each one had a problem, and each one taught me something I now carry to every job after.
Quick Answer — Six Projects at a Glance
- Victorian Terrace (Leeds) — 300×200mm reclaimed + new blend, 35°, nail-fixed, 70% tile reuse
- Welsh Farmhouse (Snowdonia) — random-width original slate, 200 years old, 12 replacement tiles only
- Modern Self-Build (Gloucestershire) — 400×250mm, 22° low pitch, hook-fixed, 75mm headlap
- Grade II Listed Manor (Wiltshire) — Welsh slate specified by conservation officer, 8-week planning approval, 85% reuse on rear pitches
- Coastal Cottage (Cornwall) — 400×250mm hook-fixed, 316 stainless hooks, 20m from the sea, 6 years zero slippage
- Alpine Chalet (Tyrol, Austria) — 9–11mm thick slate, snow guards, ice-and-water shield, installed at −20°C
Project 1: Victorian Terrace — The Blend Job
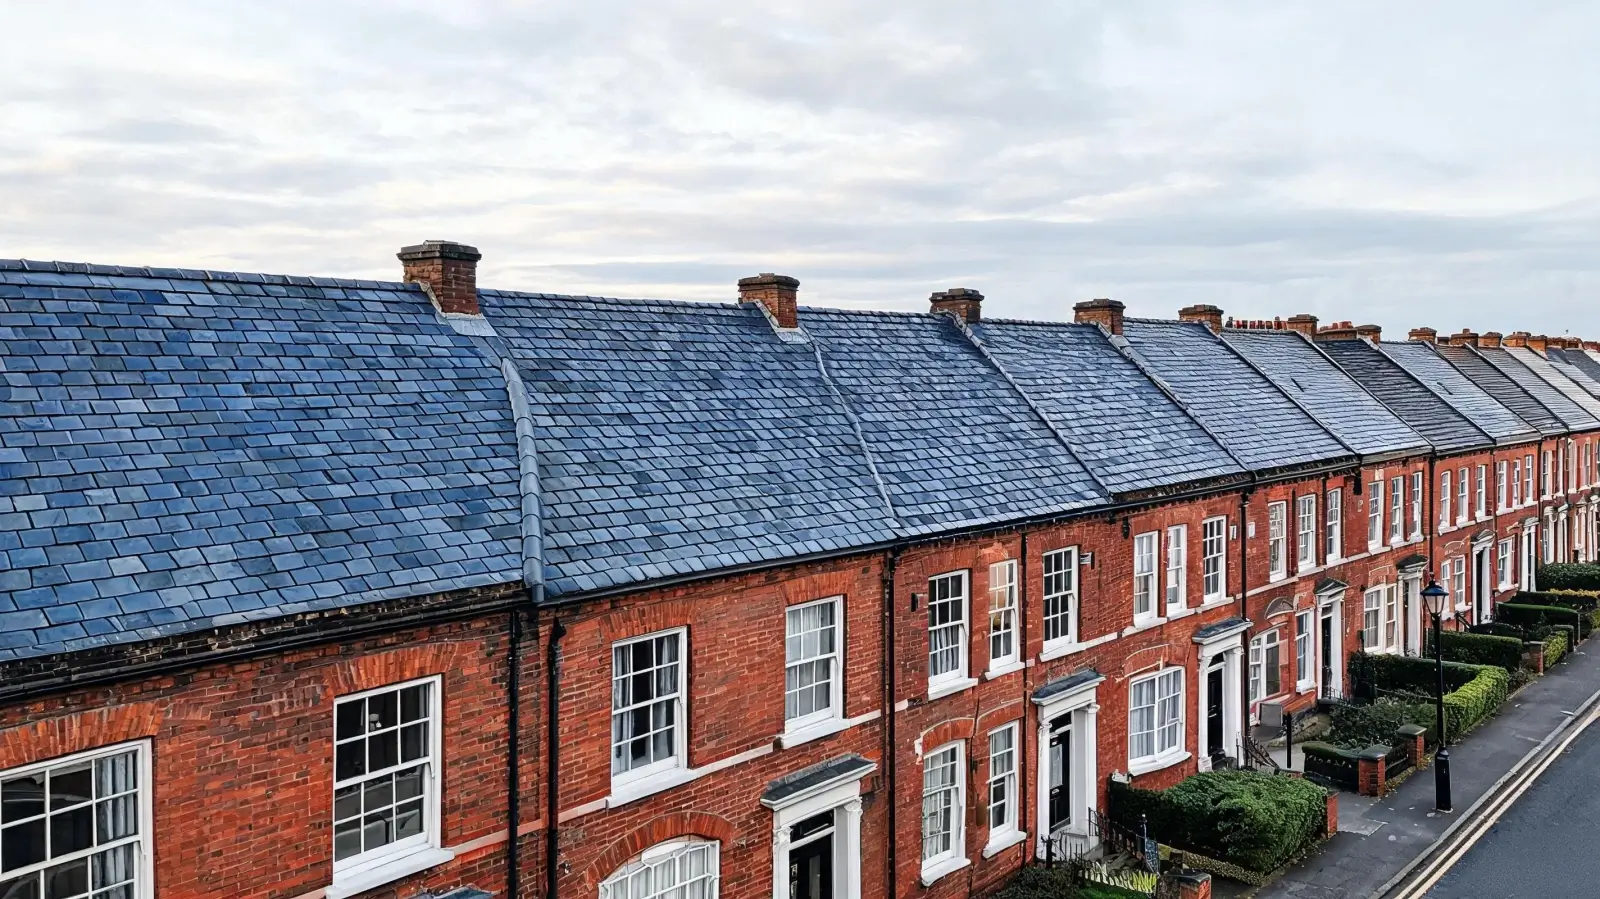
The house was a mid-terrace in Leeds, built around 1890. The original roof was Welsh slate — thin, dark, beautifully weathered — but after 130 years, nail sickness had done what nail sickness always does: the tiles were fine, the nails were not. About forty slates had slipped in the last two years, and the owner had been patching with concrete tiles that looked like teeth in a perfect smile.
She wanted slate back. The question was whether we could reuse the originals. We stripped the roof carefully — hand-stripping, not skip-filling, because a slate that hits the skip from three metres up is a slate you will never sell. On the ground we ran the ring test: tap each tile with a hammer, listen for a clear bell tone, discard the dull thuds. Of roughly 2,800 original tiles, about 1,960 passed — a 70% recovery rate, which is typical for a roof this age where the slate is sound but the fixing has failed.
We ordered 800 new 500×250mm grey slate tiles from our Jiujiang stock — same colour family, same thickness band (7–9mm), ASTM C406 S1 grade, 0.2% water absorption, 120 freeze-thaw cycles with zero weight loss. The owner asked whether visitors would be able to tell new from old. I said they would not — and they have not. The trick is mixing before installing: we spread all 2,760 tiles across three piles and pulled from each pile in rotation, so no single course came from one source. Eighteen months later, a neighbour asked the owner when she was going to "get the roof done." She had already done it.
Lesson: The best slate on the roof may already be on the roof. A 70% reuse rate saved the owner roughly 40% on material cost and kept 2,800 tiles out of landfill.
Project 2: Welsh Farmhouse — The 200-Year Roof
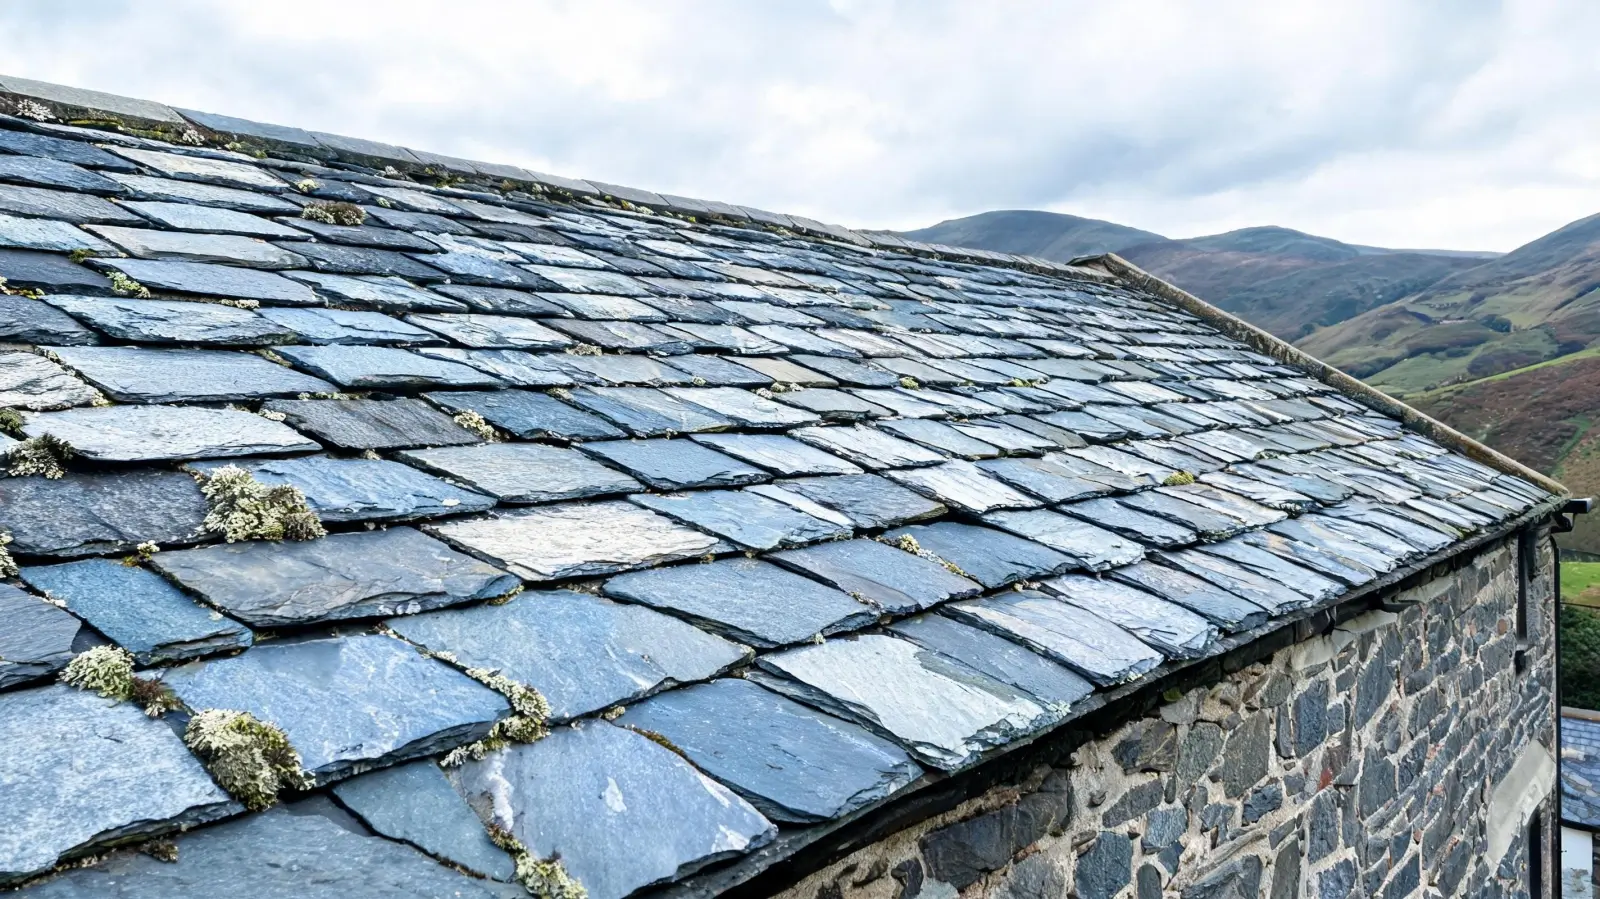
A stone farmhouse near Beddgelert in Snowdonia, roofed in random-width slate that the owner estimated was "probably old." He was right. The slates were locally quarried, hand-split, and the oldest dated to the 1820s — roughly 200 years of continuous service. The roof had never been fully stripped. What it needed was targeted repair: twelve cracked or slipped slates and a section of ridge that had lost its mortar.
This is the project I show people who ask whether slate is "worth it." Two hundred years. No replacement. No coating. No maintenance beyond the occasional slipped tile. The service life of a quality slate roof is not a marketing claim — it is an observable fact, standing on this roof in the rain, looking at tiles older than the lightbulb.
We sourced twelve matching tiles from a local reclamation yard — random widths, roughly 6–8mm thick, the same blue-grey tone. The matching was done by eye and feel: thickness, surface texture, edge profile. Not a single visitor has identified which twelve are the new ones. The ridge was re-bedded in lime mortar, which is what the original would have used. No sealants, no modern compounds. The roof is now good for another fifty years before it needs anything more than a routine inspection.
Lesson: When the slate is good and the structure is sound, the answer is rarely "replace." It is almost always "repair, match, and leave the rest alone."
Project 3: Modern Self-Build — The Low-Pitch Challenge
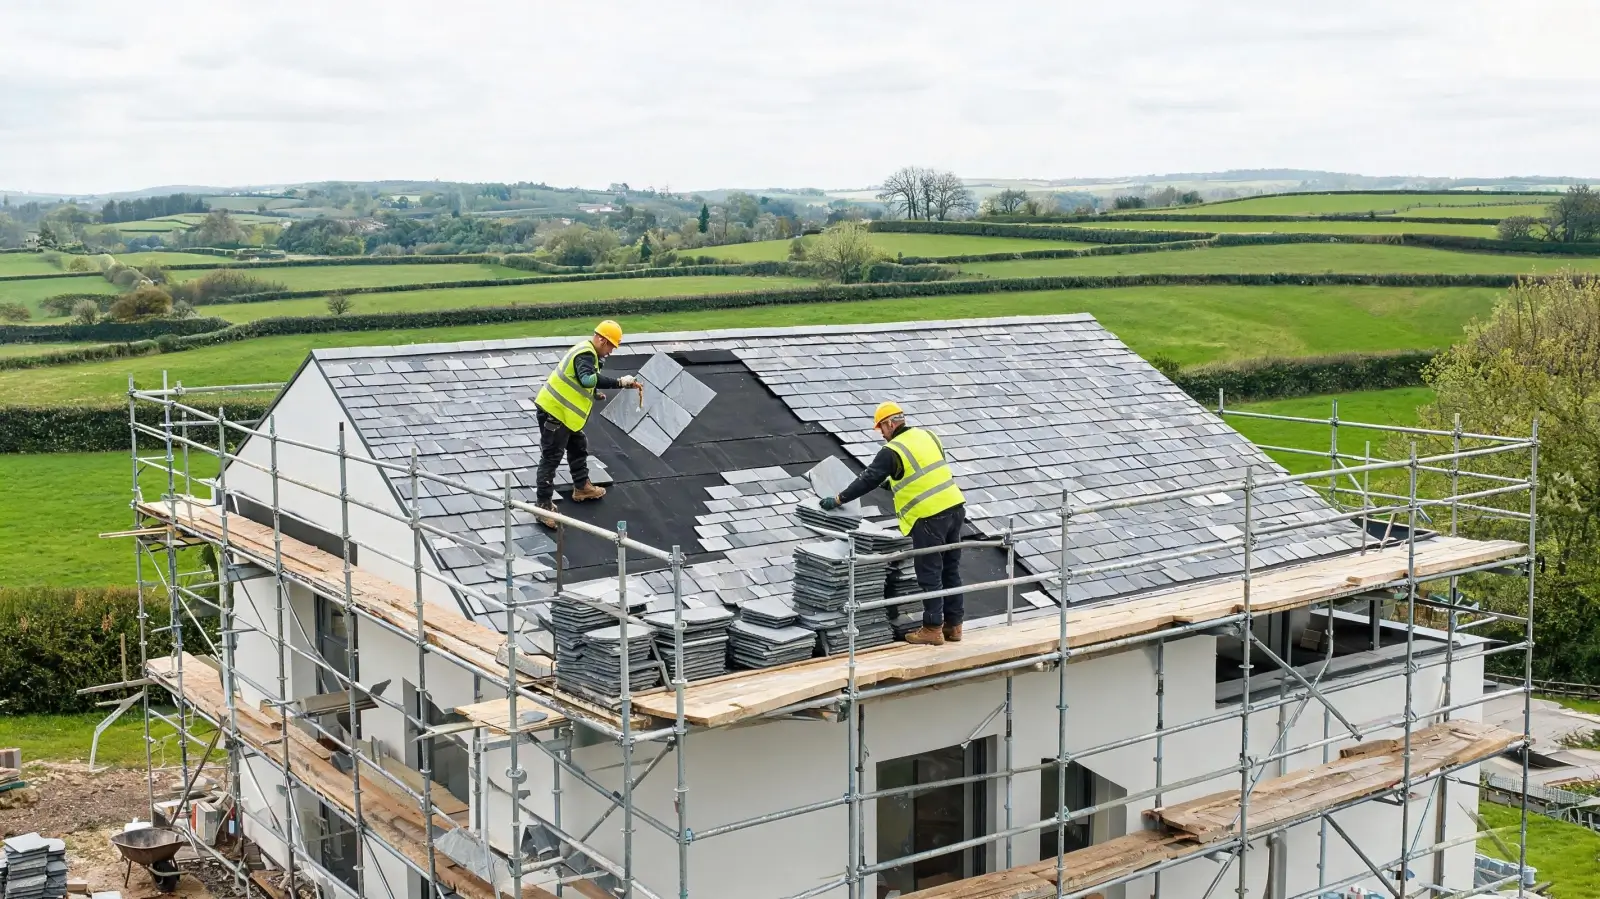
A young couple in Gloucestershire building their own home — a clean, contemporary design with a low-pitch roof at 22 degrees. They wanted natural slate, not synthetic, and they wanted it to look modern: uniform width, smooth surface, sharp lines. The challenge was that 22° is at the lower limit of what most slate manufacturers recommend for standard fixing. Get the headlap wrong at this pitch and water will travel uphill under wind pressure — not theoretically, actually.
We specified 400×250mm tiles at 7–9mm thickness. The larger format means fewer tiles per square metre — about 17 per m² — which reduces the number of joints where water can ingress. We increased the headlap to 75mm (from the standard 65mm for this size at steeper pitches) and used hook fixing rather than nailing. Hooks give two contact points per tile and hold the tail down more positively than a single centre nail, which matters at low pitch where wind uplift is the primary risk.
The substructure was designed from the outset for slate: the battens were 50×25mm treated timber at 175mm centres, with a breathable membrane and counter-battens to maintain the ventilation gap. This is not a retrofit — if your roof deck was designed for concrete tiles and you switch to slate, you need to check whether the structure can carry the load and whether the battens are adequate. Slate at 7–9mm weighs 19–24 kg/m² — lighter than many people assume, but still heavier than felt or synthetic, and the fixing requirements are different.
Lesson: Low-pitch slate is not a compromise — it is a different installation. Larger format, increased headlap, hook fixing, and a substructure designed for slate from day one.
Project 4: Grade II Listed Manor — The Conservation Job
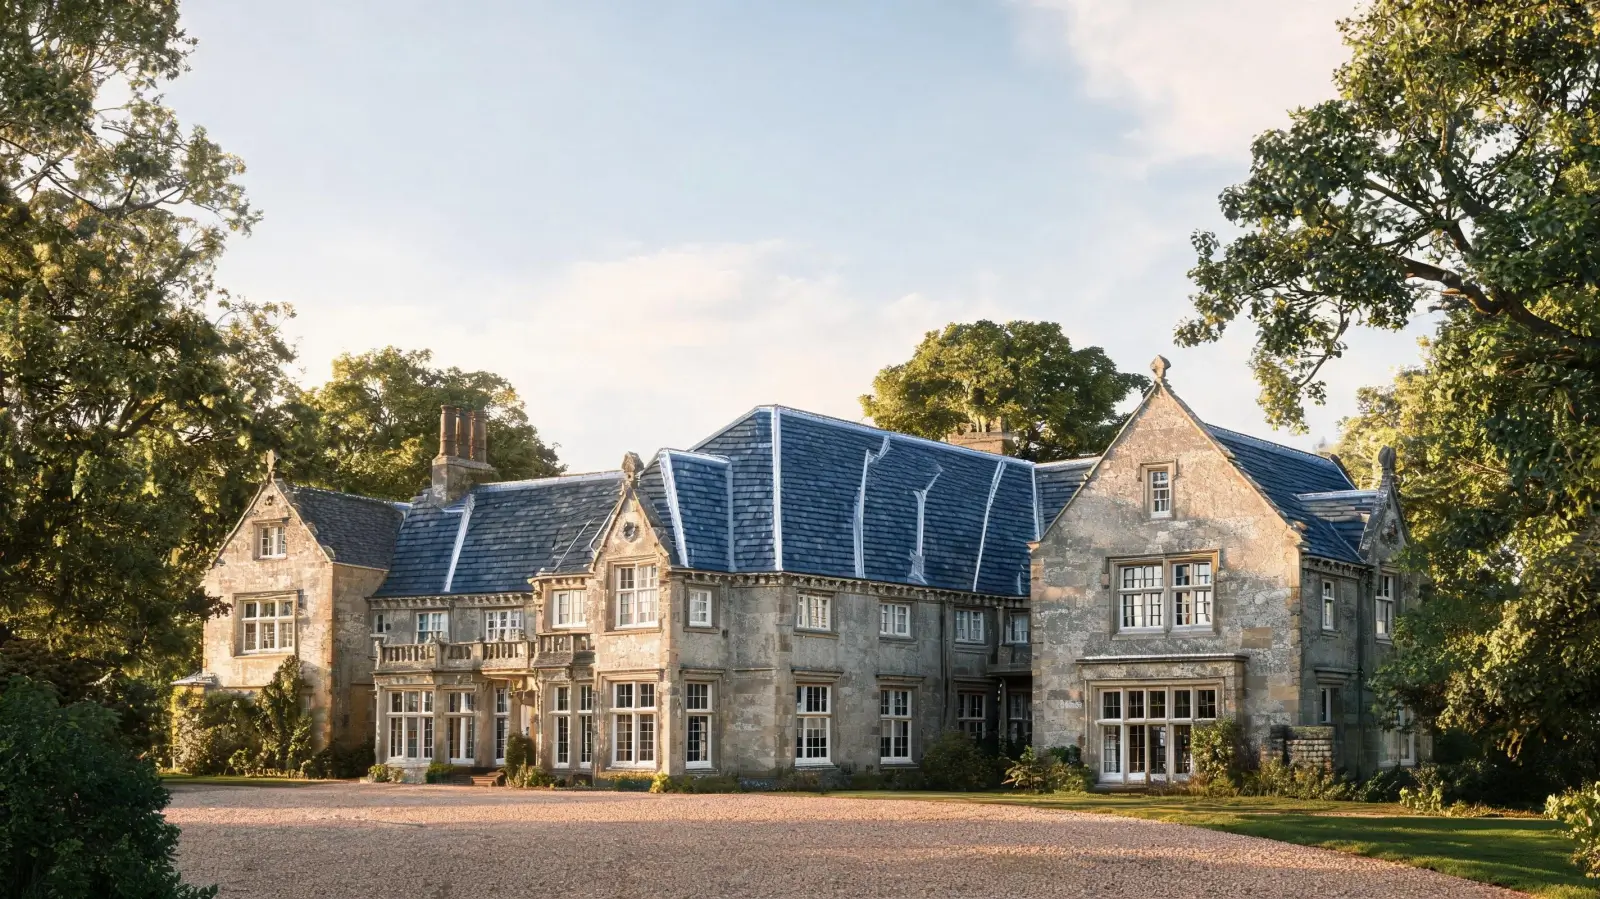
A Grade II listed manor house in Wiltshire, built in 1840, with a slate roof that had been patched, botched and partially recovered in concrete tiles over the years. The conservation officer was clear: the roof had to go back to natural slate, and it had to match the original as closely as possible. This meant Welsh slate, specified by colour, thickness and texture — not "grey slate" but a particular Welsh quarry's product, with the dark blue-grey tone and slightly gritty surface that characterises slate from that region.
Planning approval took eight weeks. This is not unusual for a listed building, but it does mean you factor it into your project timeline — you cannot order materials until approval is granted, and if the specification changes during approval, your sample approval and ordering process starts again. We submitted a full specification: tile size (500×250mm), thickness band (7–9mm), grade (S1/T1), fixing method (centre-nailed with copper nails), headlap (75mm), and a sample of three tiles for the conservation officer to approve.
The existing roof had roughly 4,200 tiles. We stripped and sorted them on site — ring test, visual inspection, thickness gauging. About 3,570 passed: 85% recovery, better than average because this slate was high quality and the failure mode was nail sickness, not slate degradation. We reused the reclaimed tiles on the rear and side pitches — the elevations that are visible from the garden but not from the approach. The front pitch, which faces the drive and is the one the conservation officer cared about most, was roofed entirely with new Welsh slate to the approved specification. The blend between front and side is invisible from the ground because the colour families match.
We used copper nails throughout — the original nails were iron and had failed after approximately 80 years. Copper nails will outlast the slate itself. The ridges were laid in traditional style with lime mortar bedding, and the valleys were open-cut lead-lined, as specified by the conservation officer.
Lesson: On a listed building, the roof is not yours — it is the building's. Match the original specification exactly, reuse what you can, and let the conservation officer tell you what they want before you order anything.
Project 5: Coastal Cottage — The Wind and Salt Test
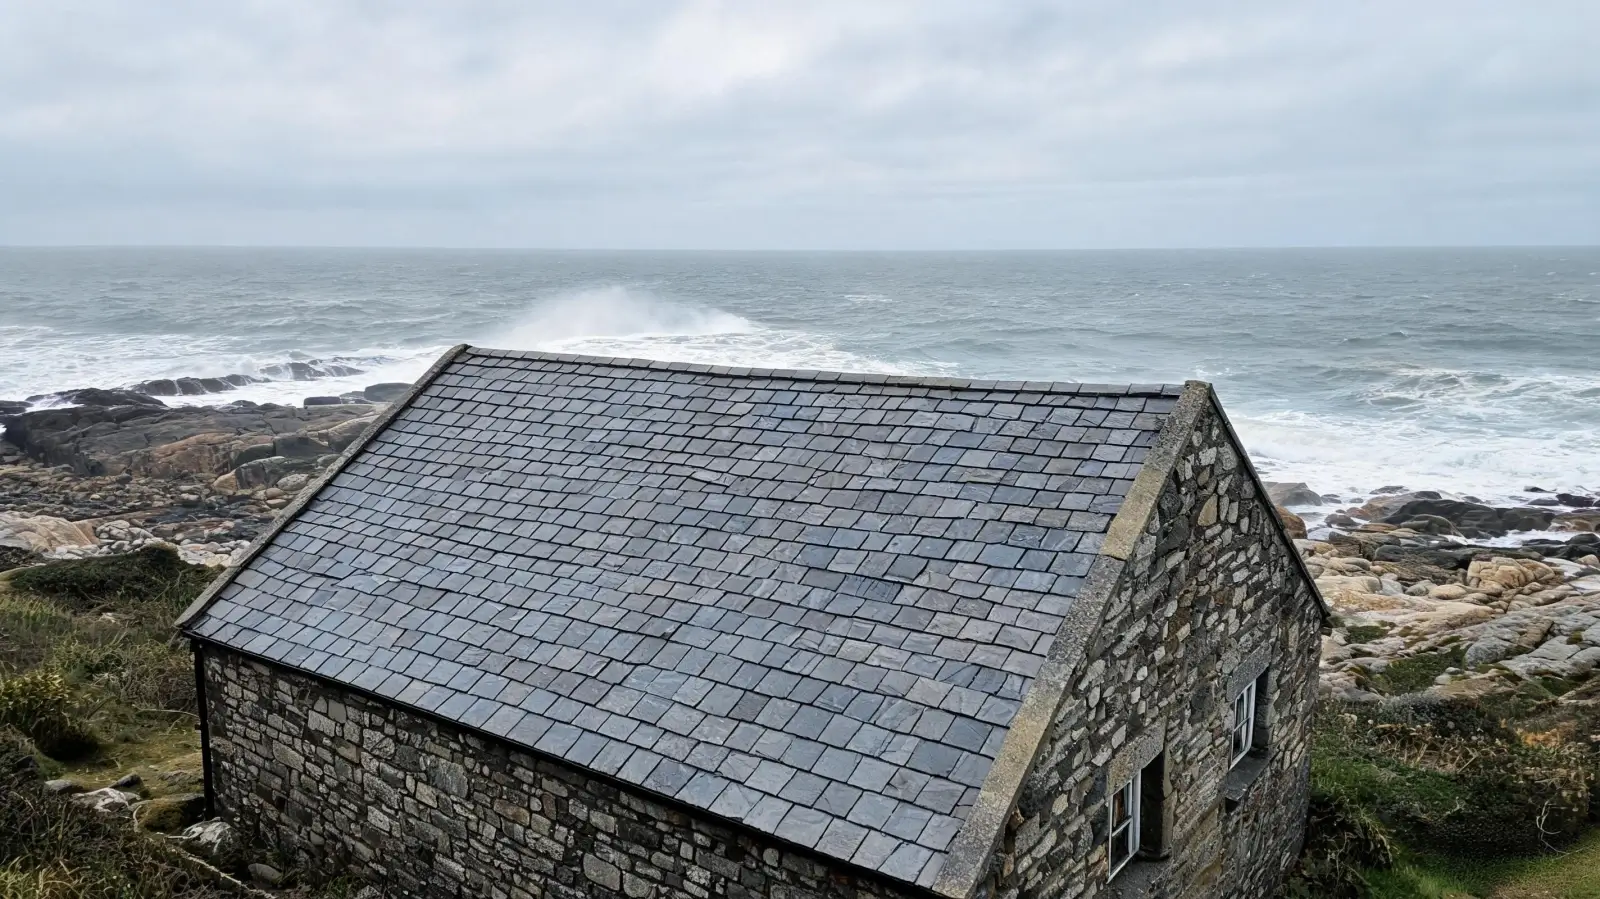
A stone cottage on the north Cornish coast, roughly twenty metres from the high-water mark. The existing roof was concrete tiles, which the owner wanted to replace with natural slate. The challenges here were wind and salt — two things that will find every weakness in a roof system within a single winter.
We specified 400×250mm slate at 7–9mm thickness, but the fixing was where this project differed from a standard installation. At 20m from the sea, you are in a high-wind zone where uplift forces are significantly higher than inland. We used hook fixing throughout — not nails — because hooks hold the tail of the slate down at two points, which resists uplift far better than a single centre nail that acts as a pivot. The hooks themselves were 316-grade stainless steel, not the standard 304. In a coastal environment, chloride-induced pitting corrosion is a real risk with 304, and the cost difference between 304 and 316 hooks across an entire roof is modest — maybe 10–15% on the fixing cost, which is a small fraction of the total project.
The underlayment was a high-performance breathable membrane, and we installed it with counter-battens to maintain the ventilation gap — critical in a coastal setting where warm, moist air from inside meets salt-laden air from outside. Without ventilation, condensation will form on the underside of the slate and the battens will rot from the top down, which is a failure you will not see until a batten breaks and a row of slate slides off.
Six years on, zero tiles have slipped, zero hooks have failed, and the roof looks exactly as it did the day we finished. The salt spray has not affected the slate at all — natural slate is chemically inert, with a mineral composition of muscovite, quartz and chlorite that does not react with salt. The only maintenance has been an annual visual inspection from the ground and one gutter clean.
Lesson: On the coast, the slate is not the risk — the fixing is. Hook-fix with 316 stainless, ventilate the substructure, and the roof will outlast the mortgage.
Project 6: Alpine Chalet — The Winter Install
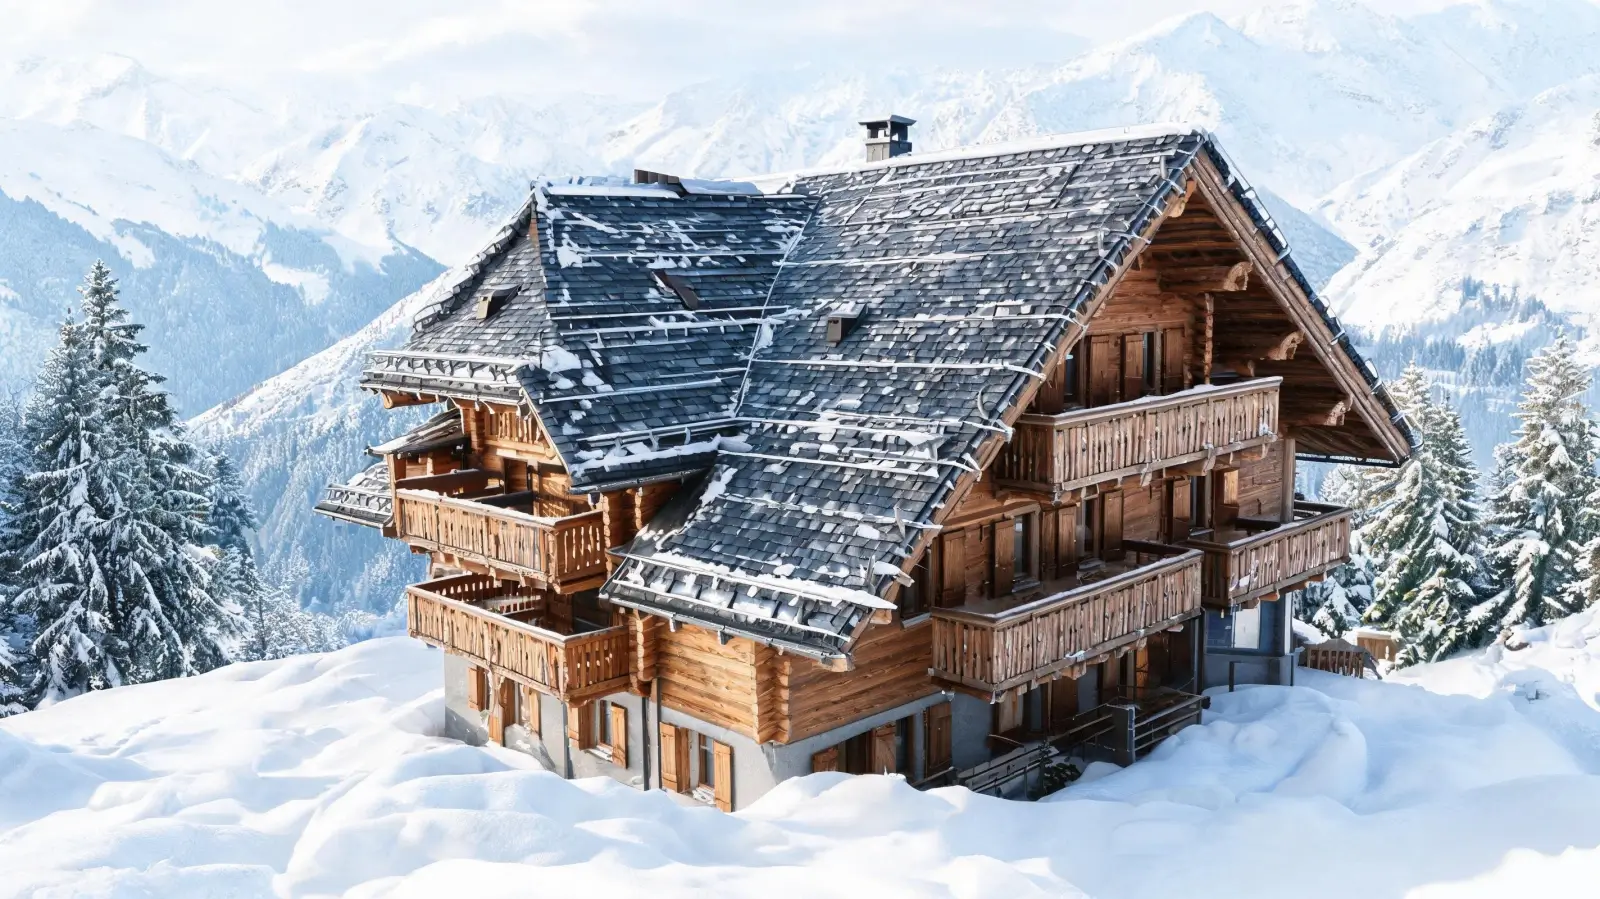
A timber chalet near Kitzbühel in the Austrian Tyrol, at 1,600 metres elevation. The owner was replacing a fibre-cement roof that had cracked in successive freeze-thaw cycles — not because fibre-cement is bad, but because at this altitude the temperature swings from −20°C at night to +6°C in the afternoon sun, and water that gets into any micro-crack will freeze and expand 9% by volume, again and again, all winter long.
We specified 9–11mm thick slate — heavier than the standard 7–9mm, but at this altitude and snow load, the extra mass helps resist wind uplift and provides better resistance to freeze-thaw damage. The slate itself was from our Jiujiang stock: 0.2% water absorption (the EN 12326 threshold for T1 is 0.6%), 120 freeze-thaw cycles with zero weight loss, ASTM C406 S1 grade. When water absorption is this low, the freeze-thaw mechanism simply cannot operate — there is not enough water inside the slate to cause damage when it freezes.
The installation happened in December, which I would not normally recommend, but the owner's schedule left no choice. We worked at temperatures down to −20°C, which meant we could not use any water-based materials — no lime mortar for the ridge, no wet-cutting. Every tile was dry-cut with a slate chopper and hand-punched for the nail holes. The ice-and-water shield membrane was installed at the eaves — a self-adhering membrane that sticks even in cold conditions and provides a secondary waterproofing layer where ice dams are most likely to form. Snow guards were installed at the eaves and at the mid-roof break point: at this pitch (45°) and with this much snowfall, sliding snow is not a risk to the roof — it is a risk to anything standing below it.
Lesson: In snow country, choose thick slate with verified freeze-thaw performance, install an ice-and-water shield at the eaves, add snow guards, and be prepared to dry-install everything if the schedule puts you on site in December.
What Every Residential Slate Project Has in Common
After a hundred houses, the patterns are clear. Here is what I tell every homeowner before we start:
- The substructure is half the job. A slate roof on inadequate battens with no ventilation gap will fail before the slate does. If the deck was designed for another material, have a structural check done first — slate is not the heaviest option, but the fixing requirements are specific.
- Reclaim what you can. A 70–85% recovery rate from a stripped roof is normal when the slate is sound. Reclaimed tiles save money, reduce waste, and blend with new tiles in a way that is invisible from the ground when mixed correctly.
- Match the fixing to the location. Nails inland, hooks on the coast, hooks at low pitch, copper nails on heritage work. The wrong fixing will fail before the slate does — and fixing failure looks like slate failure until you get up there and look.
- Specify by numbers, not by adjectives. "Grey slate" is a family, not a specification. Write down the size, thickness band, grade, water absorption value, and freeze-thaw test result. If your supplier cannot give you these numbers, ask why. Our test results page shows exactly what we mean.
- Plan for the building, not for the brochure. A listed manor needs planning approval and a conservation officer's specification. A coastal cottage needs 316 hooks and ventilation. A low-pitch modern build needs hooks and increased headlap. The roof that looks best in a photo is not necessarily the roof that performs best in twenty years.
If you are planning a residential slate roof project — whether it is a new build, a renovation, or a heritage restoration — the most useful thing you can do is get physical samples and a full specification before you commit. See the slate, feel the surface, check the test report, and talk to your contractor about the substructure and fixing method. The tile is the easy part. The system around it is what makes the roof last.
Frequently Asked Questions
How much does a residential slate roof cost compared to other materials?
Material cost for natural slate is higher than concrete tiles or asphalt shingles, but lower than many people expect when calculated over the roof's service life. A 7–9mm slate roof at 19–24 kg/m² typically costs more upfront than concrete, but a slate roof lasts 100–150 years versus 30–50 years for concrete — meaning you replace the concrete roof two to three times in the slate roof's lifetime. For a detailed cost breakdown, see our roofing slate cost guide and the life-cycle cost analysis.
Can I put a slate roof on an existing house that had a different roofing material?
Yes, but you need a structural assessment first. Slate at 7–9mm weighs 19–24 kg/m² — lighter than concrete tiles (35–70 kg/m²), but heavier than synthetic or asphalt. The roof structure must be checked for load capacity, and the battens may need upgrading to 50×25mm treated timber at appropriate centres. The underlayment and fixing method will also differ from what was used for the previous material. A qualified contractor or structural engineer can assess this in a single site visit.
How do I choose the right slate size for my house?
Slate size affects both appearance and performance. Smaller tiles (300×200mm) suit traditional and heritage buildings and are better at steep pitches. Larger tiles (500×250mm or 600×300mm) suit modern designs and are better at low pitches because they have fewer joints per square metre. The size also affects how many tiles you need per square metre and therefore the material cost. See our sizes guide for a full dimension chart.
Do I need planning permission for a slate roof on a residential property?
For most residential properties, replacing like-for-like (slate to slate) does not require planning permission. However, if the property is listed or in a conservation area, you will need planning approval and the conservation officer may specify the exact slate type, colour, size and fixing method. Approval can take 6–8 weeks. If you are changing from a different material to slate, or changing the roof colour significantly, check with your local planning authority.
What is the minimum roof pitch for natural slate?
The minimum pitch depends on the slate size and headlap. As a general rule, 20° is the practical minimum for standard-sized slate with increased headlap, though some installations go as low as 17.5° with careful specification. At lower pitches, you need larger tiles, increased headlap, hook fixing, and a high-performance underlayment. See our minimum roof pitch guide for detailed guidance.
How long does installation take on a typical residential house?
For a standard three-bedroom house with roughly 100–120 m² of roof area, a skilled slate roofing crew of three to four installers typically completes the job in 7–14 working days, depending on roof complexity (valleys, dormers, chimneys), tile size, and fixing method. Heritage and listed building projects take longer because of the specification process, material sourcing, and conservation requirements. Add 6–8 weeks for planning approval if the property is listed.
Related Reading
Planning a residential slate roof project?
Request physical samples, review our EN 12326 / ASTM C406 test results, and talk to us about your project specifications — tile size, thickness, grade, fixing method and quantity. We ship to 30+ countries from our Jiujiang factory, CNC-processed and 100% individually inspected.
View Roofing Slate Products | Request Samples | See Test Results