
Slate Joint and Seam Installation: Filling and Dressing Three-Piece Slate Seams
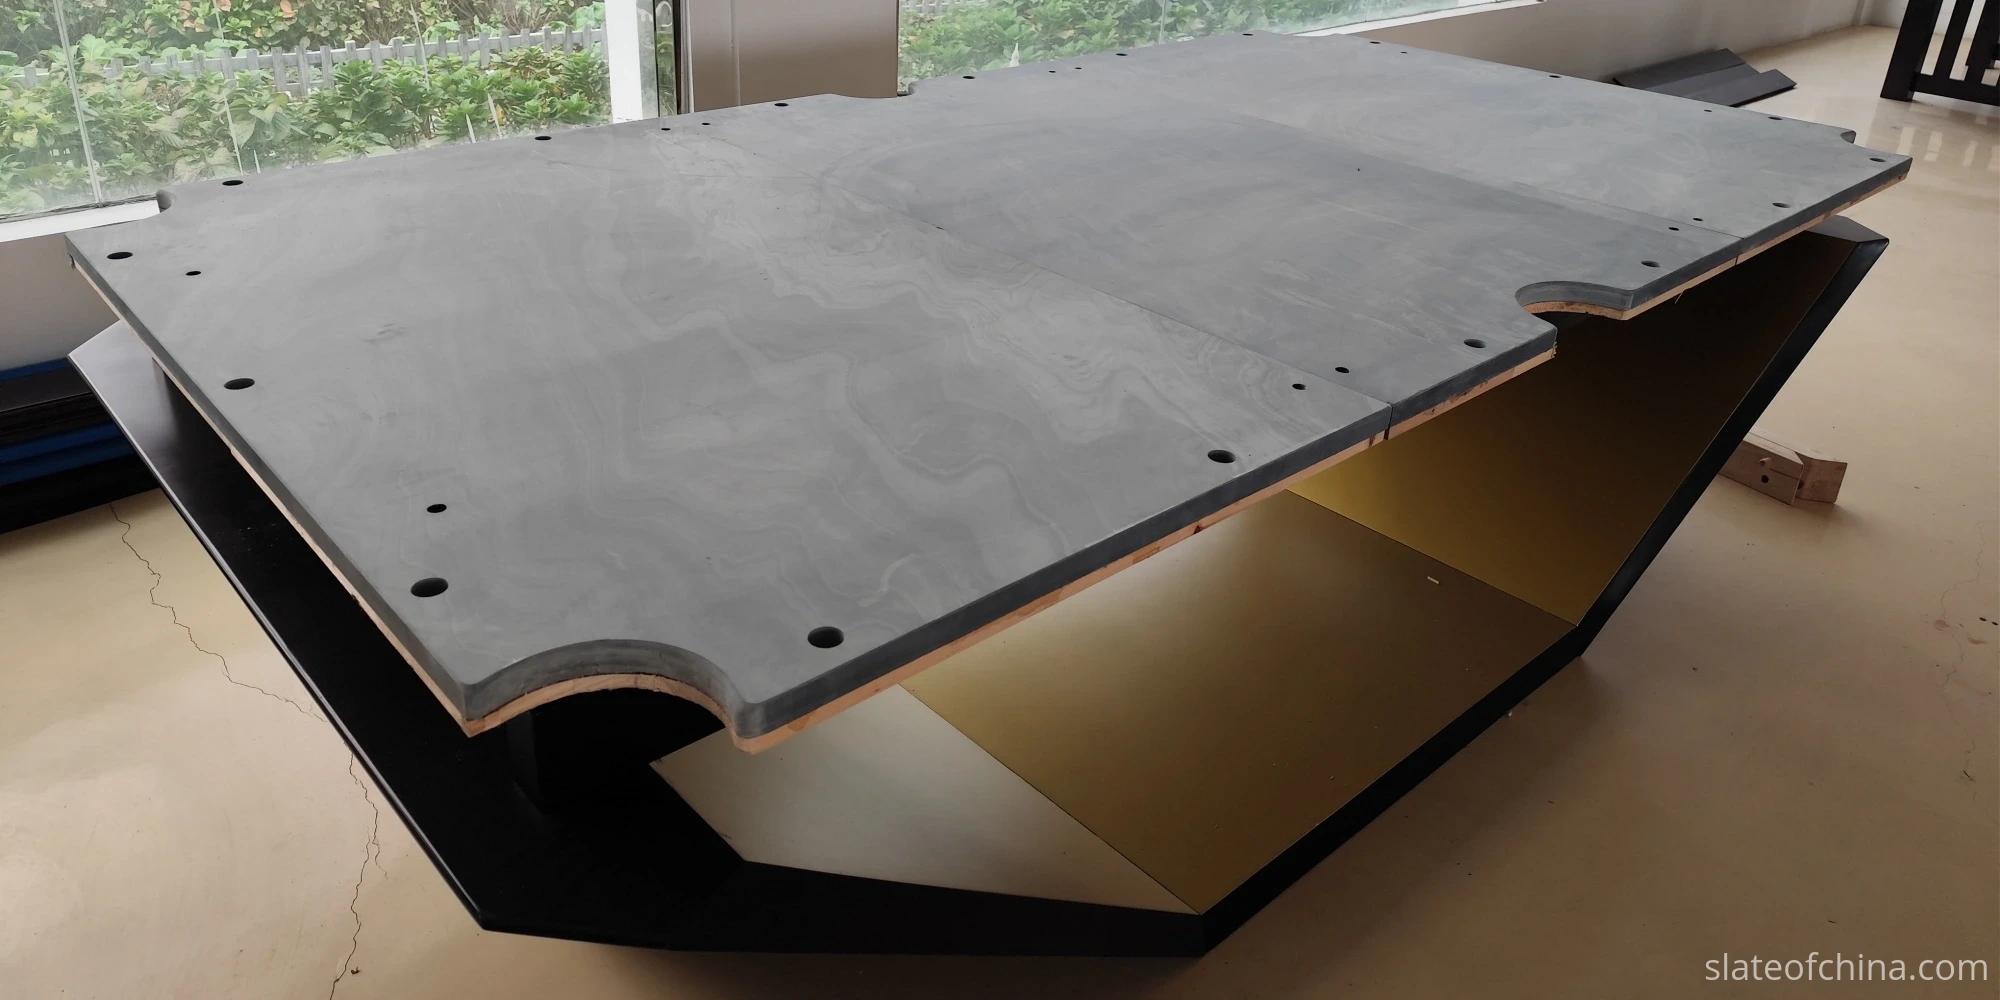
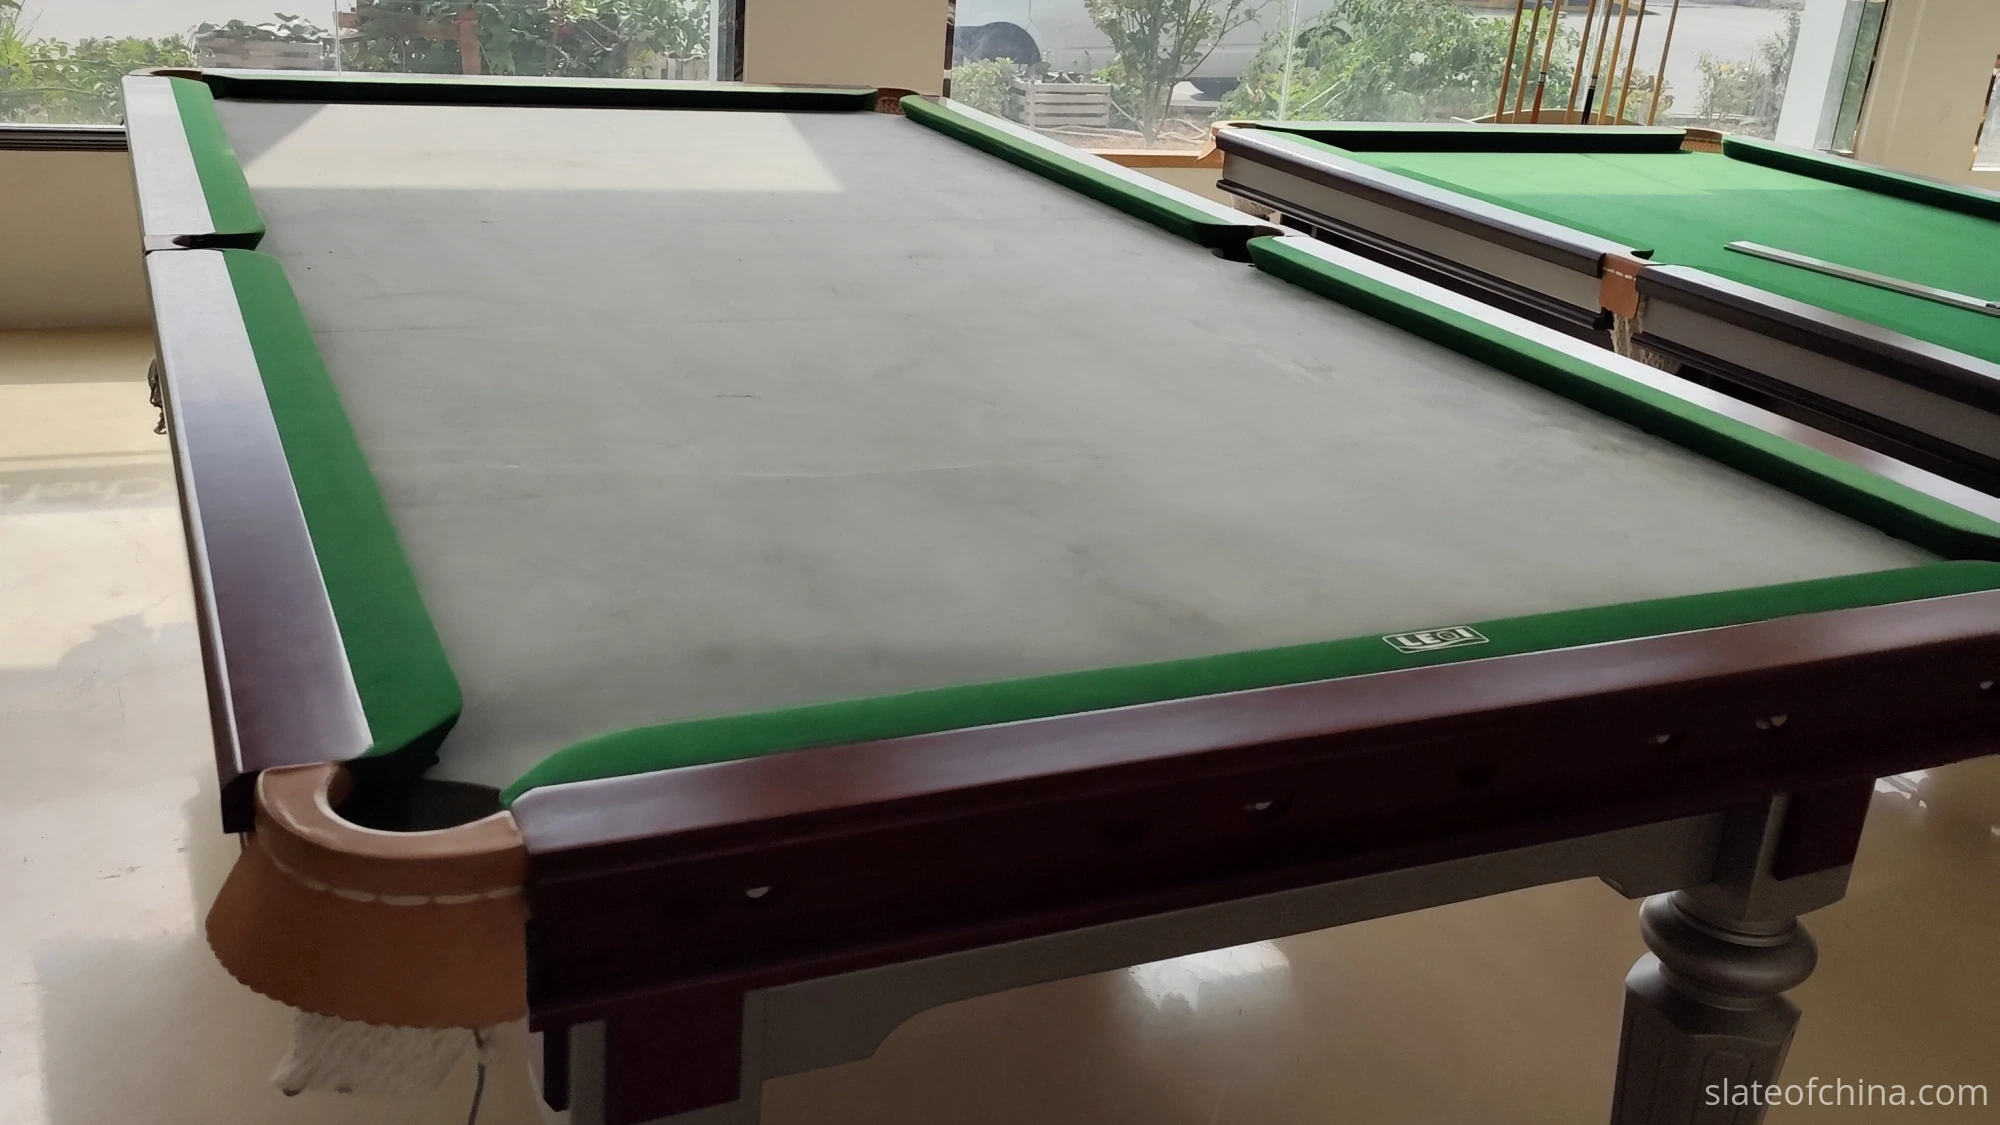
Strip the cloth off a well-used table and the bed makes a quiet confession: two pale lines run across the slate, one about a third of the way down the bed and one about two-thirds — the two joints of a three-piece bed, suddenly visible again after years of being impossible to find. A fingernail drawn across those lines should find nothing to catch on. If it does, that is a seam that was never really finished — only covered.
That is the honest starting point for this craft. The joint itself never goes anywhere: three panels of stone meet along those two lines for the life of the table, and no filler changes that. What good slate joint and seam installation removes is not the seam — it is the seam's influence on the game. The ridge that nudges a slow-rolling ball, the groove that swallows pace at the joint, the catch a fingertip can feel through the cloth: those are the things that have to disappear, because those are the things a ball can read.
This page is the last stop in the installation chain. The panels have already been carried in without damage — the discipline that makes that possible has its own guide — the bed has been seated, shimmed and leveled seam by seam, which is covered in how to level billiard table slate — and the joint faces were prepared during manufacturing, as explained in our guides to slate edge and joint machining and slate joint alignment. What remains is the work that decides whether three stones behave as one surface under cloth: filling the joints, dressing them flush, and proving them before the cloth goes on. The full frame-to-cloth sequence, in context, lives in the billiard slate installation guide.
Quick answer: a seam becomes invisible in one fixed order — place and level the three panels → prove the joint passes under a straightedge → clean the seam → fill it with the filler your table's procedure specifies → dress it flush → prove it again → then cloth. Filling is a finishing step, never a correction: filler finishes a joint that has already passed; it never creates one.
What "Invisible" Actually Means on a Slate Bed
"Invisible seam" is a marketing phrase with an engineering meaning, and the engineering meaning is the only one that matters at the bench. The seam is not — cannot be — made to vanish. Slate is slate: two machined edges meet, and there is a boundary between them for as long as the table stands. A three-piece bed is not one piece of stone pretending to be seamless; it is a properly matched set behaving as if it were, which is the whole reason the bed is split in the first place — panels that a doorway, a staircase and a container can actually carry (one-piece vs three-piece slate for manufacturers).
So the professional standard is not "the seam cannot be seen". It is a smooth, continuous playing surface. A finished joint behaves like any other square centimetre of the bed: no ridge to deflect a ball, no dip to trap one, no edge to catch a fingernail, no line that telegraphs through the cloth after a season of play. Reached honestly, that standard makes the seam invisible as a by-product. Chased directly — by burying the joint under more and more filler — it produces a seam that photographs well and plays badly.
The difference matters because the two goals fail in opposite directions. A joint that looks invisible can still play with a fault: a filler ridge can stand proud by less than the eye notices and more than a slow ball ignores. A joint that plays invisible — flat, flush, continuous — will also look the part under raking light, the day the cloth comes off. Judge the seam by the game, not by the photograph.
The Joint You Inherit
Before any filler is opened, three things about the joint are already fixed: how it was machined, how it travelled, and whether the bed underneath has passed. On a matched set — the only kind we ship from Jiujiang — the joint faces are machined to the approved drawing, and the three panels are matched and verified together as one unit before packing, so the pieces intended to meet actually meet (how three-piece sets are matched). The joint gap itself is a design decision: its width and edge geometry follow the table manufacturer's drawing and the filling method the design assumes, not a universal number. Some designs ask for a hairline; some deliberately specify a narrow, uniform gap meant to carry a bead of filler. Knowing which one is in front of you is step zero of seam installation, and the answer comes from the table's documentation, never from the installer's preference. Snooker beds, split into more sections for the same transport reasons, ask the identical craft per seam — there are simply more of them.
Then the set travels. Machined edges are the most vulnerable surface on a finished panel; the packing standard exists largely to protect exactly these lines (export packing for billiard slate), and the handling discipline continues on site (how to handle and move billiard slate). At unboxing, look along each joint edge before anything else: a small chip or rub on a finished joint face changes how the panels meet, and it is far cheaper to find at the pallet than at the cloth.
And then the gate. No filler is opened until the bed has passed its leveling work: panels seated, supported and fastened as the table design specifies, both seams flush under a straightedge at several positions, a slow ball crossing the joints without a story. That procedure belongs to the leveling guide and is not repeated here. What it leaves behind is the only thing filler is allowed to touch — a joint that has already passed. That sentence is the whole law of this craft: filler finishes a joint that has already passed; it never creates one.
What Filler Can Do — and What It Cannot
Filler's job is narrow and honest. It occupies the designed gap between two machined edges. It seals the small surface irregularities that sit inside the joint line — a faint edge chip, a minor rub. It gives the cloth an uninterrupted plane to lie on. That is the full list.
What it never does is structural work. The three panels are held by the table's own hardware — the frame, the support system, the mounting screws in their machined holes. Filler is not an adhesive, not a shim, not a bolt, and not a substitute for any of the three. It cannot pull one panel up to meet another; it cannot close a gap wider than the design intended; it cannot stop a moving bed from moving. A height difference at the seam is a support and alignment question — corrected underneath the slate, through seating, shims and frame work, per the leveling procedure. Filling a step changes its appearance, never its physics.
Practical translation, fault by fault. If the straightedge shows a step at the seam, the answer lives underneath or behind — seating, support, fastening, or a damaged edge — and never in the tube of filler. If the gap runs wider at one end than the other, that is a placement or edge-condition question to resolve before filling, not a bigger bead to lay. And if a joint edge arrives chipped, assess the chip first: small damage inside the joint line can be carried by the filler as part of the specified finish; anything that changes how the panels seat or meet needs a real decision — repair, re-machining, or a replacement panel (replacement slate for existing tables).
Choosing a Slate Seam Filler: Wax or Hard-Setting
There is no universally best pool table slate seam filler, and any guide that ranks one over the other is guessing at your table. The filler follows the installation procedure — the table manufacturer's own — the way a fastener follows a drawing. Procedures built around wax expect wax; procedures built around hard-setting compounds expect those. Both are legitimate professional methods, and the wrong choice is not the weaker product: it is the right product used against the procedure it was written for.
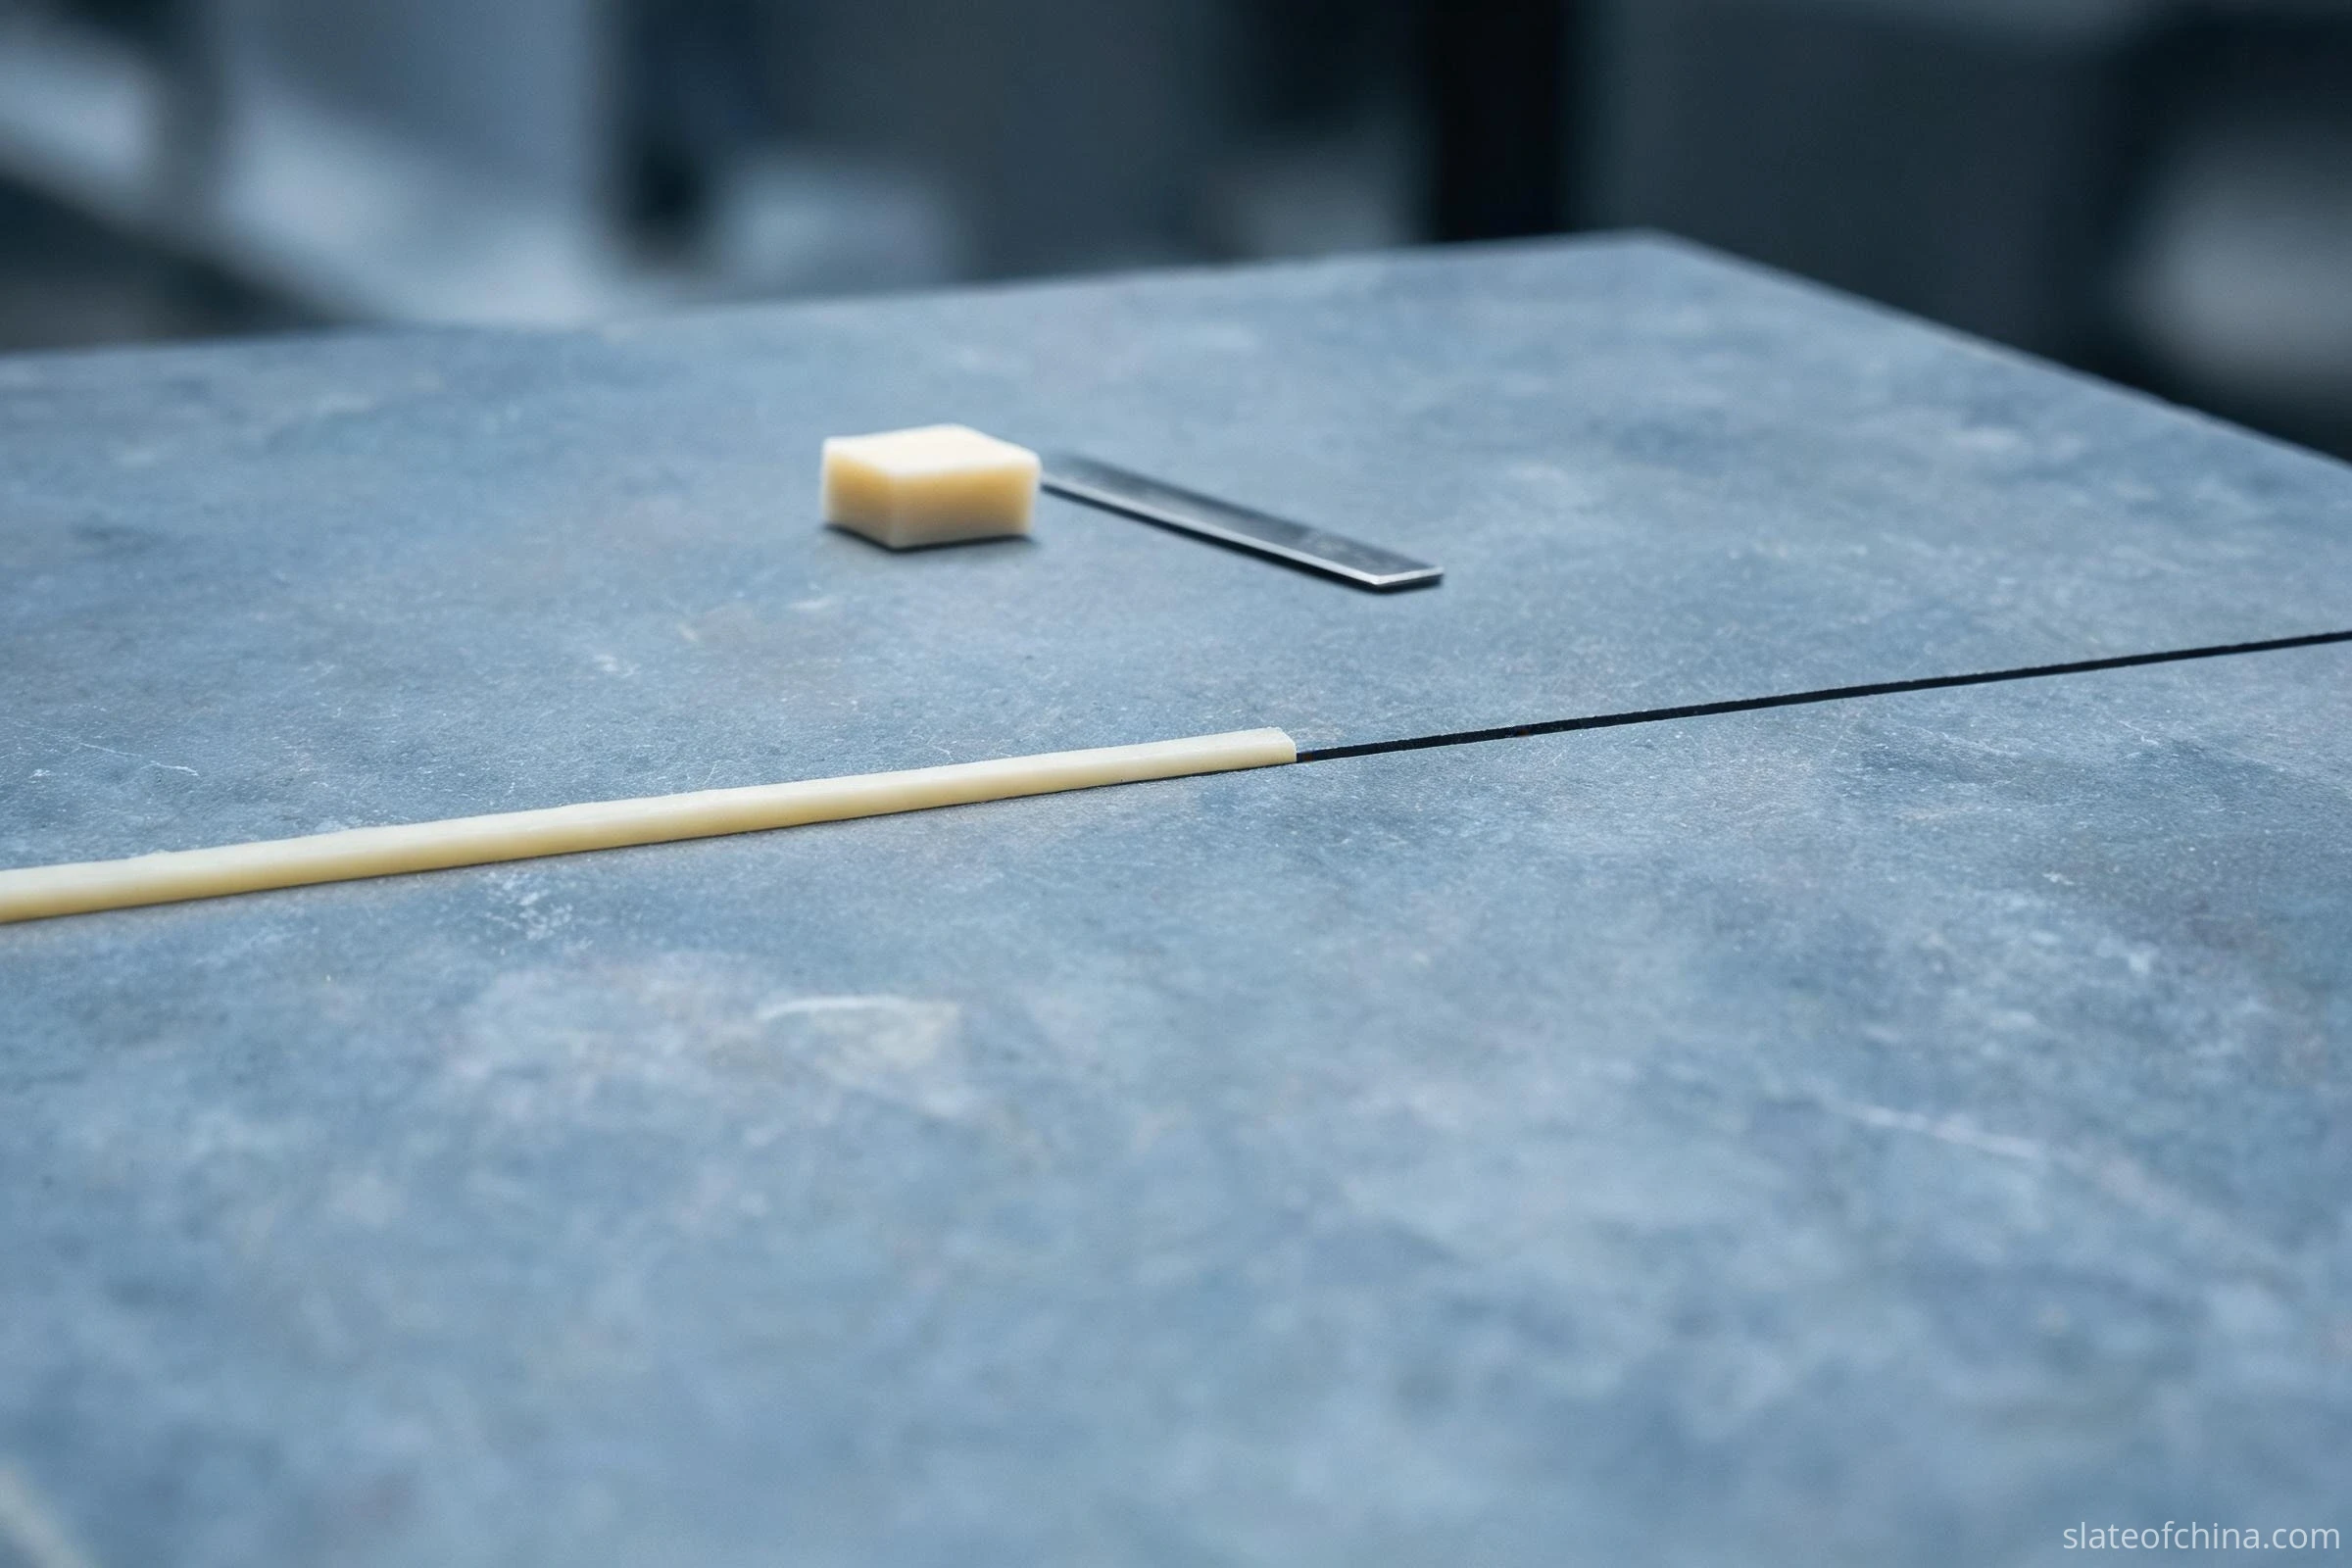
Wax-based fillers — beeswax and purpose-made billiard seam waxes — are the traditional method, and the tables designed around them are the majority of what has been filled for the past century. The wax is softened or warmed, pressed into the joint along its full length, and dressed flush after it sets. Its virtues are repair-friendly: a wax seam can be re-warmed, adjusted and refilled at any point in the table's life, which is why a re-cloth on a wax bed is a clean slate rather than an excavation. Its physics are equally plain — wax is thermoplastic, and it softens with heat. In a sunlit club room or close to a heat source, a soft grade can smear or creep; the right answer there is the correct grade for the conditions the procedure expects, not more wax.
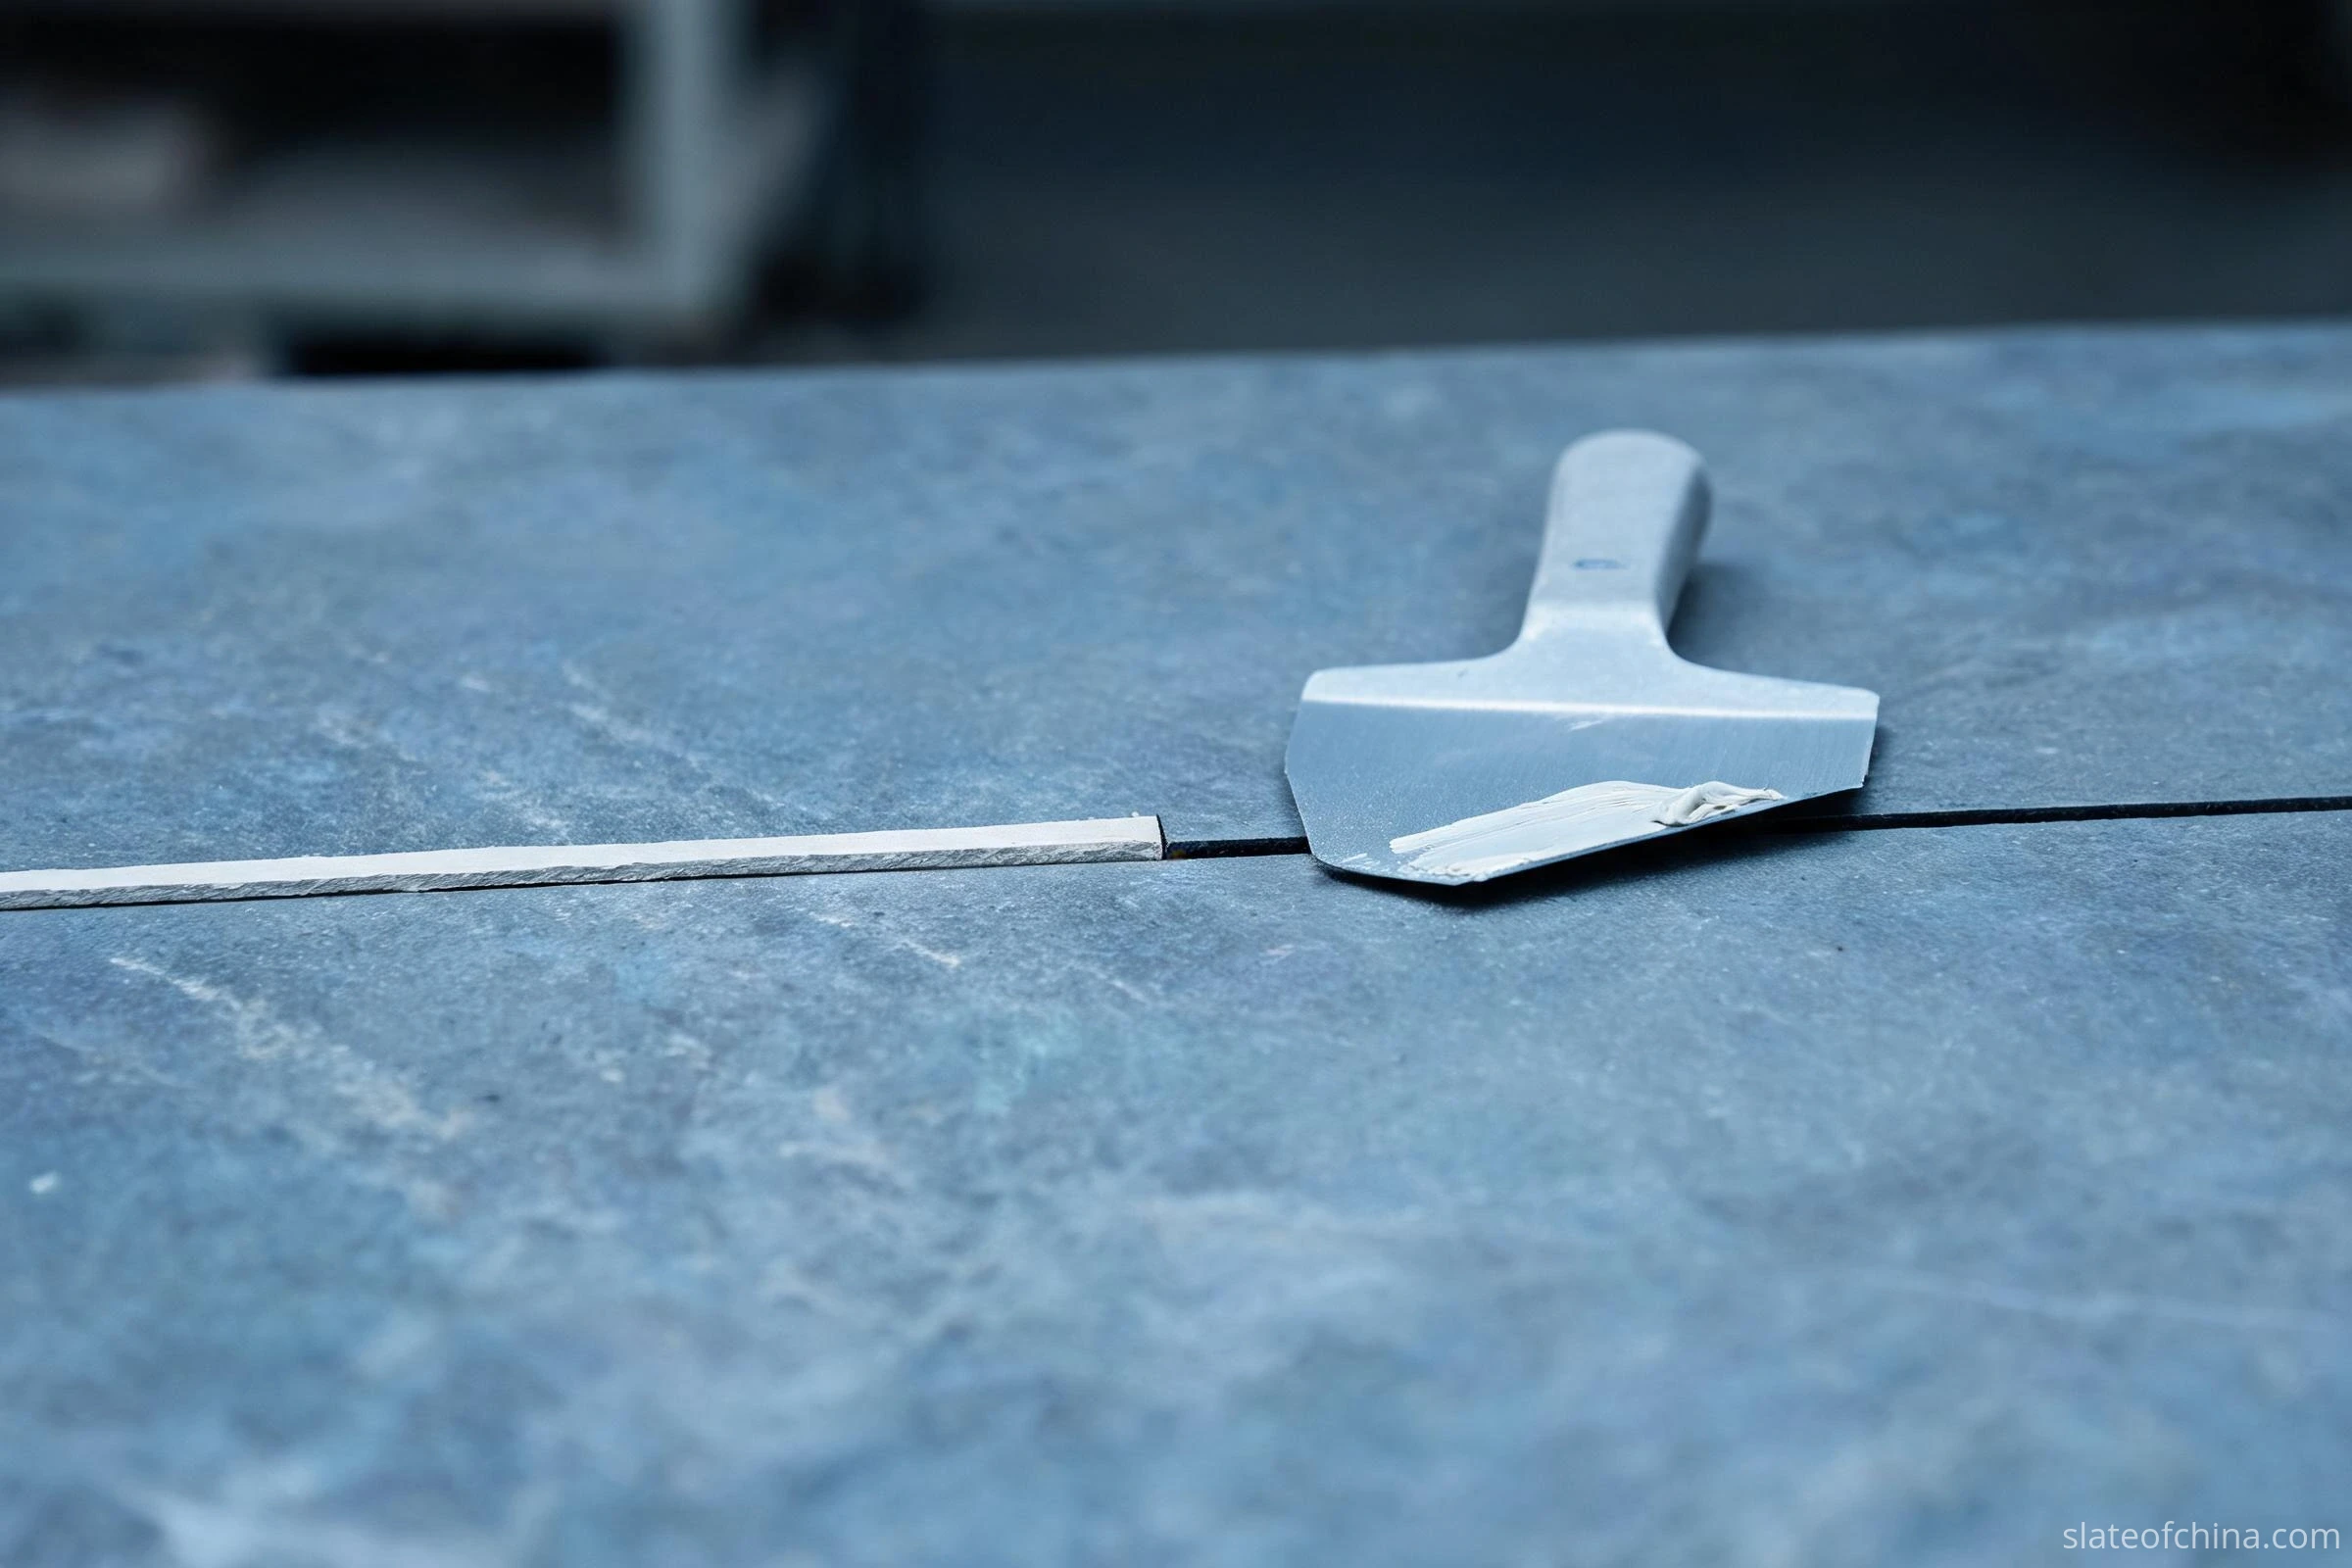
Hard-setting fillers — typically polyester-based compounds from the auto-body filler family, including products specifically formulated for slate seams — cure to a firm, machineable solidity. They fill the designed gap and localized edge imperfections in one pass, then get scraped or fine-sanded flush. Their discipline is unforgiving: the exact mixing ratio, the working time, honest ventilation, and a full cure before any blade touches the seam. An incorrect mixing ratio, cold conditions, contamination or an unsuitable product formulation can leave a hard-setting filler incompletely cured, so follow the product manufacturer's instructions for mixing, temperature, working time and curing, and verify a full cure before dressing the seam or installing the cloth. An under-cured seam can fail months later under cloth, as a line the ball finds long before the eye does.
| Aspect | Wax-based filler | Hard-setting filler |
|---|---|---|
| What it is | Beeswax or a purpose-made billiard seam wax | A formulated compound, often polyester-based, that cures hard |
| How it goes in | Softened or warmed, pressed into the joint along its length | Mixed to the exact ratio, spread across the joint within its working time |
| How you correct it | Re-warm, remove, rework — repeatedly, over the table's life | Scrape or fine-sand after a full cure; a bad batch comes out before it sets |
| What the room does to it | Softens with heat; grade follows the conditions | Stable once cured; needs temperature and ventilation discipline while curing |
| Where it belongs | Procedures that specify wax | Procedures that specify a hard-setting product |
Follow one specified filling system throughout the bed unless the table manufacturer's procedure explicitly permits otherwise. Wax-based and hard-setting fillers behave differently as they age, so compatibility, surface preparation and finishing requirements should be confirmed before any installation or repair. Where the procedure specifies one system, run it end to end — the specified filler, the specified preparation, the specified finish.
Preparing the Joint Before Any Filler Touches It
Seam filling rewards cleanliness more than any other single habit. Vacuum the joint line first — the groove and both edges — then brush, then wipe with whatever the filler's instructions call for. Dust in the joint does not stay in the joint: it bonds into the filler, and every particle is a future weak spot in the seam.
On a re-cloth or a pool table slate joint repair, preparation includes excavation. Old wax lifts out cleanly once warmed; old hard filler comes out with a scraper or a pick, carefully, because the joint edges underneath are the most fragile surfaces on the bed. Remove the old material completely — a new bead bonded to a tired one inherits every fault of the layer beneath it.
Then the conditions. Hard-setting fillers want their specified temperature window and honest ventilation; wax wants a stone surface free of damp. Both want the bed left undisturbed while they work. And before any product is opened, one more inspection pass at working distance: small chips inside the joint line can be carried as part of the fill; loose, flaking material cannot — loose material under filler is a delayed failure on a schedule. Damage that reaches beyond the joint line, or that changes how the panels meet, belongs to the assessment two sections back, not to the filler.
How to Fill Billiard Slate Seams: The Two Methods
The mechanics differ by system, but both serve the same picture: every part of the designed gap occupied, nothing proud but what dressing will remove, nothing left below what the surface needs.
The wax method
Soften the wax as the product directs, then work it into the joint with a blade or small spreader, pressing along the full length of the seam — ends included, because the ends are where the fill runs thinnest and the handling runs roughest. Fill slightly proud: wax dresses best with a small surplus standing above the surface, and the surplus comes off in the next step. Then let it cool and set completely before touching it again. Soft wax dragged out of shape leaves a hollow that hides under a smooth skin.
The hard-setting method
Mix a small batch to the exact ratio — small, because working time is short, and a second mix is cheaper than a rushed first one. Spread it across the seam with a flexible spreader, working it down into the full depth of the gap, then draw the spreader along the joint to leave a low, even proud line. Do not build a ridge "to be safe": everything above flush is coming off in dressing anyway, and the thicker the surplus, the more dust and the more scraping the bed takes. Respect the product's temperature range and cure time, and give it the full cure before any blade arrives — filler scraped early tears out at the edges of the cut.
Either system, one discipline: apply the filler continuously along each joint where the product's working time and the installation procedure allow. For hard-setting products, prepare manageable batches and follow the specified working time. Avoid cold joints, uneven overlaps and partially filled sections — they can leave a visible or weak area after dressing.
Dressing the Seam: Where the Joint Learns to Disappear
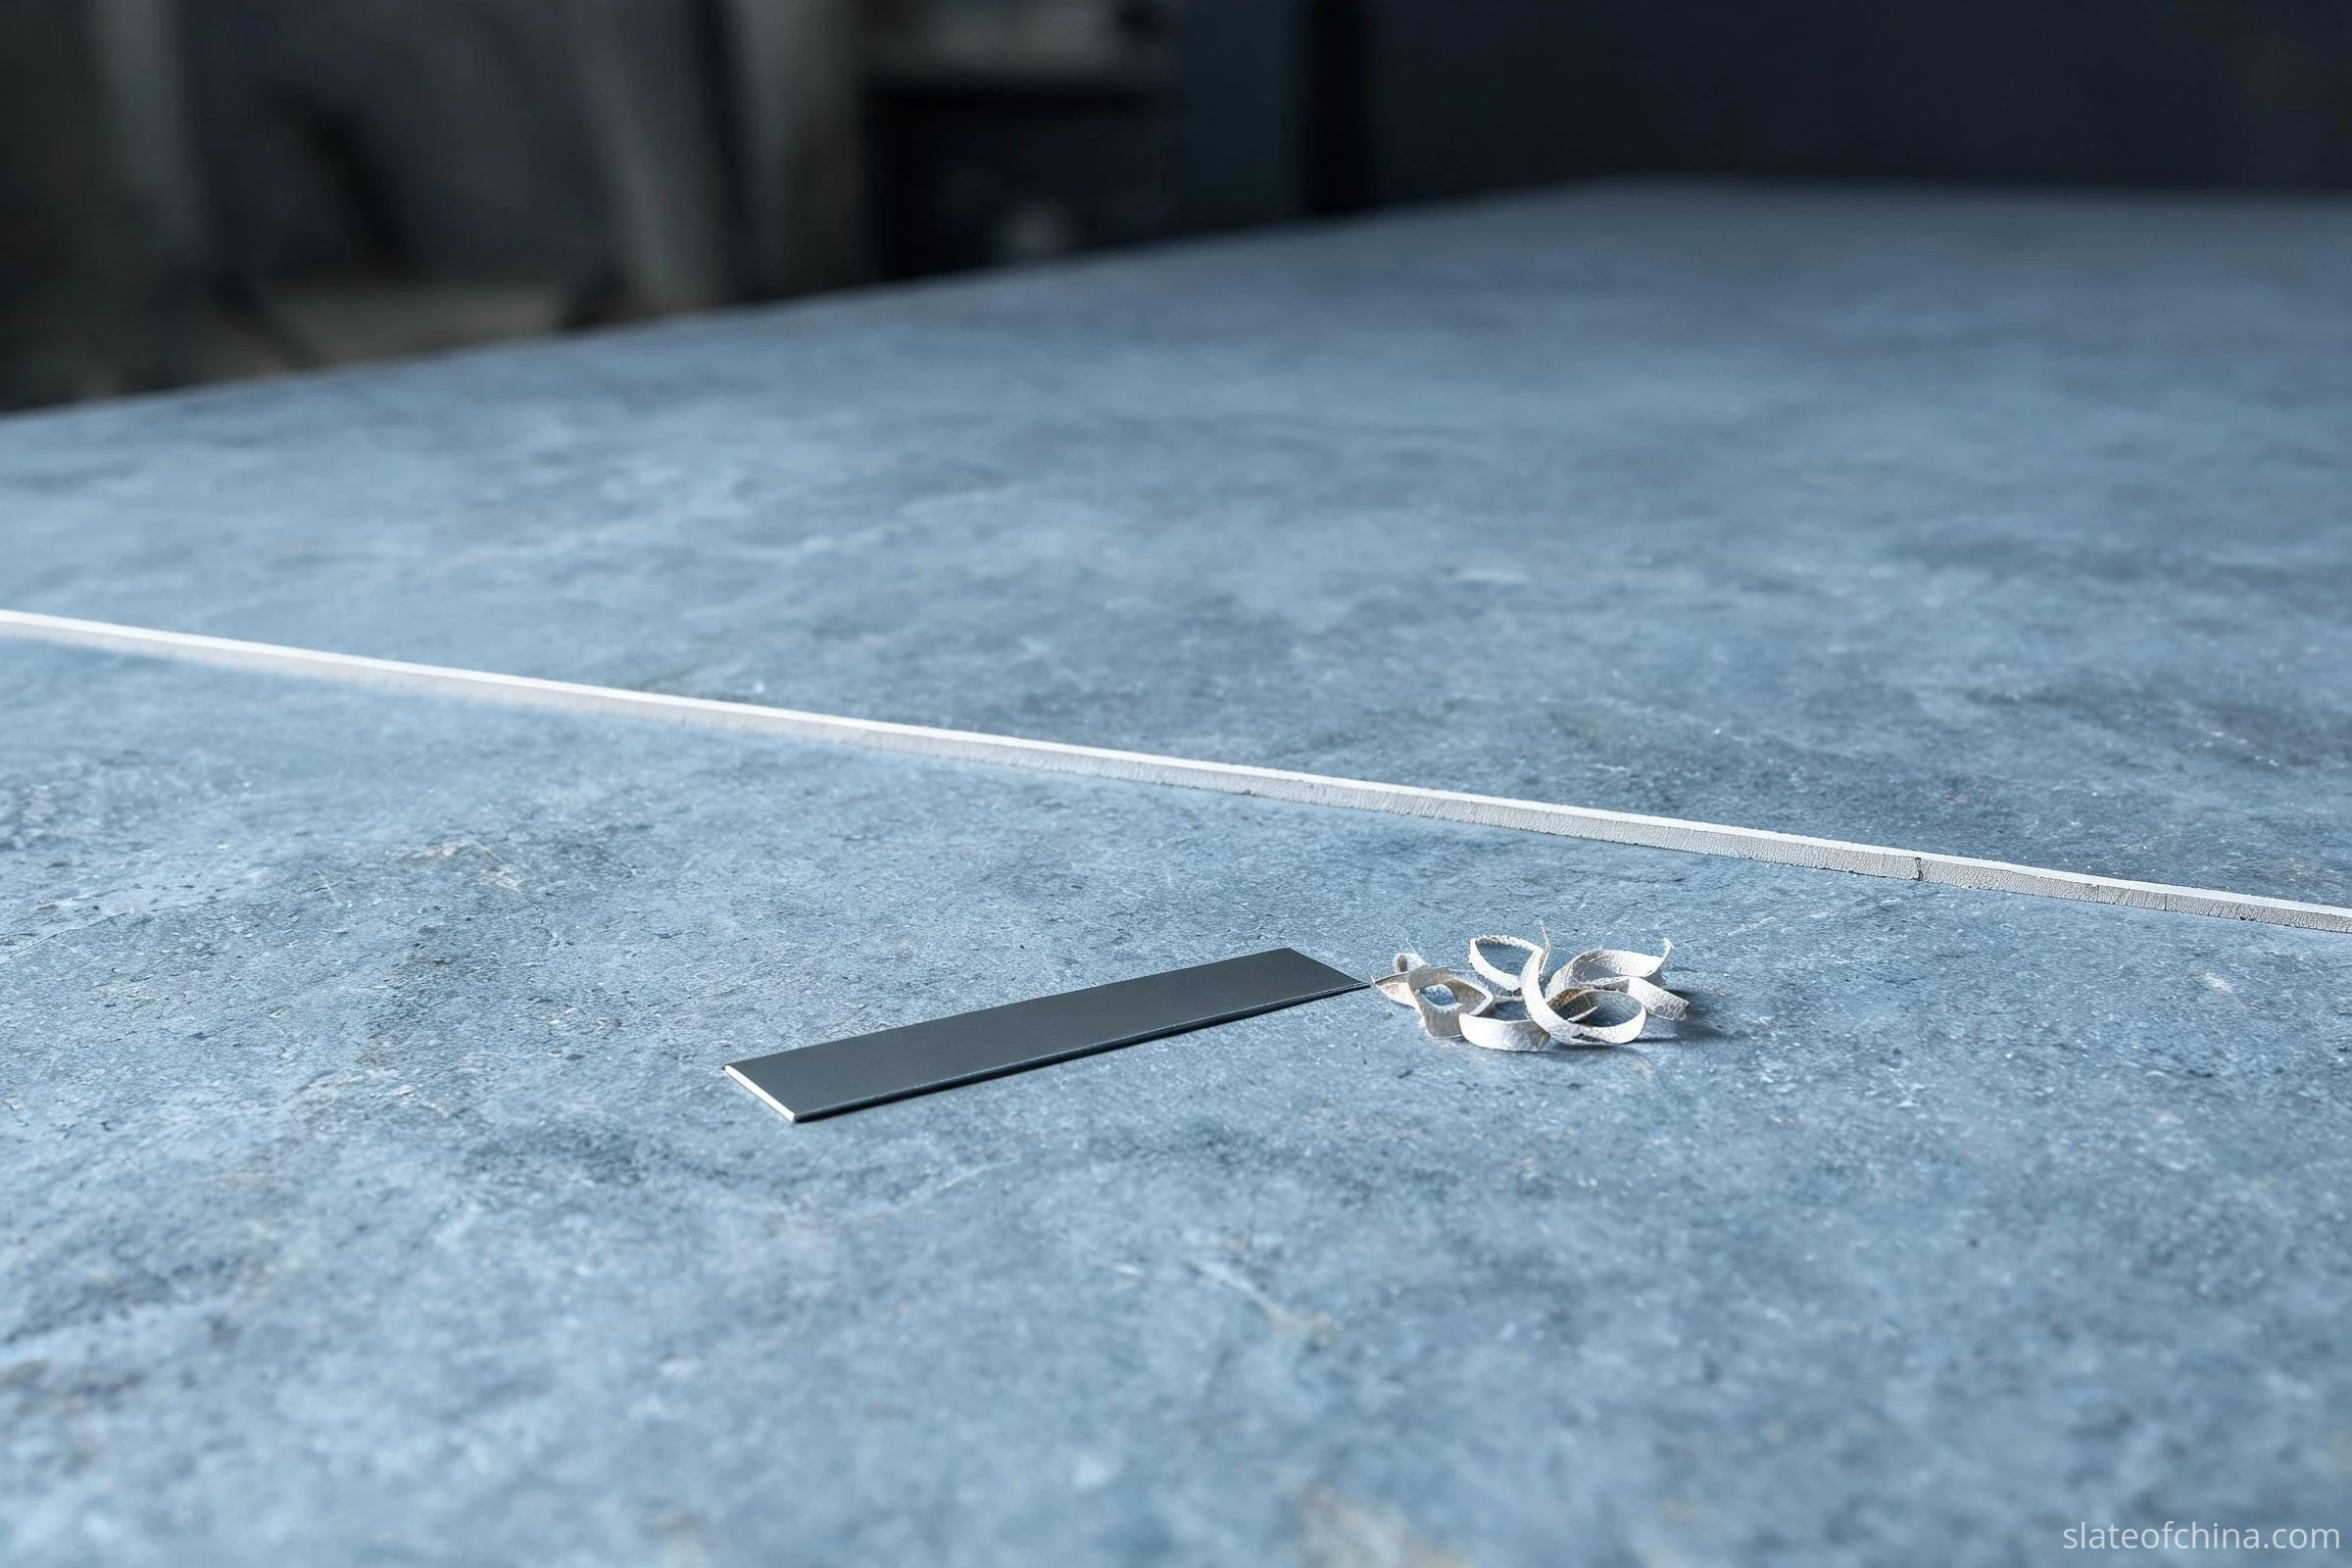
Filling puts material into the joint; dressing takes everything else away. The target is a single word: flush. Not "smooth-looking" — flush, as in a straightedge laid across the joint reads stone and filler as one plane, and a fingernail drawn across the line finds nothing at all.
For hard-setting filler, work a sharp scraper or blade at a low angle, shaving the surplus in fine passes rather than deep bites. The aim is to arrive at the stone surface, not through it — a deep gouge in slate is permanent, and there is no putting material back. Where the procedure calls for a final abrasive pass, use the finest grade it names, then remove every trace of the dust; sanding residue under cloth is an abrasive the table wears every day. For wax, dress only after it has fully cooled, with the tool the method specifies — typically a blade drawn along the joint, then a final scrape across it. The surplus comes off in clean curls, and the seam underneath should already tell the story of the fill: even, continuous, honest.
Then check the result under raking light: overheads off, a torch or lamp laid almost flat against the surface, worked along the seam and across it. Ridges that are easy to miss in ordinary room light show clearly at a grazing angle. Dress until the light shows no ridge, then stop — every extra pass with the blade is another chance to gouge the stone.
Proving the Seam: Straightedge, Fingertip, Slow Ball
After dressing the seam, verify the result with three checks, in this order: a straightedge, a fingertip check and a slow-ball test.
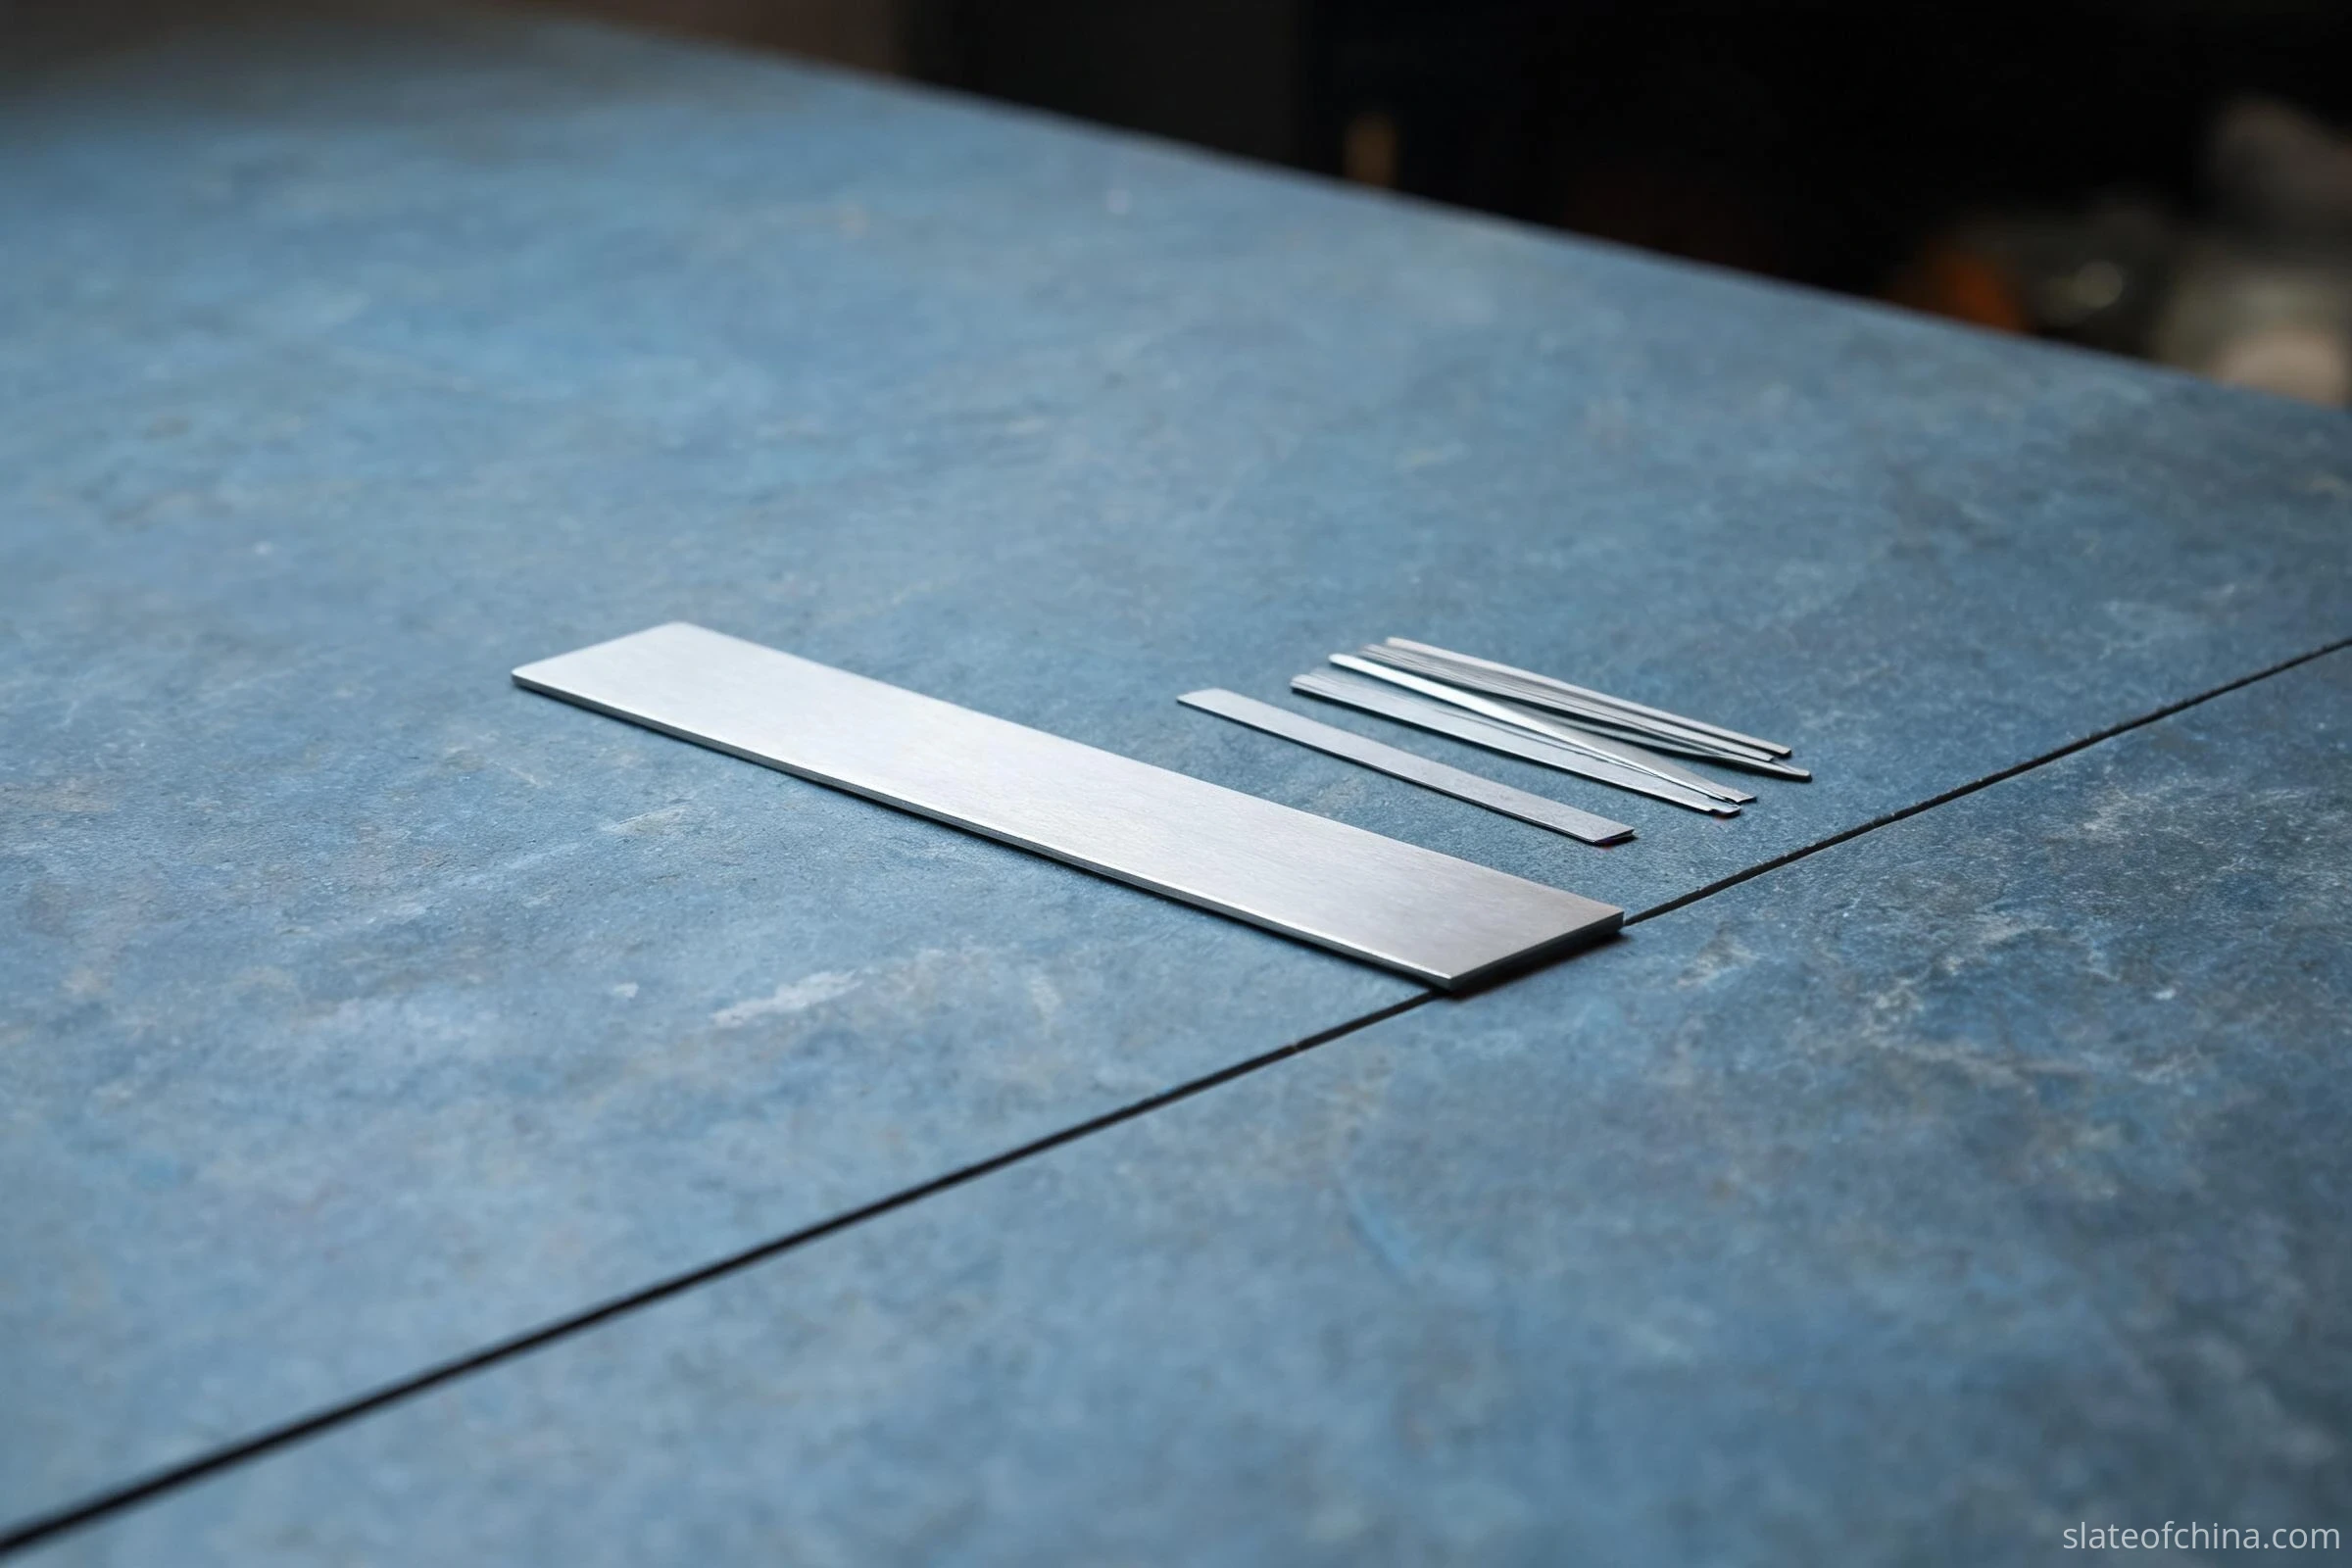
The straightedge first. Place a clean precision straightedge across each joint at several points — near both ends, at the middle, and anywhere a height difference is suspected — and check from more than one direction where practical: square across the seam, along it, and diagonally where the edge allows. Look for three signs: the edge rocking over a ridge, light showing under the blade across a step, or a localized ridge along the joint line. Where the job needs a number, gauge the gap the way the incoming inspection guide describes, and compare the reading with the tolerance the table manufacturer specifies. Two cautions keep this check honest. First, the absence of visible light under the edge is not proof that the whole bed meets its flatness specification — seam alignment and overall bed flatness are separate checks, and the measurement story lives in the billiard slate flatness guide. Second, this pass judges the joint line only; it does not level the bed.
Then the cheapest instrument in the room: a fingernail, dragged slowly across the seam at several places, in both directions. Fingernails find ridges months before eyes do, and what the nail catches today, a slow ball will feel through the cloth for years.
Last, a slow ball, rolled across the seam at several positions and along it, at dying-shot speed. Watch the line, not the pace. The ball test is a useful functional check, but it supplements — it never replaces — straightedge measurements and the table manufacturer's installation criteria. A ball can also misbehave for reasons beyond the filler: how little flatness it takes to bend a roll is its own chapter (how slate flatness affects ball roll), and the whole bed has already had its say in the leveling pass. Here the question is narrower: does the ball cross the joint the way it crosses the rest of the bed, or not.
Six Ways a Good Seam Goes Wrong
Most seam faults that survive to the warranty claim fit one of six patterns. All six are cheaper to prevent than to fix under cloth.
1. Filling before the bed passes. The most expensive habit in the craft. Filler laid into a misaligned joint preserves the misalignment under a professional-looking skin — the fault is still in the table, now with better cover. The straightedge gate comes first, always (leveling and alignment first).
2. Fixing a step with filler. A height difference is a support, seating or fastening question. Filler changes the look of a step, never its geometry; the ball reads through the disguise within the first week. The correction lives underneath the slate, where the leveling procedure puts it.
3. Too much filler, too little dressing. A proud ridge stands straight up into the cloth, and every bit of surplus eventually becomes the seam's silhouette through the weave. Fill slightly proud, dress flush, prove with the edge — in that order.
4. The right product against the wrong procedure. Wax where the design expects a hard-set compound, or the reverse, ages against the table's real conditions instead of with them. The procedure decides the material; the room then decides the grade.
5. Filling over damage. A loose chip or a flaking edge locked under filler becomes a delayed failure with a delayed invoice. Assess first, then fill what legitimately remains to be filled.
6. Cloth before the cure. Cloth stretched over soft filler prints the weave into the seam and lifts the joint line under tension; debris under the new cloth abrades from day one. Full cure, clean bed, handover checks — then cloth.
The Handover Check: Before the Cloth Goes On
Cloth is the last chance anyone gets to see the bed honestly. Once it is stretched, the seams are inspected only indirectly — through a ball's behaviour and, eventually, through wear patterns. The handover check is not bureaucracy; it is the last inspection with full access.
| What to check | How | It passes when |
|---|---|---|
| Panel positions and fastening | Against the table design and drawing | Every panel seated and fastened as specified — no pull, no rock |
| Seam alignment | Straightedge across both joints, several positions | No step beyond the agreed tolerance, no rocking of the edge |
| Filling completeness | Visual pass along the full length of both joints | The designed gap is filled along its full length, ends included |
| Dressing | Straightedge, fingernail, raking light | Flush — nothing to catch, nothing proud, no ridge in raking light |
| Curing or setting | The product's instructions | Full cure or full set reached, per the filler system used |
| Cleanliness | Vacuum and wipe, then inspect in grazing light | No dust, shavings or debris anywhere on the bed |
| The final word | A slow ball, across and along both seams | The ball crosses the joints like any other part of the bed |
Then the cloth goes on — over a bed with nothing left to hide. Cloth forgives nothing: it takes the seam's exact shape, delivers its faults to the player with interest, and files them in wear patterns for whoever strips the bed years from now. The pale lines this page opened with are made, or unmade, in this handover.
Frequently Asked Questions About Slate Joint and Seam Installation
What is the best filler for billiard slate seams?
There is no universal best. Wax-based fillers and hard-setting compounds are both legitimate professional methods, and each belongs to the installation procedure that specifies it. Choose the product your table's procedure calls for, apply it exactly as its instructions direct, and do not mix systems on one bed — the right material against the wrong procedure is the real mistake.
How do you fill a three-piece pool table slate seam?
In a fixed order: place, support and level the panels so both seams pass a straightedge check; clean the joint line; fill the designed gap with the filler the table's procedure specifies — slightly proud, in one pass per seam; let it set or cure fully; dress it flush with the stone; then re-check with a straightedge, a fingernail and a slow ball before the cloth goes on.
Should billiard slate seams be completely invisible?
The goal is a smooth, continuous playing surface, not a vanished joint. The seam is still stone meeting stone; what a good installation removes is the seam's effect on the ball. A seam that passes a straightedge, a fingernail and a slow ball will usually look invisible as a by-product — but appearance alone has never been the test.
Can seam filler fix uneven or misaligned slate?
No. Filler finishes a joint that has already passed; it never creates one. A height difference at the seam is a support, seating or alignment problem, corrected underneath the slate through the leveling procedure. Filling a step changes its appearance, not its geometry — the ball reads through the disguise quickly.
Why does a billiard slate seam crack after installation?
Usually because something moved, not because the stone did. Movement between panels, a change in support or fastening, old or contaminated filler left in the joint, an incompatible product, or a filler scraped before it cured can all show up later as a crack along the seam. Identify the cause before repairing the line, or the repair shares the fate of the original.
Do all three-piece slate tables need seam filling?
Most three-piece designs call for their joints to be filled and dressed before the cloth, but the method follows the table's own installation procedure. Some procedures specify wax, some specify a hard-setting compound, and a few designs handle the joint differently altogether. The table's documentation, not habit, decides.
Can you repair a slate seam without removing the cloth?
A proper repair generally needs access to the slate, which means stripping and re-stretching the cloth. Small touch-ups are sometimes made through cloth openings, but they treat symptoms rather than causes, and a seam that keeps announcing itself under cloth is asking for the full procedure — assess, clean, refill, dress and prove.
Can a bad seam damage the billiard cloth?
It can work on it from both sides. A proud ridge or a sharp edge presses into the weave and wears a line into the cloth; filler dust and abrasive residue left on the bed grind under the surface from day one; and a seam that is not flush forces the cloth to bridge a step it was never tensioned for. The handover checks exist to protect the cloth as much as the game.
Ordering Slate That Wants to Be Filled
For a table manufacturer, importer or OEM buyer, seam quality is decided twice — once at the drawing, once at the bench — and the first one writes the rules for the second. A slate supplier cannot honestly promise an invisible seam; too many hands own that result. What a good supplier promises is geometry that gives the installer a fair start.
| What to put in writing with your supplier | What it buys you at the seam |
|---|---|
| Joint faces machined to the approved drawing | Edges that meet as drawn — the precondition for any specified filler |
| Sets matched, verified and numbered as one unit | Pieces that belong together, staying together through the supply chain |
| Joint gap and edge geometry per your assembly procedure | A seam designed for the filler system your installers actually use |
| Drawing confirmation before machining | No surprises between the CAD intent and the delivered stone |
| Packing that protects finished edges | Joint faces arriving the way they left the grinder |
How joint faces and pocket geometry are machined and confirmed against your drawings is covered in CNC pocket cuts and drawing confirmation; the set-level matching behind the second row is the subject of slate joint alignment; the full parameter story — dimensions, thickness, flatness — lives in the billiard slate technical specifications. Bring the drawing, and the seam work at the bench starts owing you favors. You can see what we produce for tables like yours across the billiard slate range.
Need three-piece billiard slate with accurate joint machining?
For OEM pool and snooker table projects and replacement programs, send your slate dimensions, thickness, joint design, machining drawings and required quantity — including the filler system your assembly procedure assumes. We review the specification, machine the set, match it and verify the assembled bed before packing, and confirm machining and export packing arrangements before production — so the joint your installer fills is a joint that was built to be filled.