
The Art of Splitting Slate by Hand
Hand splitting is the factory step where a raw quarry block becomes thin roofing tiles — and the step no machine can fully replace. A splitter reads the grain, sets a wide chisel along the natural cleavage line, and strikes with a wooden mallet. The stone opens along its own plane. The result is a tile 5 to 8 millimetres thick with a natural cleft surface that gives slate its character, its grip, and its hundred-year weathering resistance.
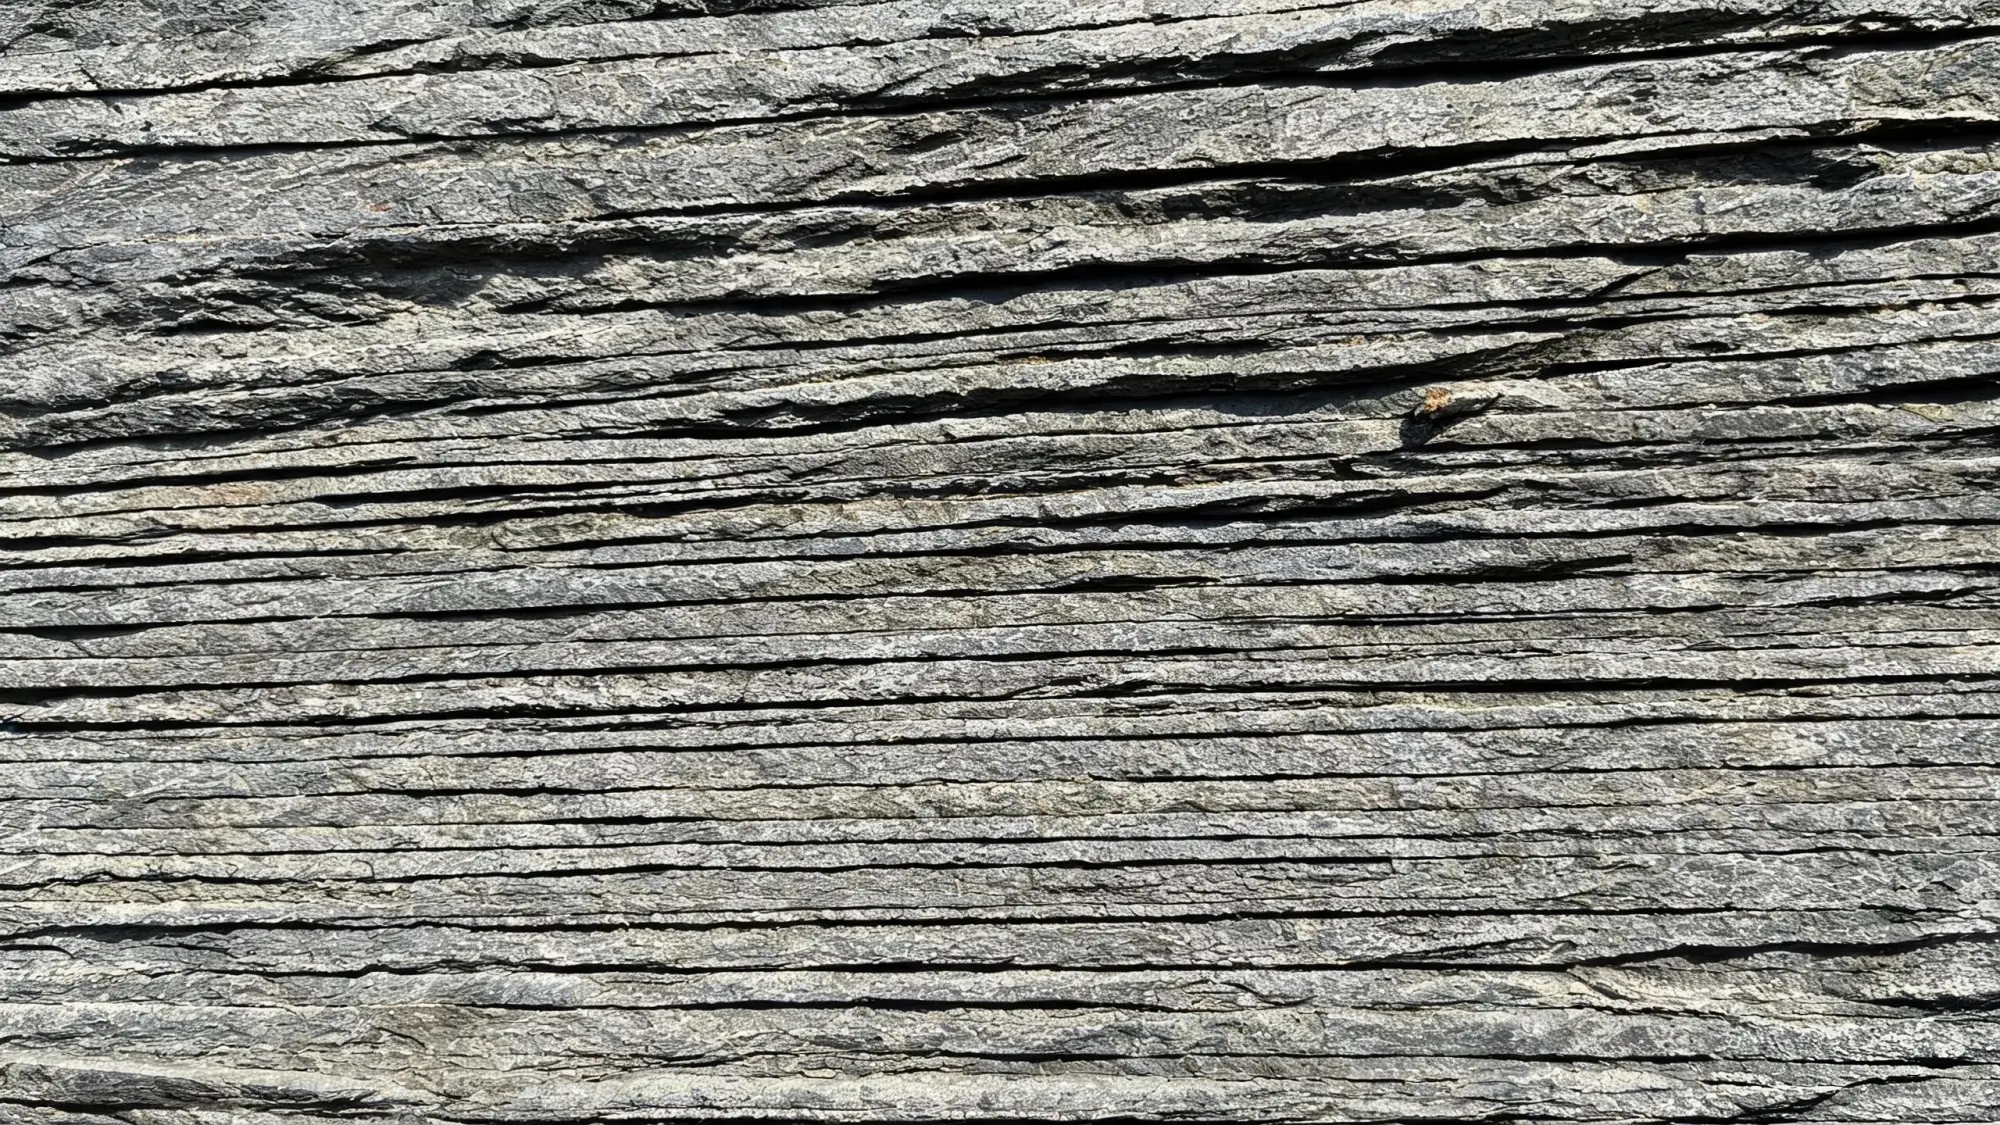
Run your thumb across the face of a finished roofing slate and you feel something a machine cannot make — a surface that is not flat, not smooth, not uniform, but alive with the natural grain of the stone. Every ridge and ripple is where the slate separated along its own cleavage plane, following a line that took hundreds of millions of years to form. That surface is the signature of hand splitting.
We have CNC machines in the same workshop that can grind slate to a tolerance of ±0.1 millimetre. We use them for billiard panels, where flatness is everything. But for roofing tiles, we still split by hand. Not because we are sentimental about tradition — we do it because the natural cleft surface is the product. Machine cutting removes it. Hand splitting reveals it.
This article covers the full process: how a splitter reads a block before touching it, how the first strike sets the direction of the entire split, how the crack is followed strike by strike, and what happens when the stone refuses to cooperate. If you want the technical side of block extraction at the quarry, that is a separate article. This one is about what happens after the block arrives at the factory.
Why Hand Splitting Still Matters
A raw slate block arrives at the factory weighing 15 to 30 tonnes. It left the quarry with a known cleavage orientation — the foreman who selected it already decided which face is the splitting face. But the block is still a block. It is thick, rough, and solid. Before it becomes roofing tile, it needs to become thin. And the way it gets thin is by being split, layer by layer, along the cleavage planes that run through it like pages in a book.
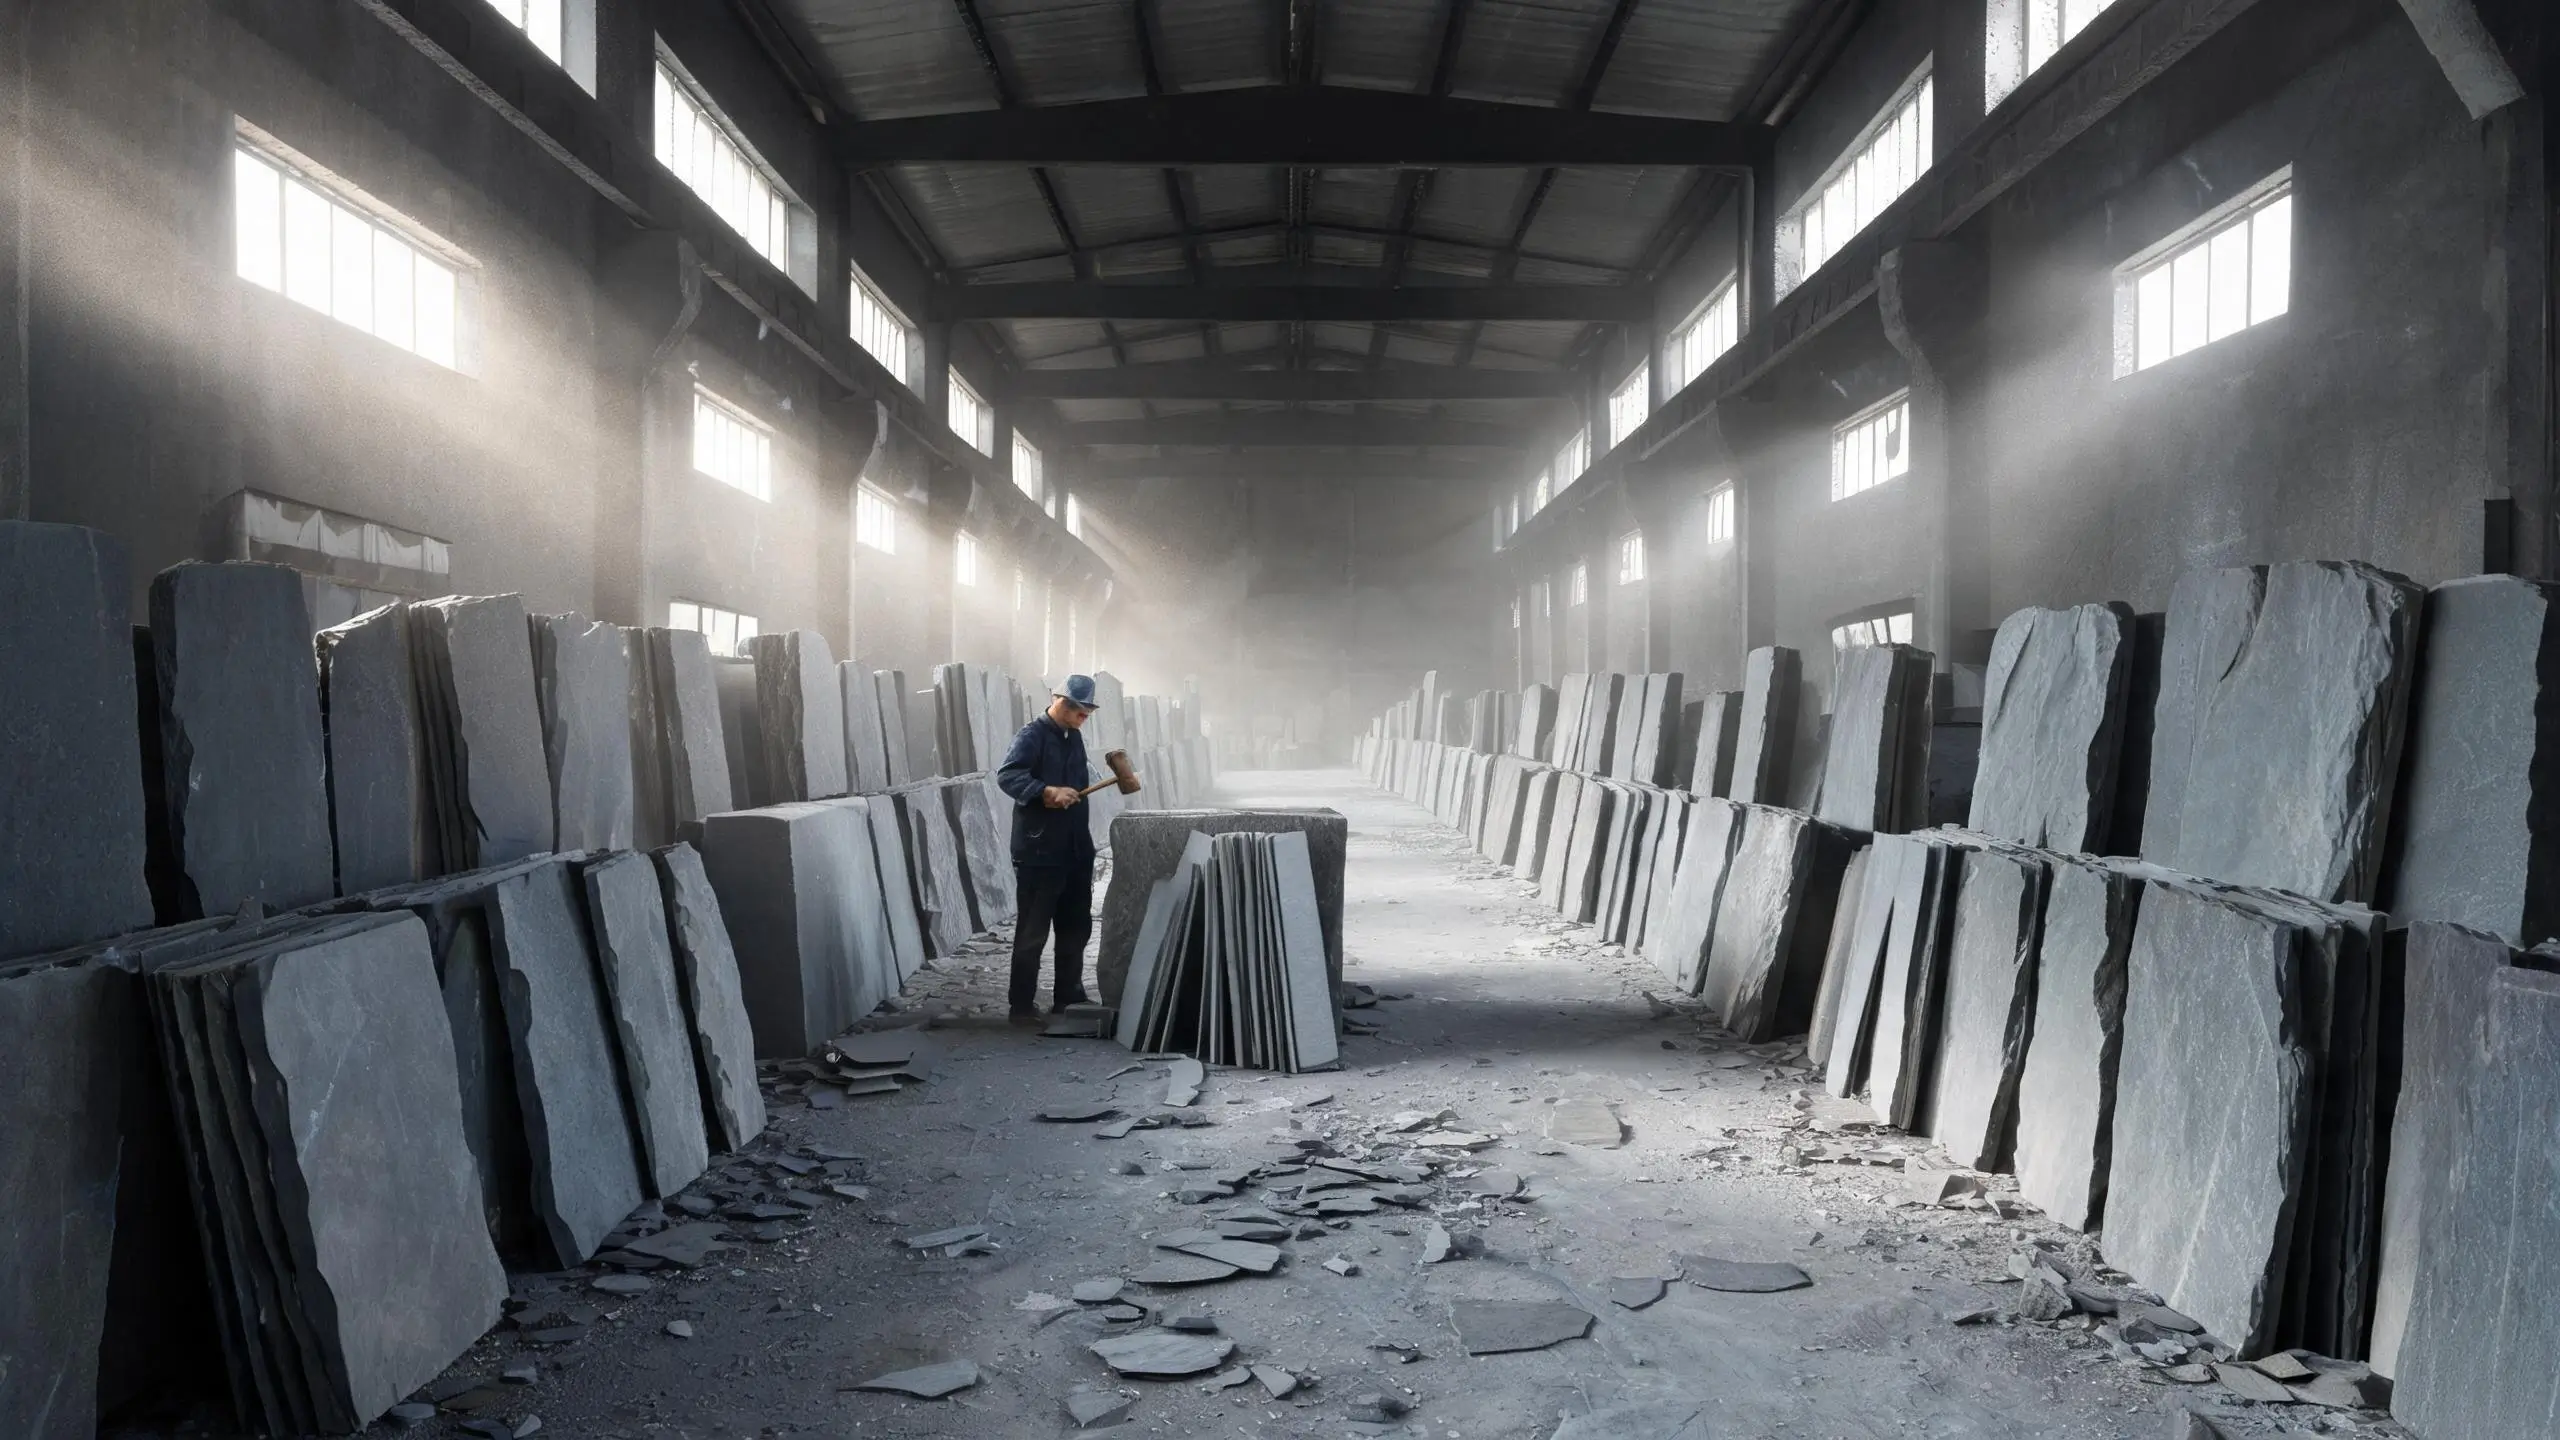
We could use a hydraulic guillotine splitter. They exist, and some larger operations do. A guillotine presses a steel blade down through the block and forces it apart. It is fast, it is consistent, and it produces a tile that is dimensionally uniform. But the surface of that tile is different. A guillotine blade creates a sheared face — flat, slightly burnished where the steel pressed through, and dead. The same word every old splitter uses: dead.
A hand-split surface is not flat. It has micro-texture — ridges where the grain ran slightly harder, valleys where it ran slightly softer, faint lines where the cleavage wandered half a millimetre before settling back. That micro-texture is what makes a roofing slate naturally slip-resistant. It is what gives the tile its character under light. And it is what a hundred years of rain, frost, and sun will weather without losing the surface, because the surface was never cut — it was revealed.
The six-step production process starts at the quarry and ends at the crate. Splitting is step three, and it is the step where the stone either becomes a roofing tile or becomes something else. Everything before it is preparation. Everything after it is finishing.
Reading the Grain
Before the chisel touches the stone, the splitter reads the block. This takes a few minutes and decides everything that follows. A block read well splits cleanly. A block read poorly produces step breaks, wasted material, and frustration.
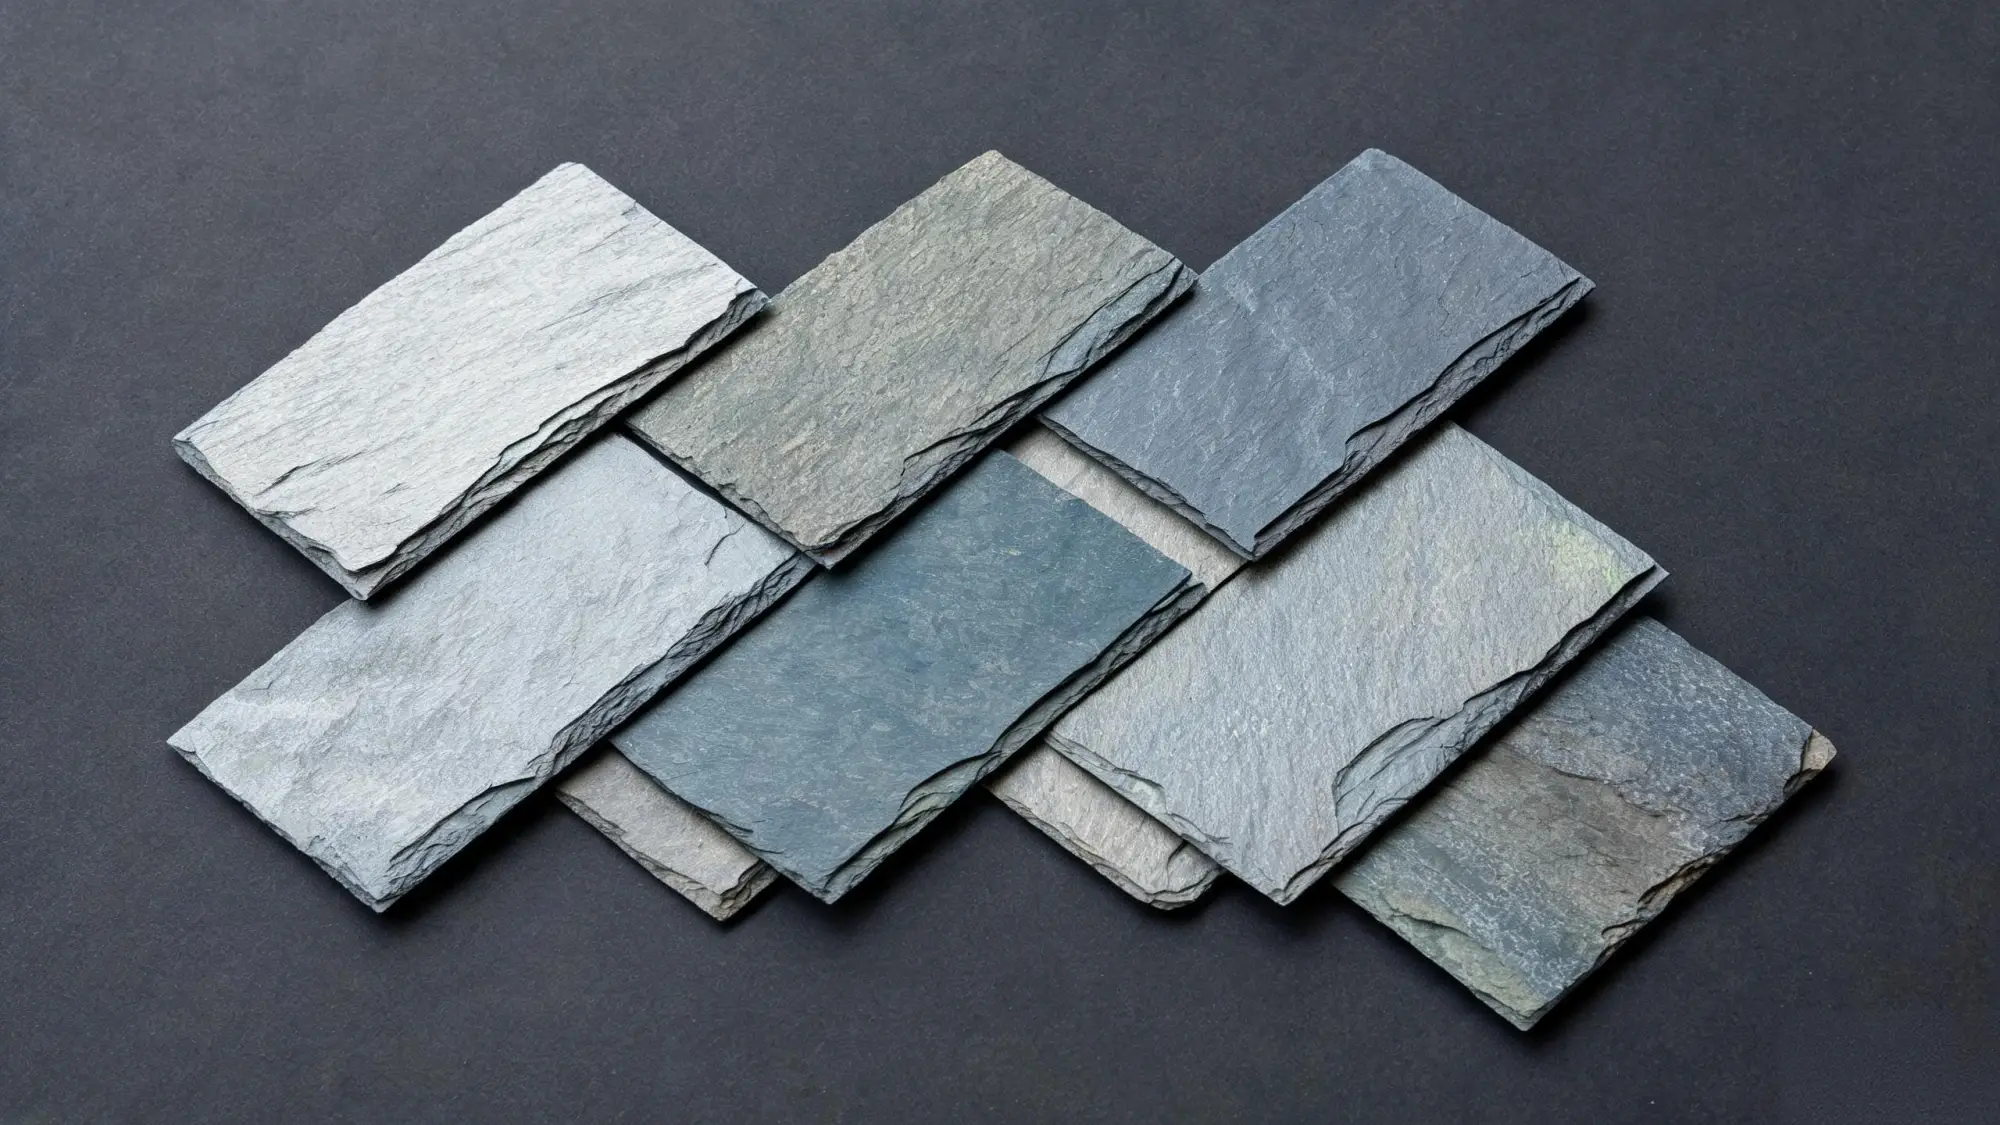
The reading starts with the sides. A slate block shows its layering on every face, but the splitting face — the face the quarry foreman marked — shows it most clearly. You look for the horizontal lines that run parallel to the cleavage plane. Each visible layer is a future tile. In Jiujiang slate, those layers are typically 5 to 8 millimetres apart, which is why the standard roofing thickness from this region falls in the same range.
But not every layer is equal. The splitter is looking for three things:
Grain direction. The cleavage plane should run consistently from one edge to the other. If the lines curve, fan out, or converge, the split will follow the curve — and a curved split produces a tile that is thicker on one side. A slight curve is workable. A sharp bend means that section of the block will not yield good tile.
Colour banding. Jiujiang slate ranges from deep charcoal to blue-grey to faint green. Colour changes often mean mineral changes — a band of higher quartz content, or a vein of chlorite. These bands can deflect the split. The splitter marks them mentally and plans the chisel line to cross them at a right angle, not run along them.
Visible fractures. A hairline crack on the surface, a dark vein running diagonally, a spot where the grain seems to disappear — these are warnings. A visible fracture on the outside often means a hidden fracture on the inside. The splitter does not avoid these sections entirely, but approaches them with tighter chisel spacing and lighter strikes, giving the split less energy to wander off the cleavage.
After the reading, the splitter knows where to start, which direction to go, and where to slow down. A good block almost tells you where to put the chisel. A difficult block makes you work for it.
Setting the First Line
The first strike determines the direction of the entire split. Get it right and the crack follows the cleavage naturally. Get it wrong and no amount of correction will bring it back on line.
The tool is a slater's chisel — a wide, flat steel blade, 100 to 150 millimetres across the edge. It is much wider than a brick chisel, and for a reason: the width spreads the force along the cleavage plane rather than concentrating it at a point. A narrow chisel punches through; a wide chisel opens up.
The mallet is wood, not steel. This is not a cost saving — it is a deliberate choice. Steel transfers energy too fast. The impact arrives as a sharp shock that sends waves across the cleavage layers, and those waves can cause the split to step sideways. Wood absorbs part of the impact and delivers it as a slower, more sustained push. The stone feels a shove, not a slap. A wooden mallet also protects the chisel — a steel hammer would mushroom the chisel head over time, making it harder to control and dangerous to strike.
The chisel goes at the edge of the block, at the start of a visible layer line. The splitter places the blade flat against the stone, angled roughly 30 degrees from vertical, pointed along the cleavage direction. The angle matters: too steep and the force goes downward through the layer rather than along it; too shallow and the force spreads sideways without initiating a crack.
One hand holds the chisel. The other swings the mallet. And the first strike is not the hardest — it is the most deliberate. The splitter is not trying to break the stone. The splitter is trying to start a conversation with it.
The First Strike
The mallet comes down. The force travels through the chisel blade and into the stone. If the chisel is placed right and the grain is cooperative, the stone responds with a sound that every splitter knows by heart: not a sharp crack, but a deep, slow rip. It sounds like a zipper opening in slow motion — a continuous tearing that runs along the edge of the block for 50, 80, sometimes 120 millimetres before it stops.
That sound means the split is following the cleavage. The stone is doing what it wants to do. The splitter's job from this point is to keep it doing that.
A different sound means trouble. A sharp, high crack — like a gunshot — means the force crossed the grain rather than following it. The split jumped a layer. The tile that comes from this section will have a step in it, a terrace where the crack changed levels. It is not necessarily wasted, but it is downgraded.
The first strike opens a crack maybe 50 to 80 millimetres long. That is enough to establish the direction. The splitter lifts the chisel, moves it along the line, and sets up for the next strike.
Following the Crack
From the first strike onward, the process is a rhythm: place, strike, listen, move. The chisel advances along the edge of the block, 50 to 80 millimetres at a time. Each strike extends the crack a little further. The crack runs along the cleavage plane, spreading sideways into the block as the splitter works along the edge.
The crack does not need to be forced. It needs to be followed. Slate wants to split along its cleavage — that is the whole premise of the material. The splitter's skill is in reading the signals the stone gives and adjusting before things go wrong.
The signals come through two channels: sound and feel.
Through the ears, the splitter hears the crack. A continuous rip is the sound of a clean split running along the cleavage. An irregular, stuttering crack — rip, pause, pop, rip — means the split is hitting something. A vein, a hard band, a change in grain. The splitter responds by lightening the strike and tightening the chisel spacing, giving the crack less energy to wander with.
Through the hands, the splitter feels the chisel. A clean split sends a smooth vibration through the blade — the stone is yielding evenly. A rough, juddering vibration means the crack is encountering resistance. The chisel wants to jump. The splitter holds it tighter, shortens the stride, and lets the crack find its way past the obstacle.
This is the part that no machine can replicate. A machine applies the same force at the same spacing regardless of what the stone is doing. A splitter adjusts on every strike, reading the stone through the tool. An experienced splitter — someone who has split a few thousand blocks — can feel a crack starting to veer before it becomes visible, and correct it with a lighter strike or a shifted angle.
The crack propagates across the full width of the block over 20 to 40 strikes, depending on the block size. When it reaches the far edge, the layer is ready to lift off. The splitter sets the chisel aside, grips the edge of the tile, and pulls. The tile separates from the block with a clean, satisfying snap — the last sound in the sequence, and the one that means the job is done for this layer.
Checking by Hand
The tile comes off the block and goes into the splitter's hands for the first check. This is not the formal quality inspection — that happens later, on the 100 percent inspection bench. This is the splitter's own check, the one that happens between every tile, because catching a problem now saves the inspection team from catching it later.
Thickness. The splitter runs thumb and forefinger along the edge of the tile. An experienced hand can feel a thickness variation of half a millimetre — the difference between a 6mm tile and a 6.5mm tile. If the tile feels even, it goes to the gauge for confirmation. If it feels uneven — thicker at one end, thinner at the other — it is set aside. The target for standard roofing slate is 5 to 8 millimetres. Fine-grade slate goes thinner, 4 to 6 millimetres, but anything below 4 millimetres is too fragile to survive installation. Commercial grade runs 7 to 10 millimetres. Above 10 millimetres, the stone is usually cut rather than split, because the cleavage plane becomes less reliable at greater thicknesses.
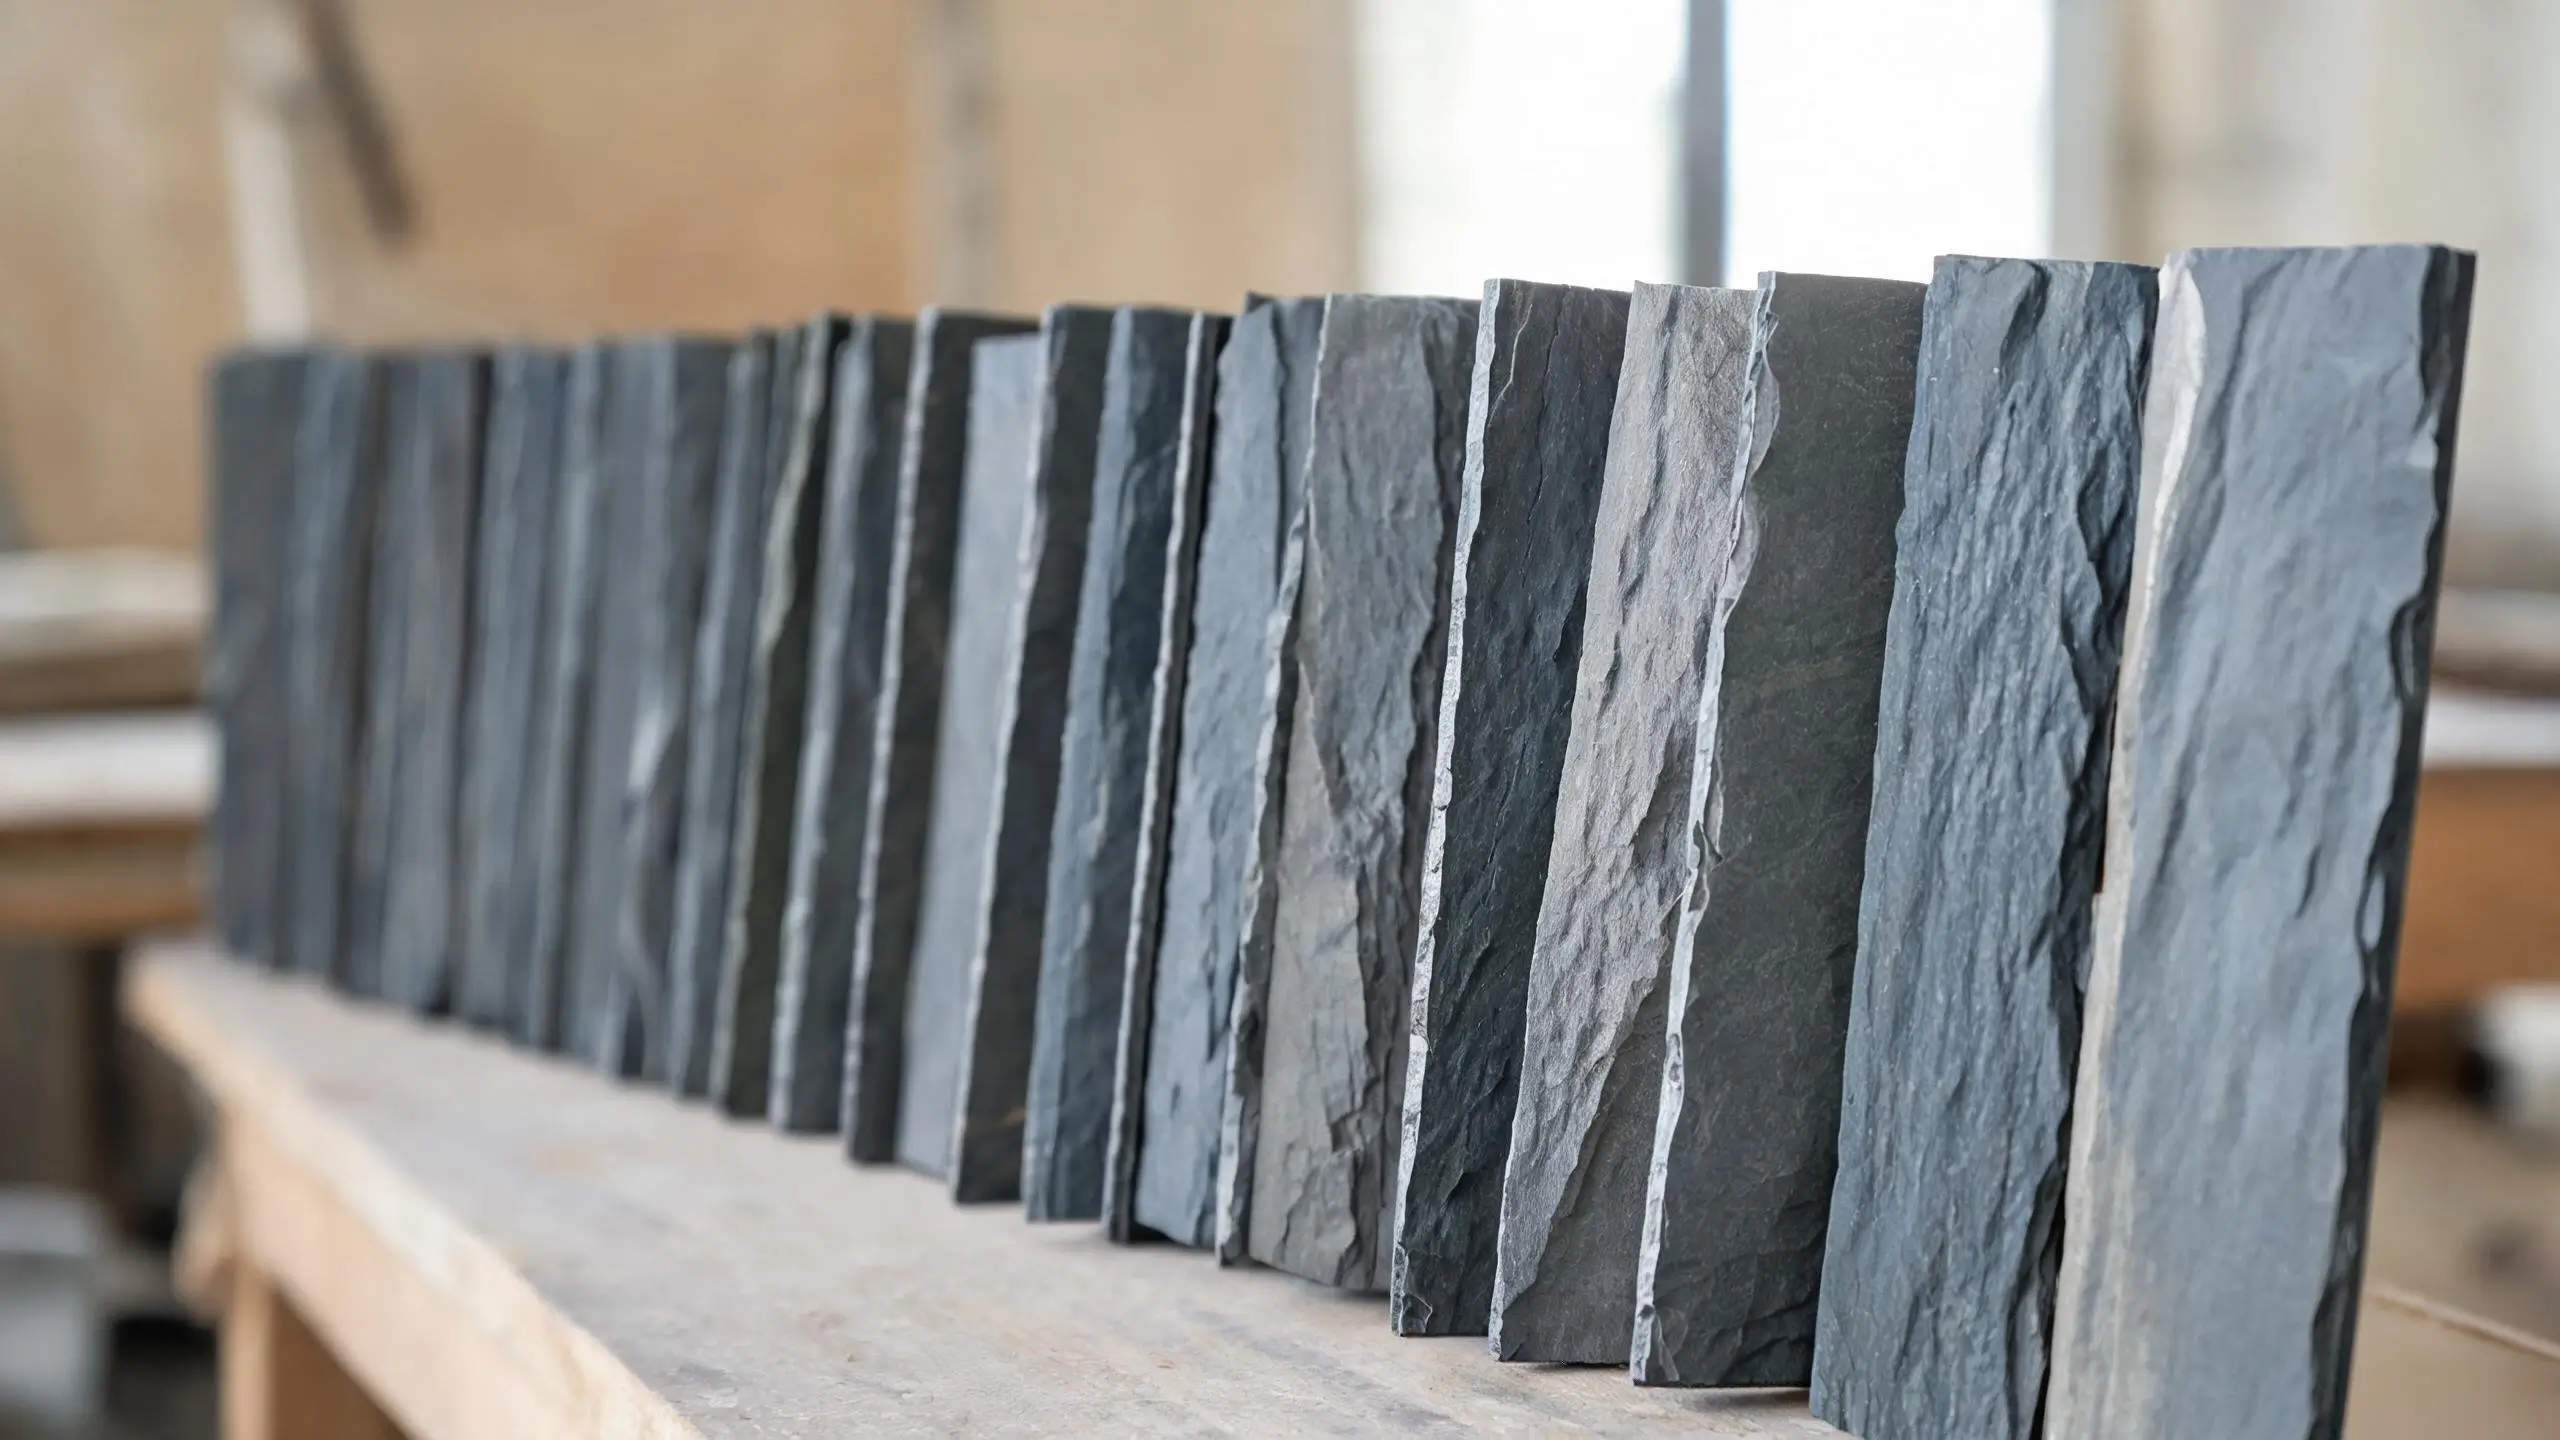
Flatness. The splitter places the tile face-down on a flat steel plate. A flat tile sits flush. A warped tile rocks — one corner lifts, or the centre bridges. A slight warp can be corrected in the finishing stage, but a tile that rocks more than 2 millimetres is downgraded. Warping usually means the cleavage plane was not perfectly planar — the grain curved within the block, and the split followed the curve.
Surface. The splitter looks at both faces. The splitting face — the one that was against the cleavage — should show natural cleft texture with no cross-fractures. If there is a step, a crack running perpendicular to the grain, or a rough patch where the split encountered a vein, the tile is flagged. The back face — the one that was against the previous layer — is usually cleaner, but should still be checked for hidden fractures.
Edges. The splitter runs a finger along all four edges. A clean edge breaks straight along the cleavage. A crumbly edge means the stone was too soft at that point, or the split ran into a vein near the boundary. Crumbly edges are trimmed in the finishing stage, but if more than 10 millimetres needs trimming, the tile loses too much width and is downgraded.
The whole check takes 10 to 15 seconds per tile. A tile that passes goes onto the stack. A tile that fails goes to the reject pile — but "reject" is a relative term. A tile that is too thick for roofing may be perfect for paving. A tile with a step break may work for cladding. Nothing leaves the workshop as waste.
When the Stone Refuses
Not every block cooperates. Even with good reading and careful technique, some blocks fight back. The grain changes mid-block. A hidden vein runs diagonally through the cleavage. A section of the stone is harder than the rest — maybe a quartz-rich band — and the split refuses to cross it.
When the split goes wrong, there are three possible outcomes, and the splitter knows them all.
The step break. The crack follows the cleavage for most of its length, then steps sideways to a different layer. The tile comes off with a terrace — a small shelf where the crack changed levels. The tile is still usable, but it is thicker at the step and thinner on the other side. It gets downgraded from fine to standard, or from standard to commercial. The step can be trimmed, but trimming costs width.
The cross-fracture. The crack crosses the grain instead of following it, creating a fracture that runs perpendicular to the cleavage. This usually means the tile is cracked in two. The pieces are too small for roofing tile, but they can be used for paving, cladding, or smaller products. The splitter learns from it: a cross-fracture usually means there was a hidden crack that the surface reading missed, or the force was too high for the grain at that point.
The stone simply does not split. The chisel bounces, the mallet rings, and nothing happens. The cleavage plane is locked — maybe by a mineral change, maybe by geological pressure that sealed the layers together. This is rare but it happens. The block is set aside and sent to the cutting station, where a diamond blade can slice it into tiles regardless of the cleavage. The tiles will have a cut surface, not a cleft surface, but they are still usable.
The 80/20 rule from the quarry still applies in the workshop. About 80 percent of the block splits cleanly into roofing tile. The remaining 20 percent — step breaks, cross-fractures, refusals — goes to other products. A block that yields 60 to 80 square metres of roofing tile will also yield 10 to 20 square metres of paving, cladding, or chips. The splitter's job is to maximise the 80 percent. The stone decides the rest.
What No Machine Can Do
The question that comes up in every factory tour is simple: why do you still split by hand when you have CNC machines?
The answer is on the surface.
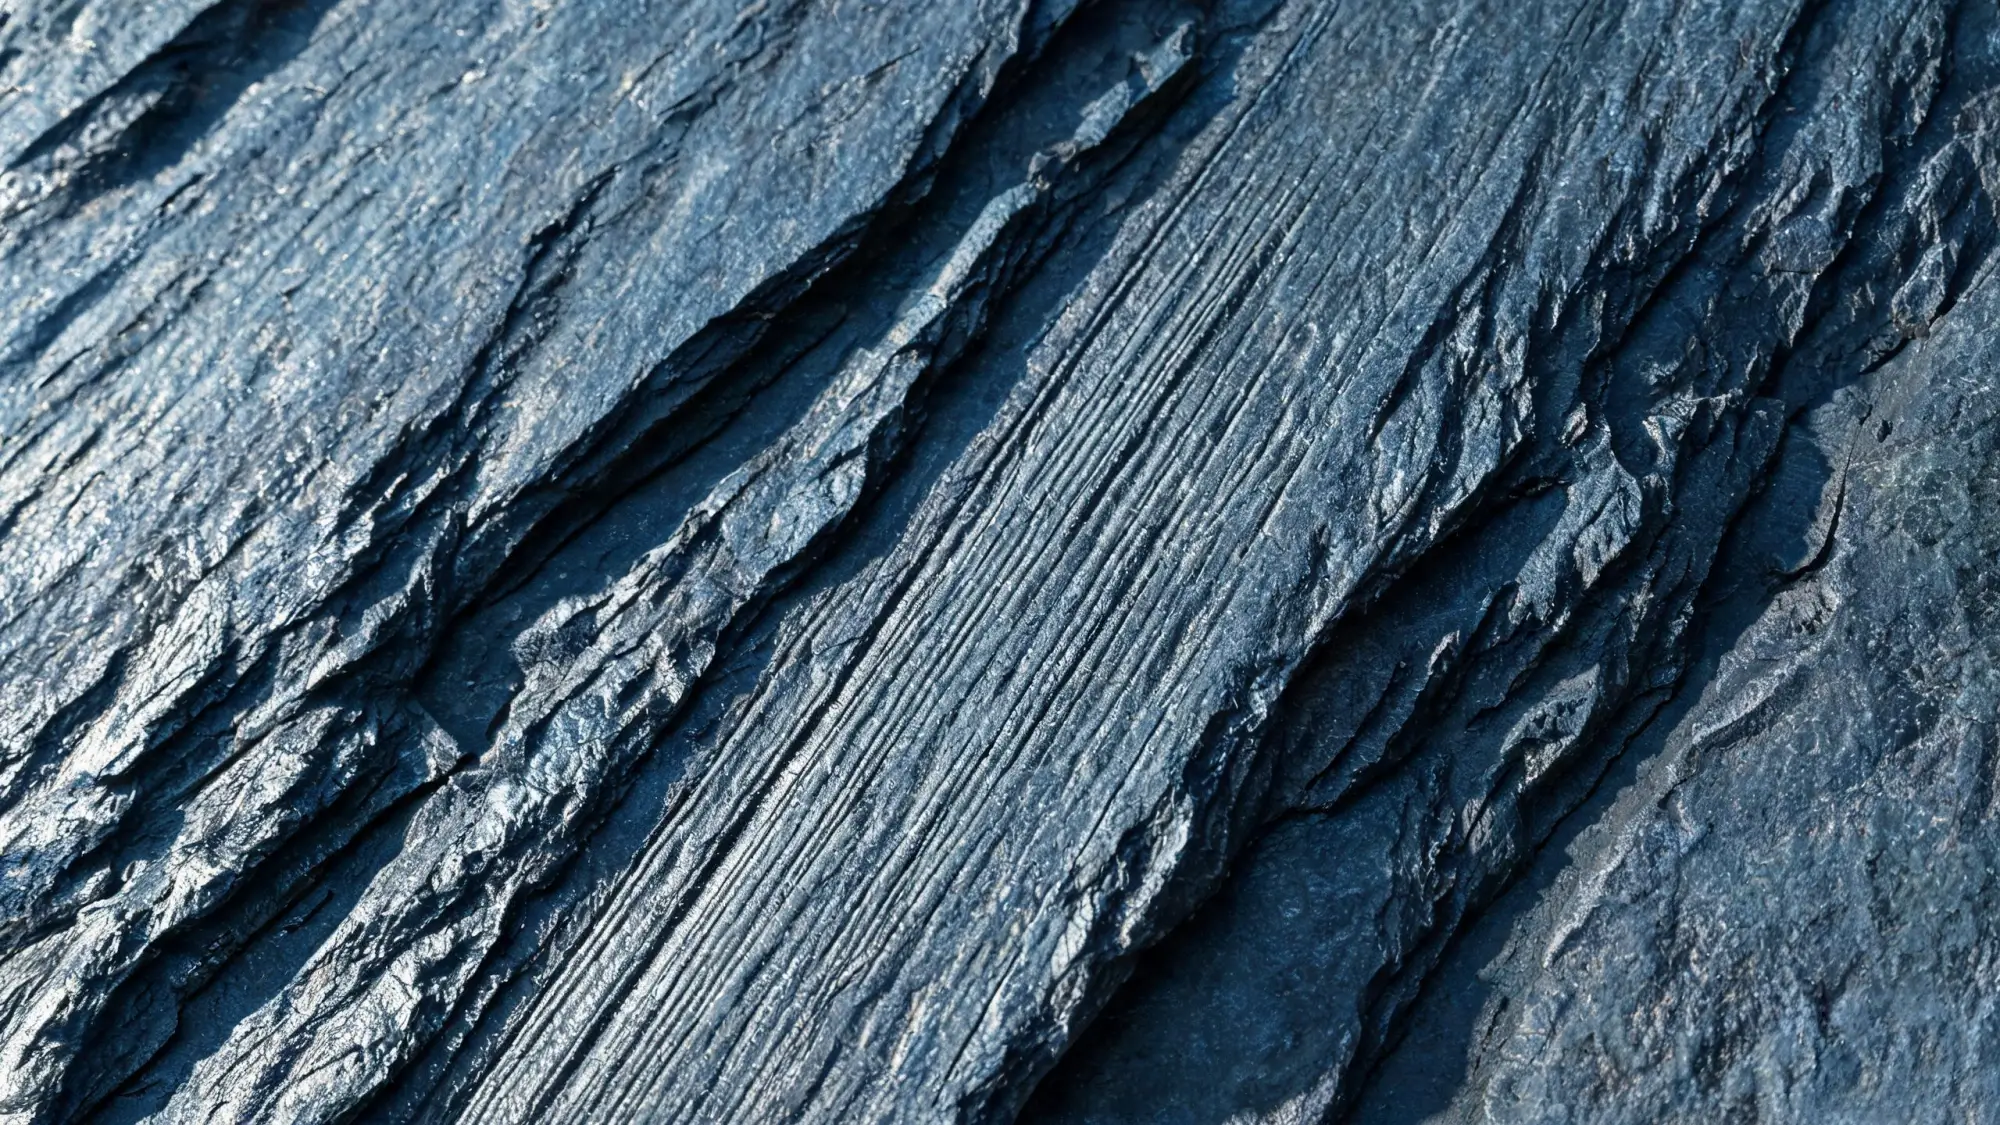
A hand-split surface is not flat. It has micro-ridges where the grain was harder, micro-valleys where it was softer, faint ripple lines where the cleavage wandered a fraction of a millimetre. That texture is the stone's own surface — the plane where it was always going to separate, revealed by a chisel and a mallet.
A machine-cut surface is flat. Perfectly flat. A diamond blade slices through the stone along a line that has nothing to do with the cleavage. The surface is smooth, uniform, and — the word every splitter uses — dead. There is no texture, no character, no grip. Water sits on it differently. Light hits it differently. It looks like a piece of stone that was machined, not a piece of stone that was split.
For billiard slate, that dead surface is exactly what you want. A billiard table needs a perfectly flat playing surface, and the CNC grinding process delivers it — flat to ±0.1 millimetre, smooth enough for a ball to roll true. But billiard slate is 30 millimetres thick or more, and it is cut, not split. The cleavage plane is irrelevant.
For roofing slate, the cleft surface is the point. It provides natural slip resistance — important for the roofer handling tiles on a wet pitch, and important for the roof's long-term weather performance, because a cleft surface sheds water differently than a flat one. Water runs off the ridges and valleys; it does not sit in a film on a smooth face. Heritage restoration projects, architects who specify natural materials, and quality-conscious roofers all ask for hand-split slate specifically because of this surface.
A machine can split slate. A hydraulic guillotine will force a blade through the block and produce a tile. But the surface of that tile is a sheared face — slightly burnished where the steel pressed through, with a texture that is uniform and mechanical. It is not the same surface. It does not weather the same way. It does not look the same under light. And it does not carry the mark of the person who made it.
Hand splitting achieves a thickness tolerance of about ±1 millimetre. CNC grinding achieves ±0.1 millimetre. The difference is a factor of ten. But the CNC process removes the cleft surface to get there — it grinds the splitting face flat, turning a living surface into a dead one. You cannot have both. You either have the precision of a machine or the surface of a hand split. For roofing, the surface wins.
FAQ: Hand Splitting Slate
Why use a wooden mallet instead of a steel hammer?
Steel transfers energy too fast — the impact arrives as a sharp shock that sends waves across the cleavage layers, and those waves can cause the split to step sideways. Wood absorbs part of the impact and delivers it as a slower, more controlled push. The stone feels a shove, not a slap. A wooden mallet also protects the chisel: a steel hammer would mushroom the chisel head over time, making it harder to control and eventually unsafe to strike.
How thin can you split slate by hand?
Standard roofing slate is 5 to 8 millimetres. Fine-grade slate can go to 4 millimetres, but below that the tile becomes too fragile to handle during installation without breaking. Commercial-grade slate runs 7 to 10 millimetres. Anything thicker than 10 millimetres is usually cut with a diamond blade rather than split, because the cleavage plane becomes less reliable at greater thicknesses and the force required to split increases sharply.
Can machines split slate as well as hand splitting?
Machines can split slate — hydraulic guillotine splitters and automated splitting lines exist and are used in larger operations. They produce a tile that is dimensionally consistent and fast to make. But the surface is different: a machine-split face is slightly burnished and uniform, without the natural cleft micro-texture that hand splitting creates. For projects where slip resistance and surface character matter — heritage work, architectural specifications, quality roofing — hand-split is still the standard. For projects where uniformity and speed are the priority, machine splitting works.
How long does it take to split one block?
An experienced splitter working a good block produces 8 to 12 square metres of finished tile per hour. A single block yields 60 to 80 square metres, so a full block takes most of a workday. The first hour — reading the grain, setting the first line, and establishing the split direction — is the slowest part. Once the split is running cleanly, the pace picks up. Difficult blocks with irregular grain or visible veining can take twice as long.
What happens when a split goes wrong?
If the crack deviates — crossing layers or stepping sideways — the tile is downgraded rather than discarded. A step break produces a tile with a terrace where the crack changed levels; it is still usable for lower-grade roofing or for paving. A cross-fracture breaks the tile in two; the pieces go to cladding, chips, or aggregate. Nothing is wasted. A bad split costs time, and the splitter learns from it — every misread tells you something about what to look for next time.
Is hand-split slate better than machine-cut slate?
It depends on what you need. Hand-split slate has a natural cleft surface with micro-texture that provides slip resistance and visual character — the surface the stone created along its own cleavage plane. Machine-cut slate has a flat, uniform surface that is easier to lay but has no natural grip. For roofing, where slip resistance matters for installer safety and where the cleft surface is part of the aesthetic, hand-split is the standard. For billiard panels and precision applications, where flatness is everything, cutting and grinding are the right methods.
Related Reading
Want to see hand splitting in person?
The sound of a wooden mallet on a chisel, the slow rip of a crack following the grain, the feel of a freshly split tile — these do not translate to video. Visit our workshop in Lushan City and watch a block become roofing tiles, one strike at a time.