
How to Check Billiard Slate Flatness When Your Container Arrives
A slate panel can look perfectly flat and still fail a measurement. Incoming inspection is the moment that turns "looks flat" into a documented number — before the slate goes under cloth, before it reaches a customer, and before a tolerance dispute becomes a claim.
The practical baseline: a precision straightedge, a set of feeler gauges, a stable support surface, and a predefined pass/fail limit agreed before the container left the factory.
The Factory Report vs. The Container
The seal is cut. The container doors swing open. After six weeks on the water, your billiard slate is sitting in your warehouse — and the first thing you reach for is the factory quality-control report.
That report tells you what was measured before shipment. It does not tell you what arrived.
This distinction is the entire reason incoming inspection exists. Slate is a dense, rigid natural stone, but it is not immune to what happens between the factory floor and your warehouse. Container handling, forklift vibration, stacking pressure, temperature swings from hold to dock to yard — none of these are gentle on a panel that was machined to fractions of a millimetre. A good incoming inspection does not mean the supplier made a mistake. It means you now have a documented check of the material's condition at the moment it reached your facility — not the moment it left someone else's.
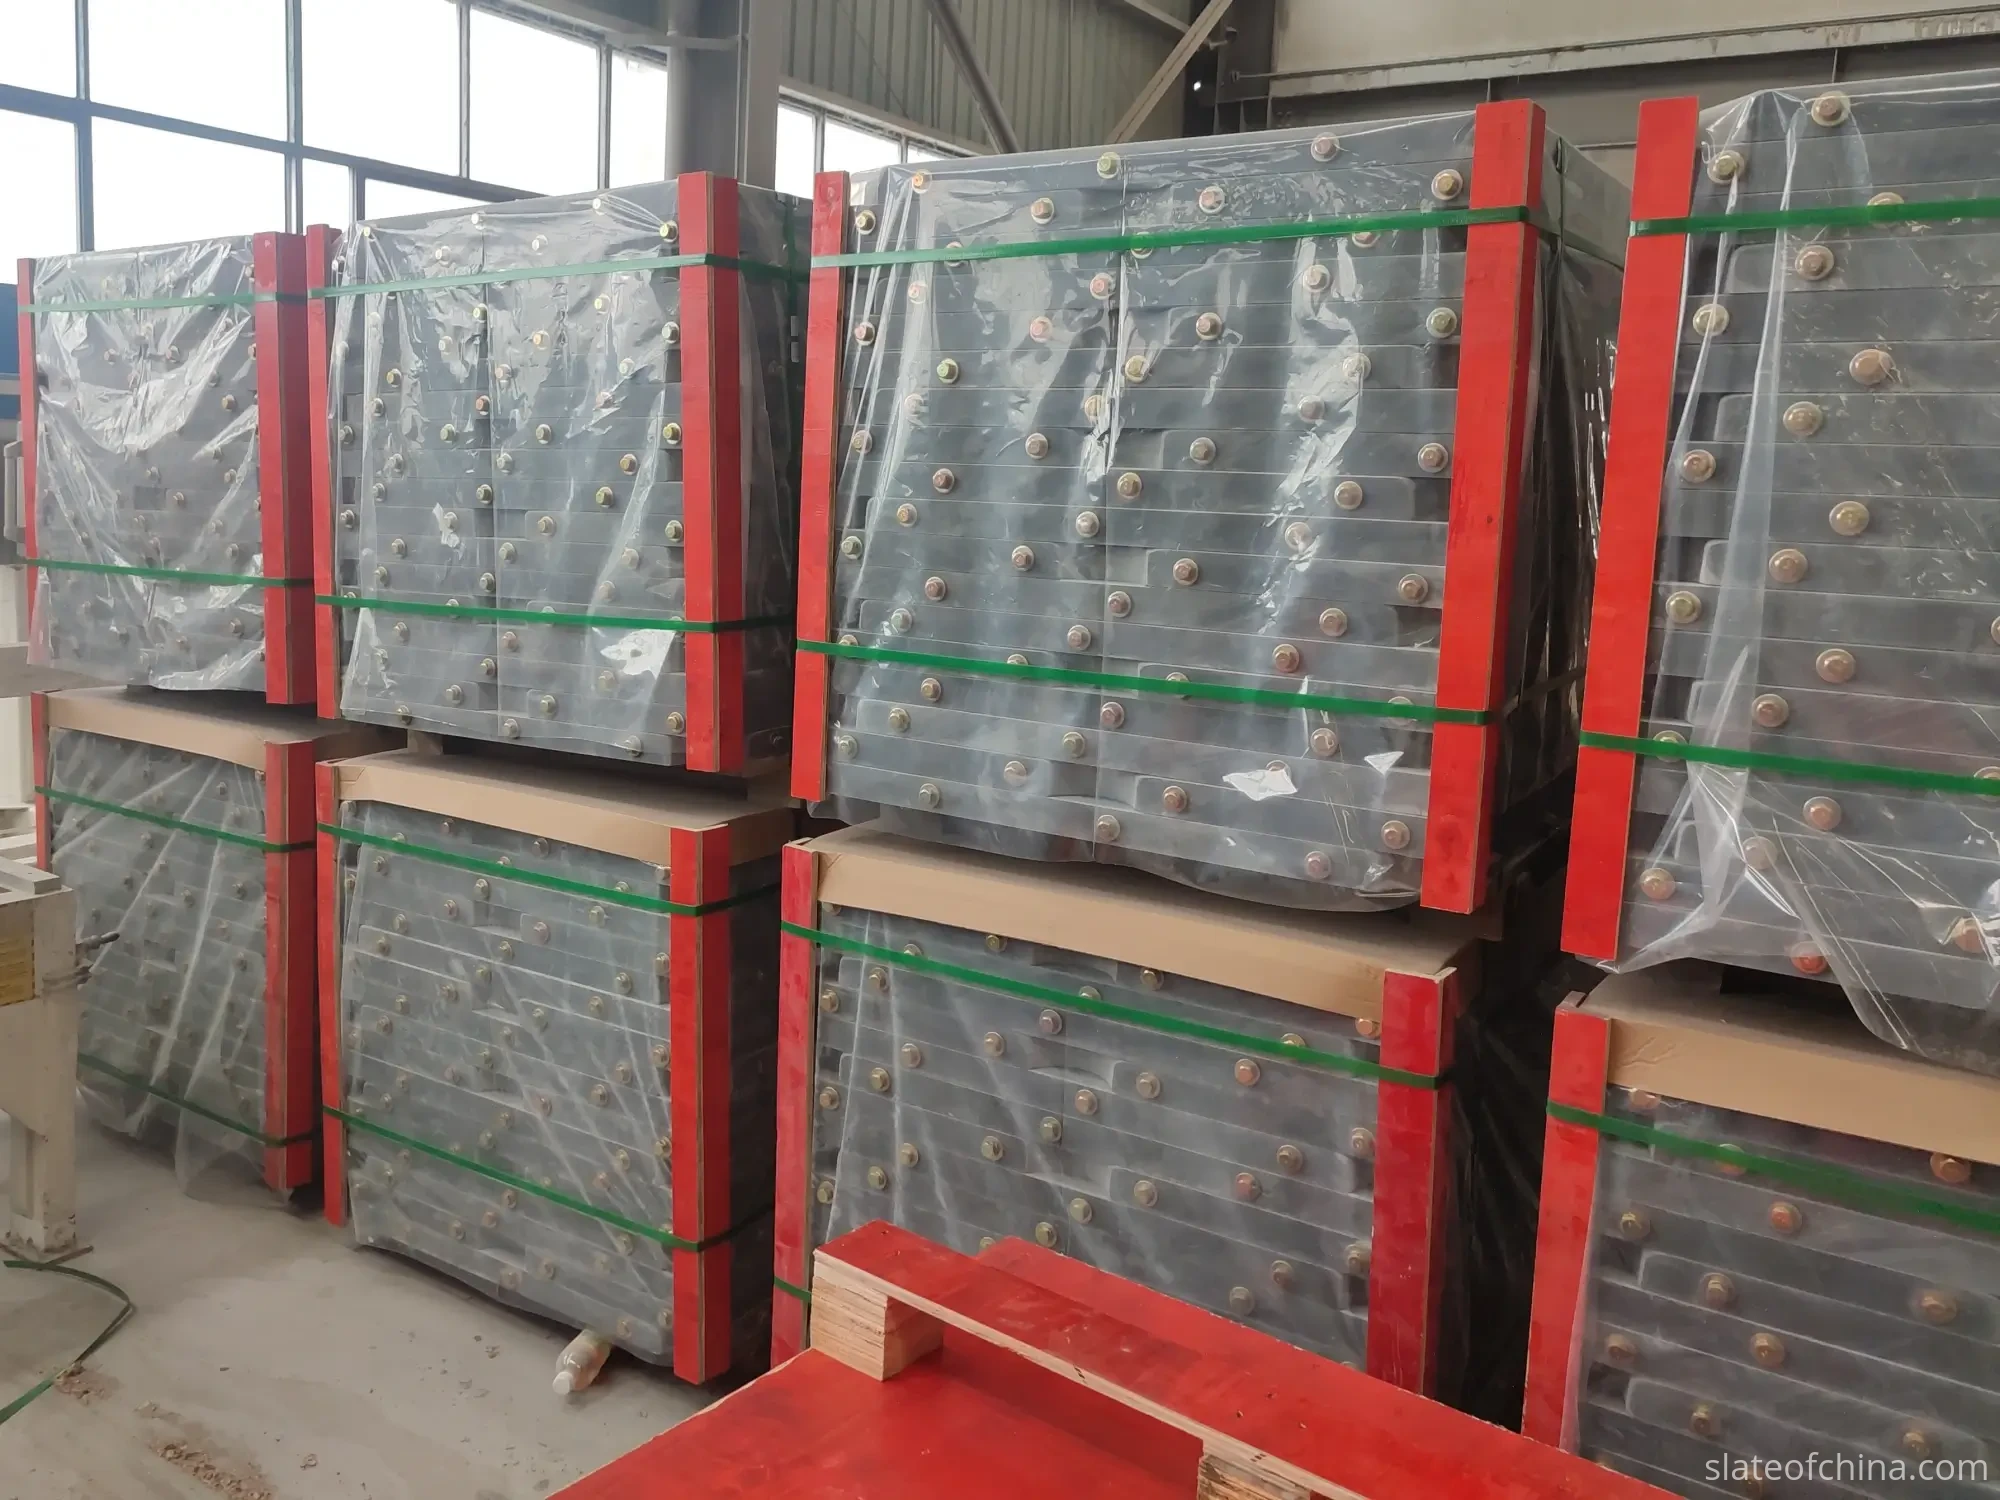
For a table manufacturer, the cost of skipping this step is not theoretical. If a slate panel is installed first and its flatness is questioned afterward, you are looking at removing the cloth, separating the slate sections, checking the frame, troubleshooting the leveling system — and that is before you know whether the problem is the slate, the frame, the cloth, or the installation. Checking flatness before installation takes thirty minutes. Troubleshooting after installation takes days.
If you are new to the billiard slate side of quality control, our buyer's QC guide covers the broader framework — what to check before ordering and before the container leaves the factory. This page is about what happens next: the hands-on measurement you do when the slate is sitting in front of you.
What "Flat" Actually Means on a Slate Panel
"Flat" is not one condition. For billiard slate, it is at least five — and knowing which one you are measuring changes how you interpret the result.
Overall flatness describes how much the surface deviates from a theoretical reference plane across the full panel. If you lay a straightedge across the playing surface, the largest gap between the straightedge and the slate represents part of this deviation.
Local flatness refers to smaller deviations within a particular area. A panel can have acceptable overall geometry but still contain a localised high spot or depression — a bump that is too small to bow the whole panel but large enough to affect a slow-rolling ball.
Bow is a gradual curve from one end to the other. The panel may look like it has a slight arch when viewed from the edge. This is one of the easier conditions to detect with a straightedge laid lengthwise.
Twist is harder to catch. It occurs when different corners of the panel sit on different planes — the panel is not warped in one direction but twisted across its surface. A single straightedge pass will not always reveal twist; you need measurements at multiple points to spot it.
Edge straightness matters because the edges determine how multi-piece sets fit together. A panel can have a flat playing surface but a bowed edge that creates a joint gap when placed next to another panel.
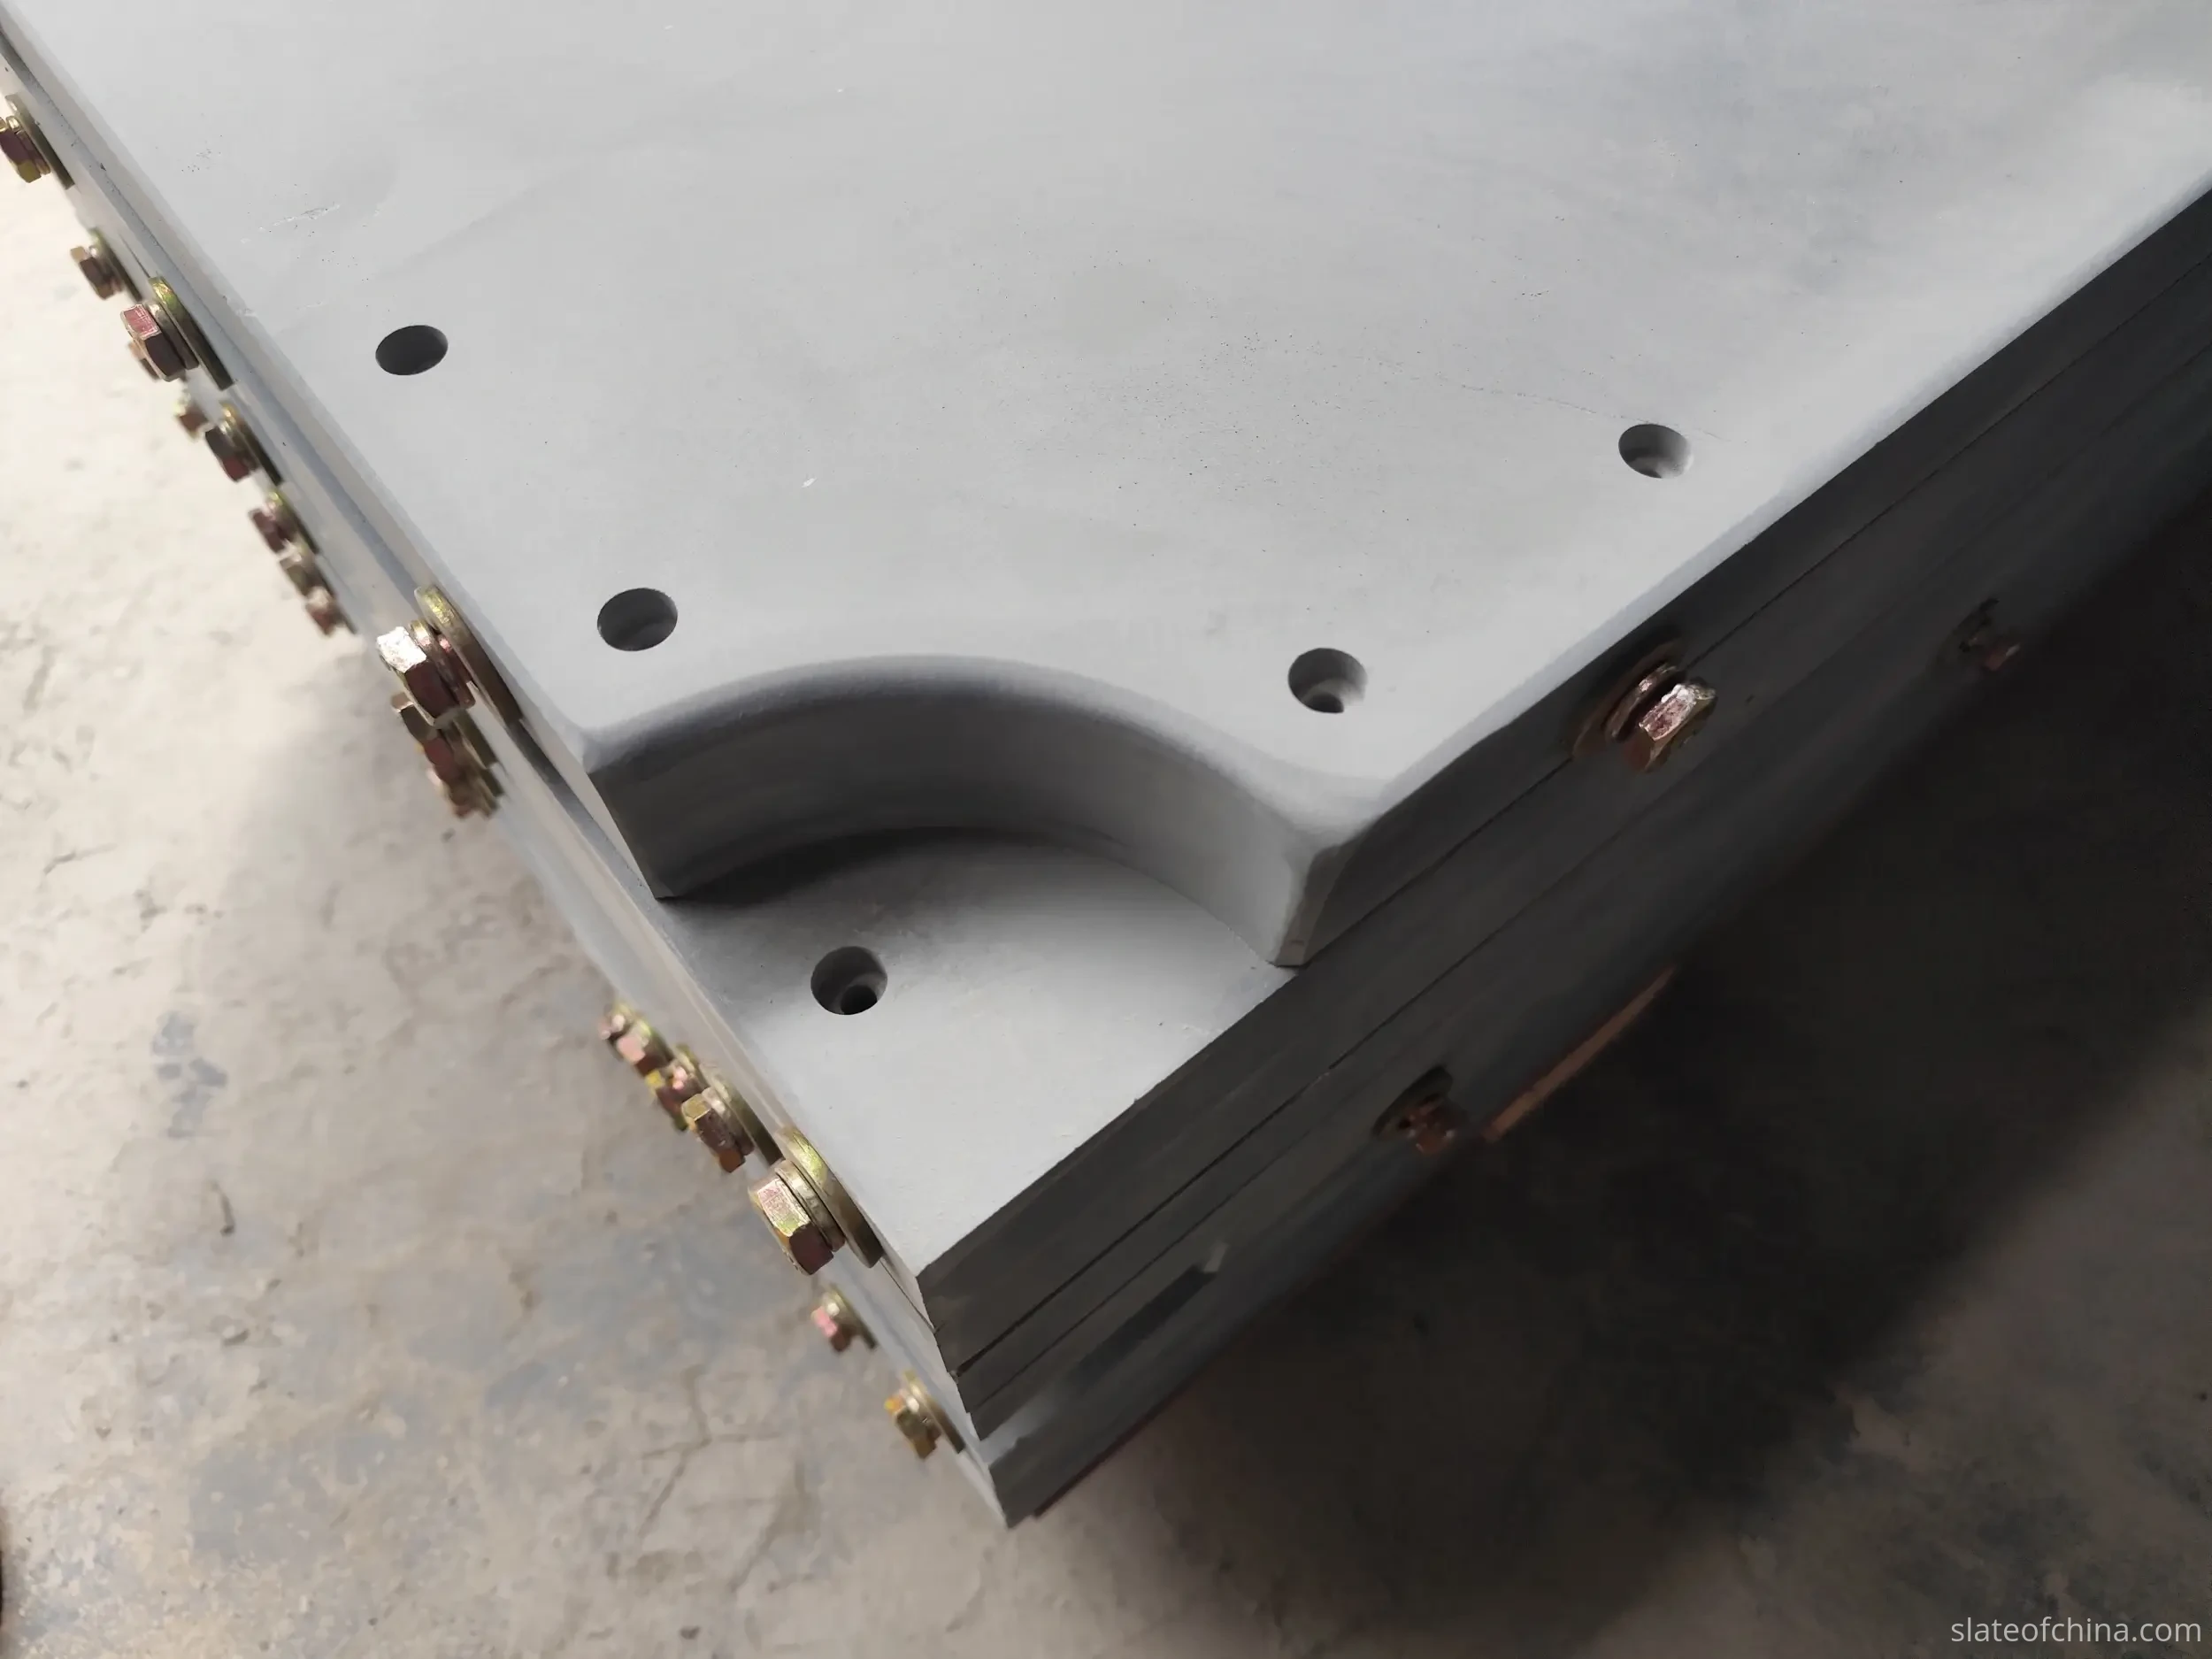
If you want to understand why each of these conditions affects ball roll — and what magnitude starts to matter on the table — our flatness and ball roll guide breaks down the physics. For incoming inspection, the point is simpler: you are not measuring one thing called "flatness." You are checking five related but distinct conditions, and a pass on one does not guarantee a pass on the others.
The Toolkit You Actually Need
You do not need a laboratory. A practical incoming inspection station for billiard slate can be set up with tools that fit on a workbench. Here is what each one does — and what to look for when you use it.
| Tool | What it checks | Practical note |
|---|---|---|
| Precision straightedge | Detects gaps and surface deviation | Long enough to span the panel's short dimension at minimum; longer is better |
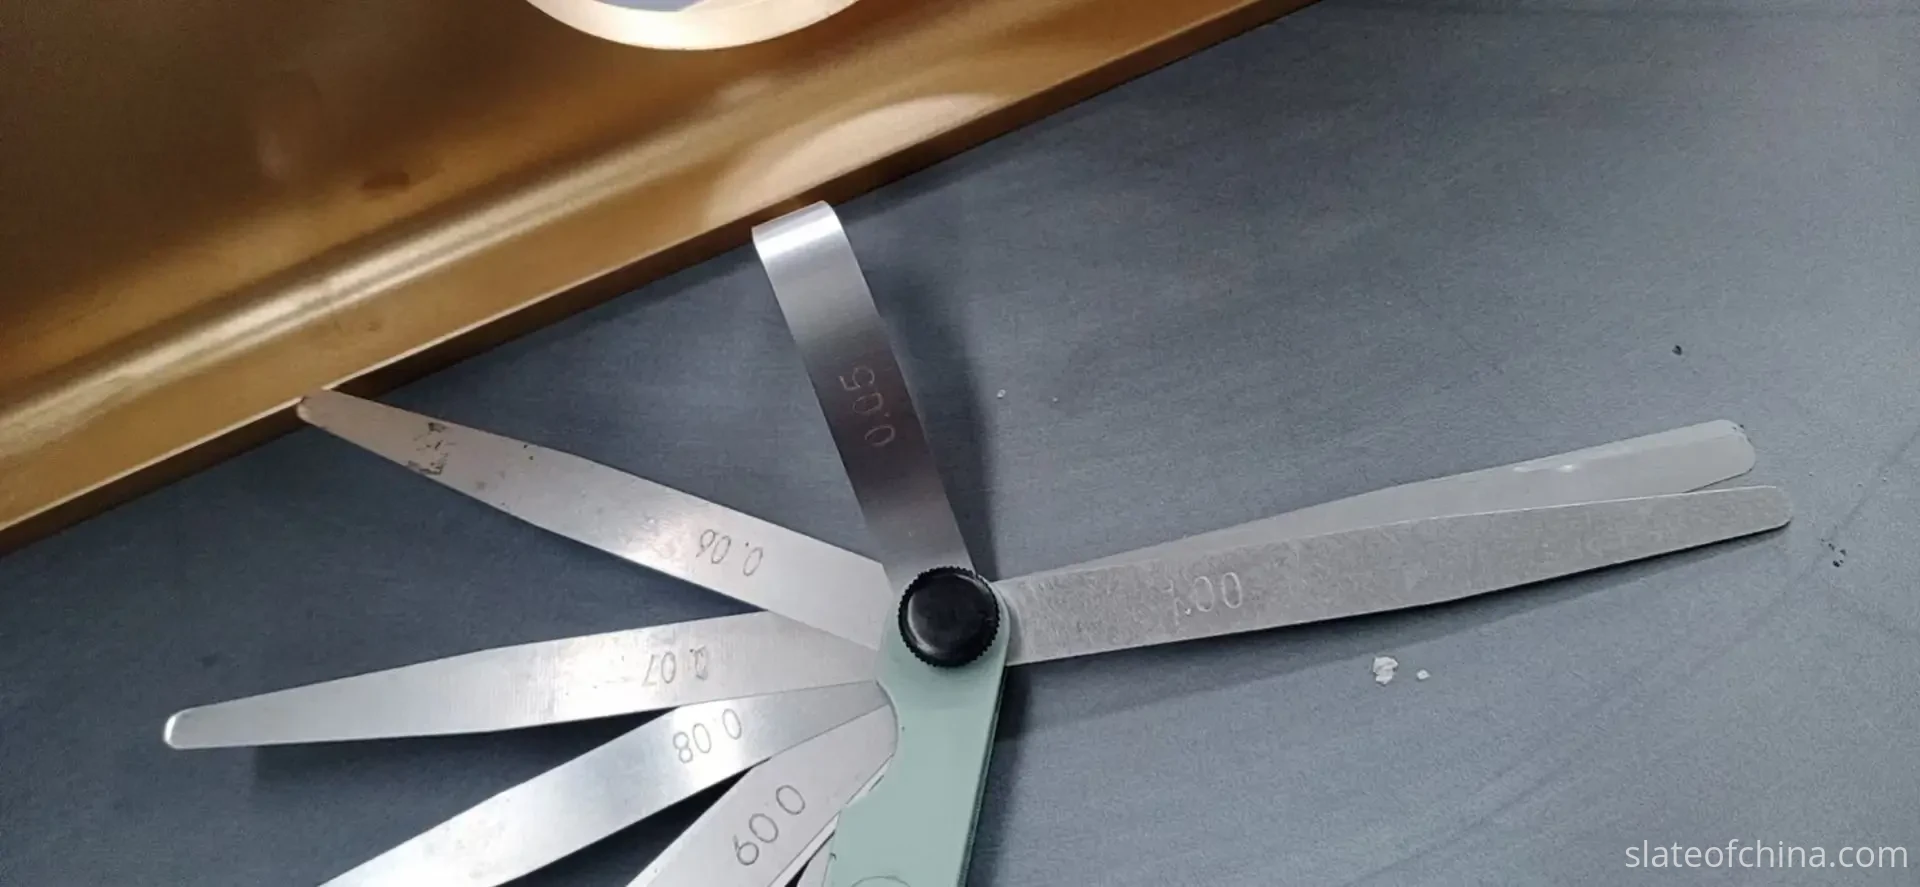
| Feeler gauges | Measures the gap under the straightedge | Blades from 0.05 mm to 1.00 mm cover the range you need |
| Digital caliper | Thickness and dimensional consistency | Check thickness at multiple points, not just the centre |
| Steel tape | Overall length and width | Confirm the panel matches the drawing, not just the label |
| Precision level | Support surface and reference conditions | Check the support, not the slate — if the bench is off, every reading is off |
| Inspection sheet | Records measurements and acceptance results | Paper or digital, but every panel gets a row |
For large billiard slate panels — 9 ft pool sets, 12 ft snooker sets — the straightedge-and-feeler-gauge combination is the practical baseline for receiving inspection. It is fast, repeatable, and does not require power or calibration. For higher-volume programmes or tighter specifications, a dial indicator on a bridge can provide more detailed data across a grid. But the straightedge method is where every incoming inspection should start.
The straightedge itself must be straight and suitable for precision inspection. A general construction ruler is not an adequate reference for a precision billiard slate inspection — neither is an aluminium level, a wooden straightedge, or a tape measure held taut. The reference tool determines the accuracy of every reading that follows.
Not every tool on a workbench is suitable for flatness inspection. Some measure dimensions, some measure level, and only a few measure flatness:
| Tool | Suitable for flatness inspection? |
|---|---|
| Precision straightedge (steel or granite) | Yes — this is the reference tool |
| Feeler gauges | Yes — measures the gap under the straightedge |
| Dial indicator on a bridge | Yes — for tighter specs or grid measurement |
| General steel ruler | Rough checking only — not a precision reference |
| Tape measure | No — dimensions only, not flatness |
| Spirit level | No — measures level, not flatness (see below) |
Before the Straightedge: Three Things That Skew Every Reading
Before you put a straightedge on the slate, three things can make every measurement you take meaningless. None of them involve the slate itself — and all of them are under your control.
1. The support surface. A large slate panel should not be placed on an uneven floor and then measured. If the support underneath is not flat, the slate will conform to it — and you will measure the support's defects, not the slate's. I have seen slate placed on a concrete floor and measured with a straightedge: the floor's slope showed up as "flatness deviation" on the inspection report. The slate was fine. The floor wasn't. Use rigid, stable supports at consistent contact points. The panel should not rock. If it rocks, the support is the problem, not the panel.
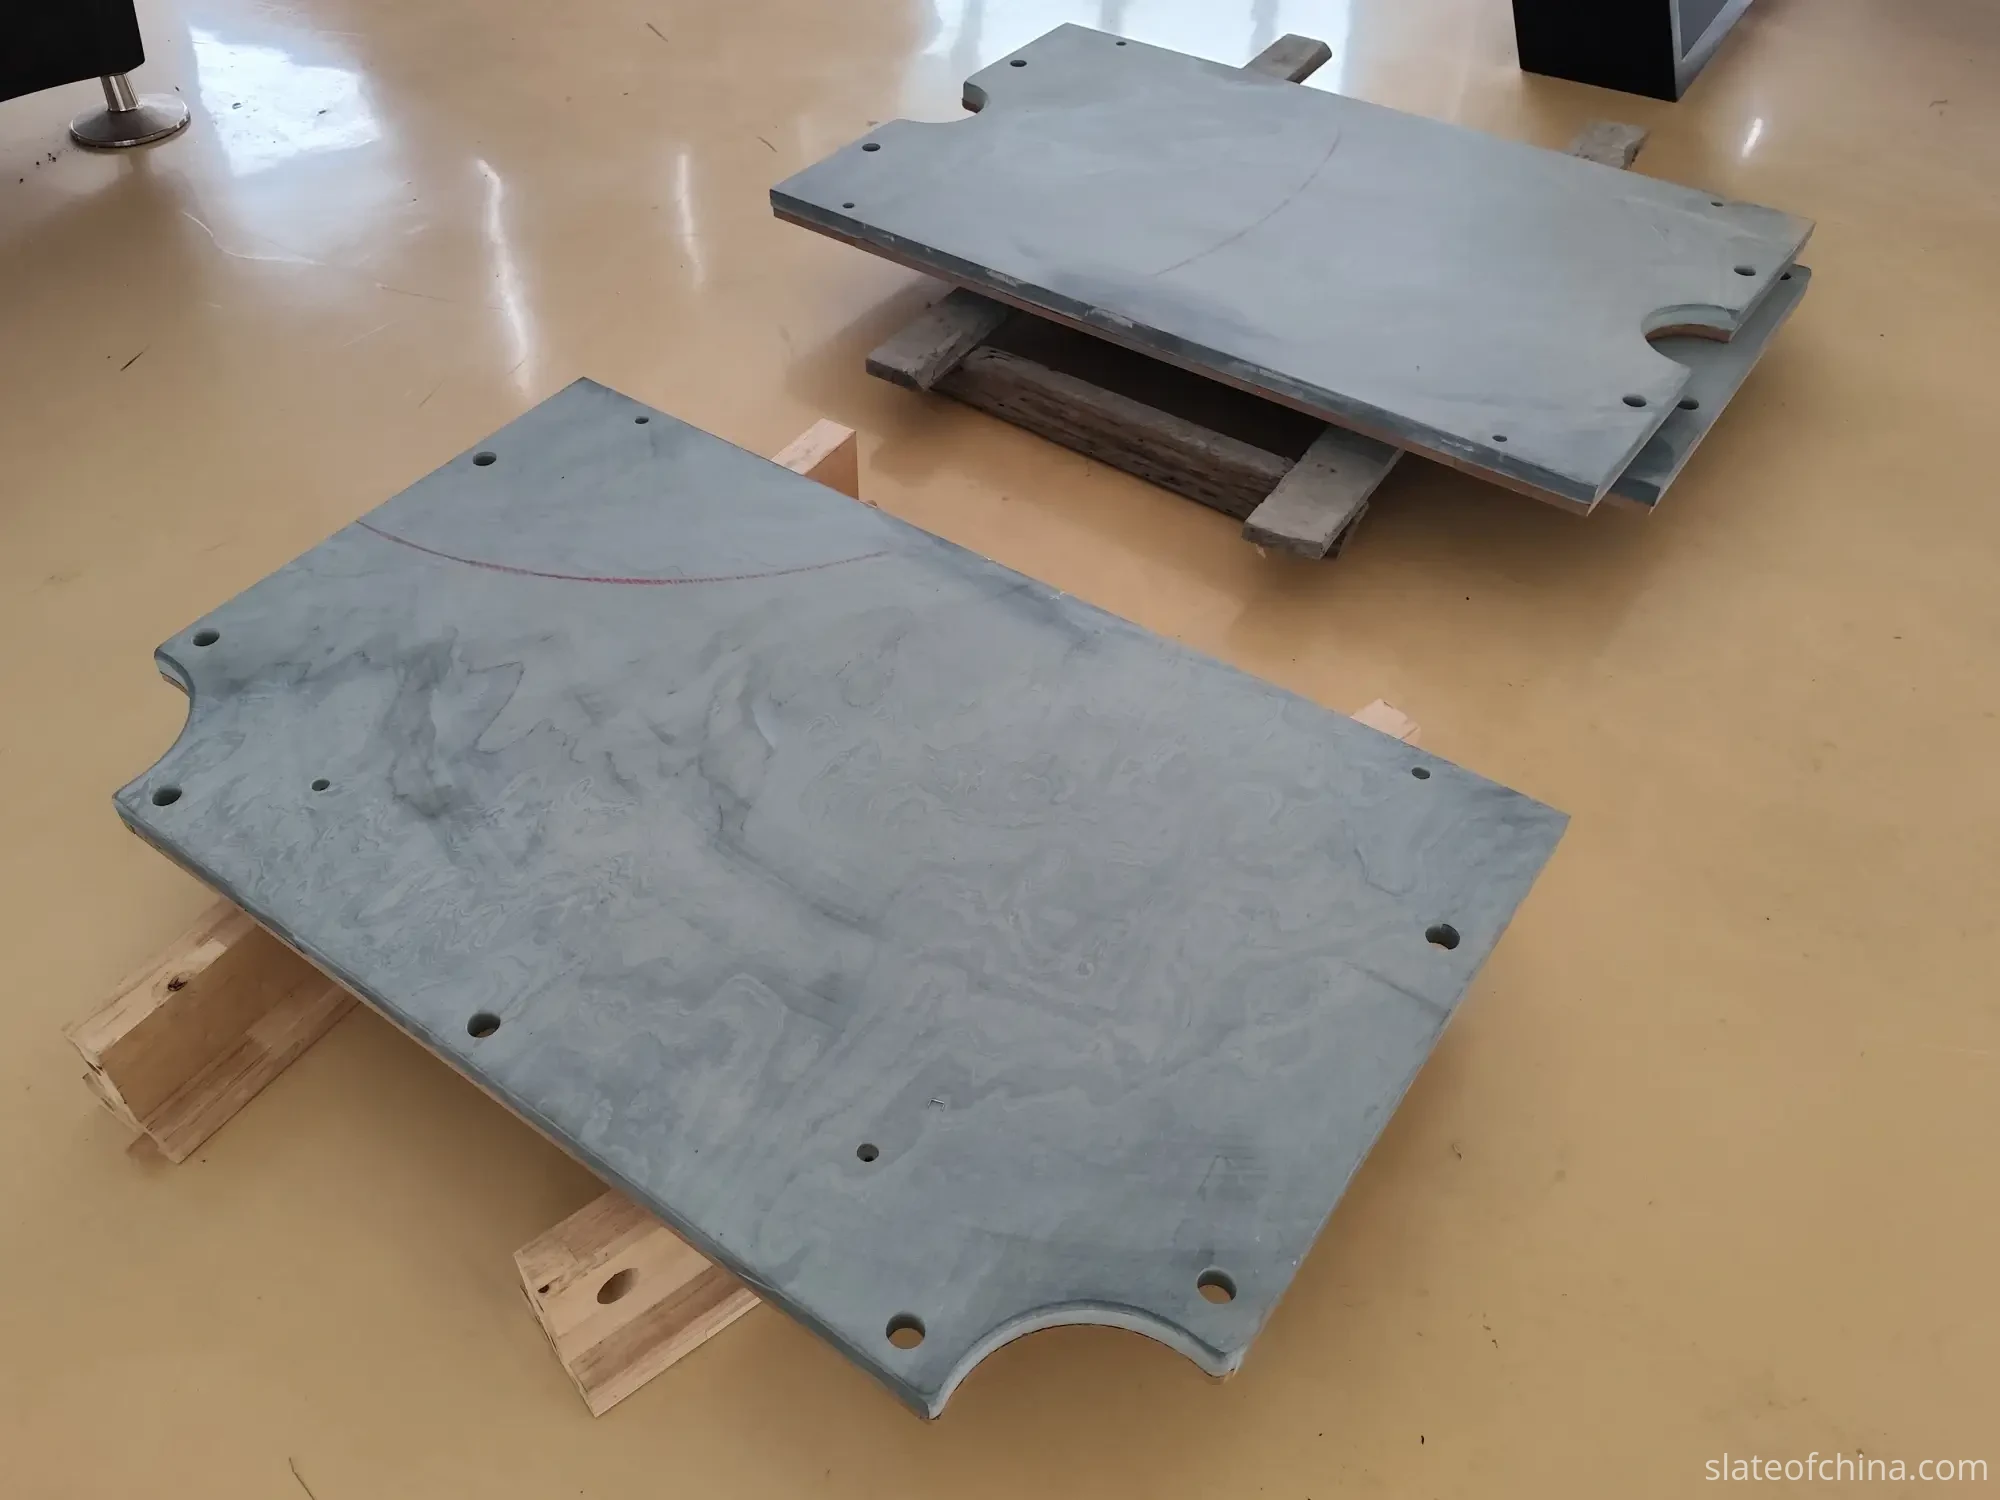
2. Temperature acclimation. Slate that spent two weeks in a container at 4°C and then gets measured in a warehouse at 22°C will not give you stable readings immediately. Thermal expansion in slate is minimal compared to metal, but a panel that is still warming up from one end will have a temperature gradient across its surface — and that gradient can introduce a measurable bow that disappears once the panel equalises. Allow the slate to reach a reasonably stable temperature before taking the final measurement, especially when there is a large temperature difference between the container and the inspection area.
3. The urge to press down. Do not push a high corner down to make the panel look flat. You are not fixing the slate — you are hiding the measurement. The purpose of incoming inspection is to measure the slate in a repeatable condition, not to correct it while measuring it. If a panel rocks on its support, add a shim under the support — not under the slate. And if a corner is high, record it. The straightedge will tell you the truth if you let it rest naturally.
One more thing before you measure: photograph first. Document the container before unloading, the pallets or crates, any damaged packaging, the slate panels after unpacking, identification marks, and any visible damage. This creates a record if a transport claim or supplier dispute later becomes necessary. Photograph first. Measure second.
The Straightedge-and-Feeler-Gauge Walkthrough
This is the core of the inspection. Four steps, repeated on every panel.
Step 1: Place the straightedge on the slate. Use a straightedge long enough to span the area you are checking. Place it across the playing surface in several directions — not just one line. A useful pattern includes the lengthwise centreline, the widthwise centreline, both diagonals, several lines parallel to the long edge, several lines parallel to the short edge, areas near the joints, and areas near the corners. The objective is to identify both large-scale bowing and localised deviations.
Step 2: Look for light or gaps. With the straightedge resting naturally on the slate — do not press it down — look for gaps between the straightedge and the surface. A gap means the slate is lower than the reference line at that location. If the straightedge rocks, that can indicate a high spot underneath. Both conditions need to be measured, not just noted.
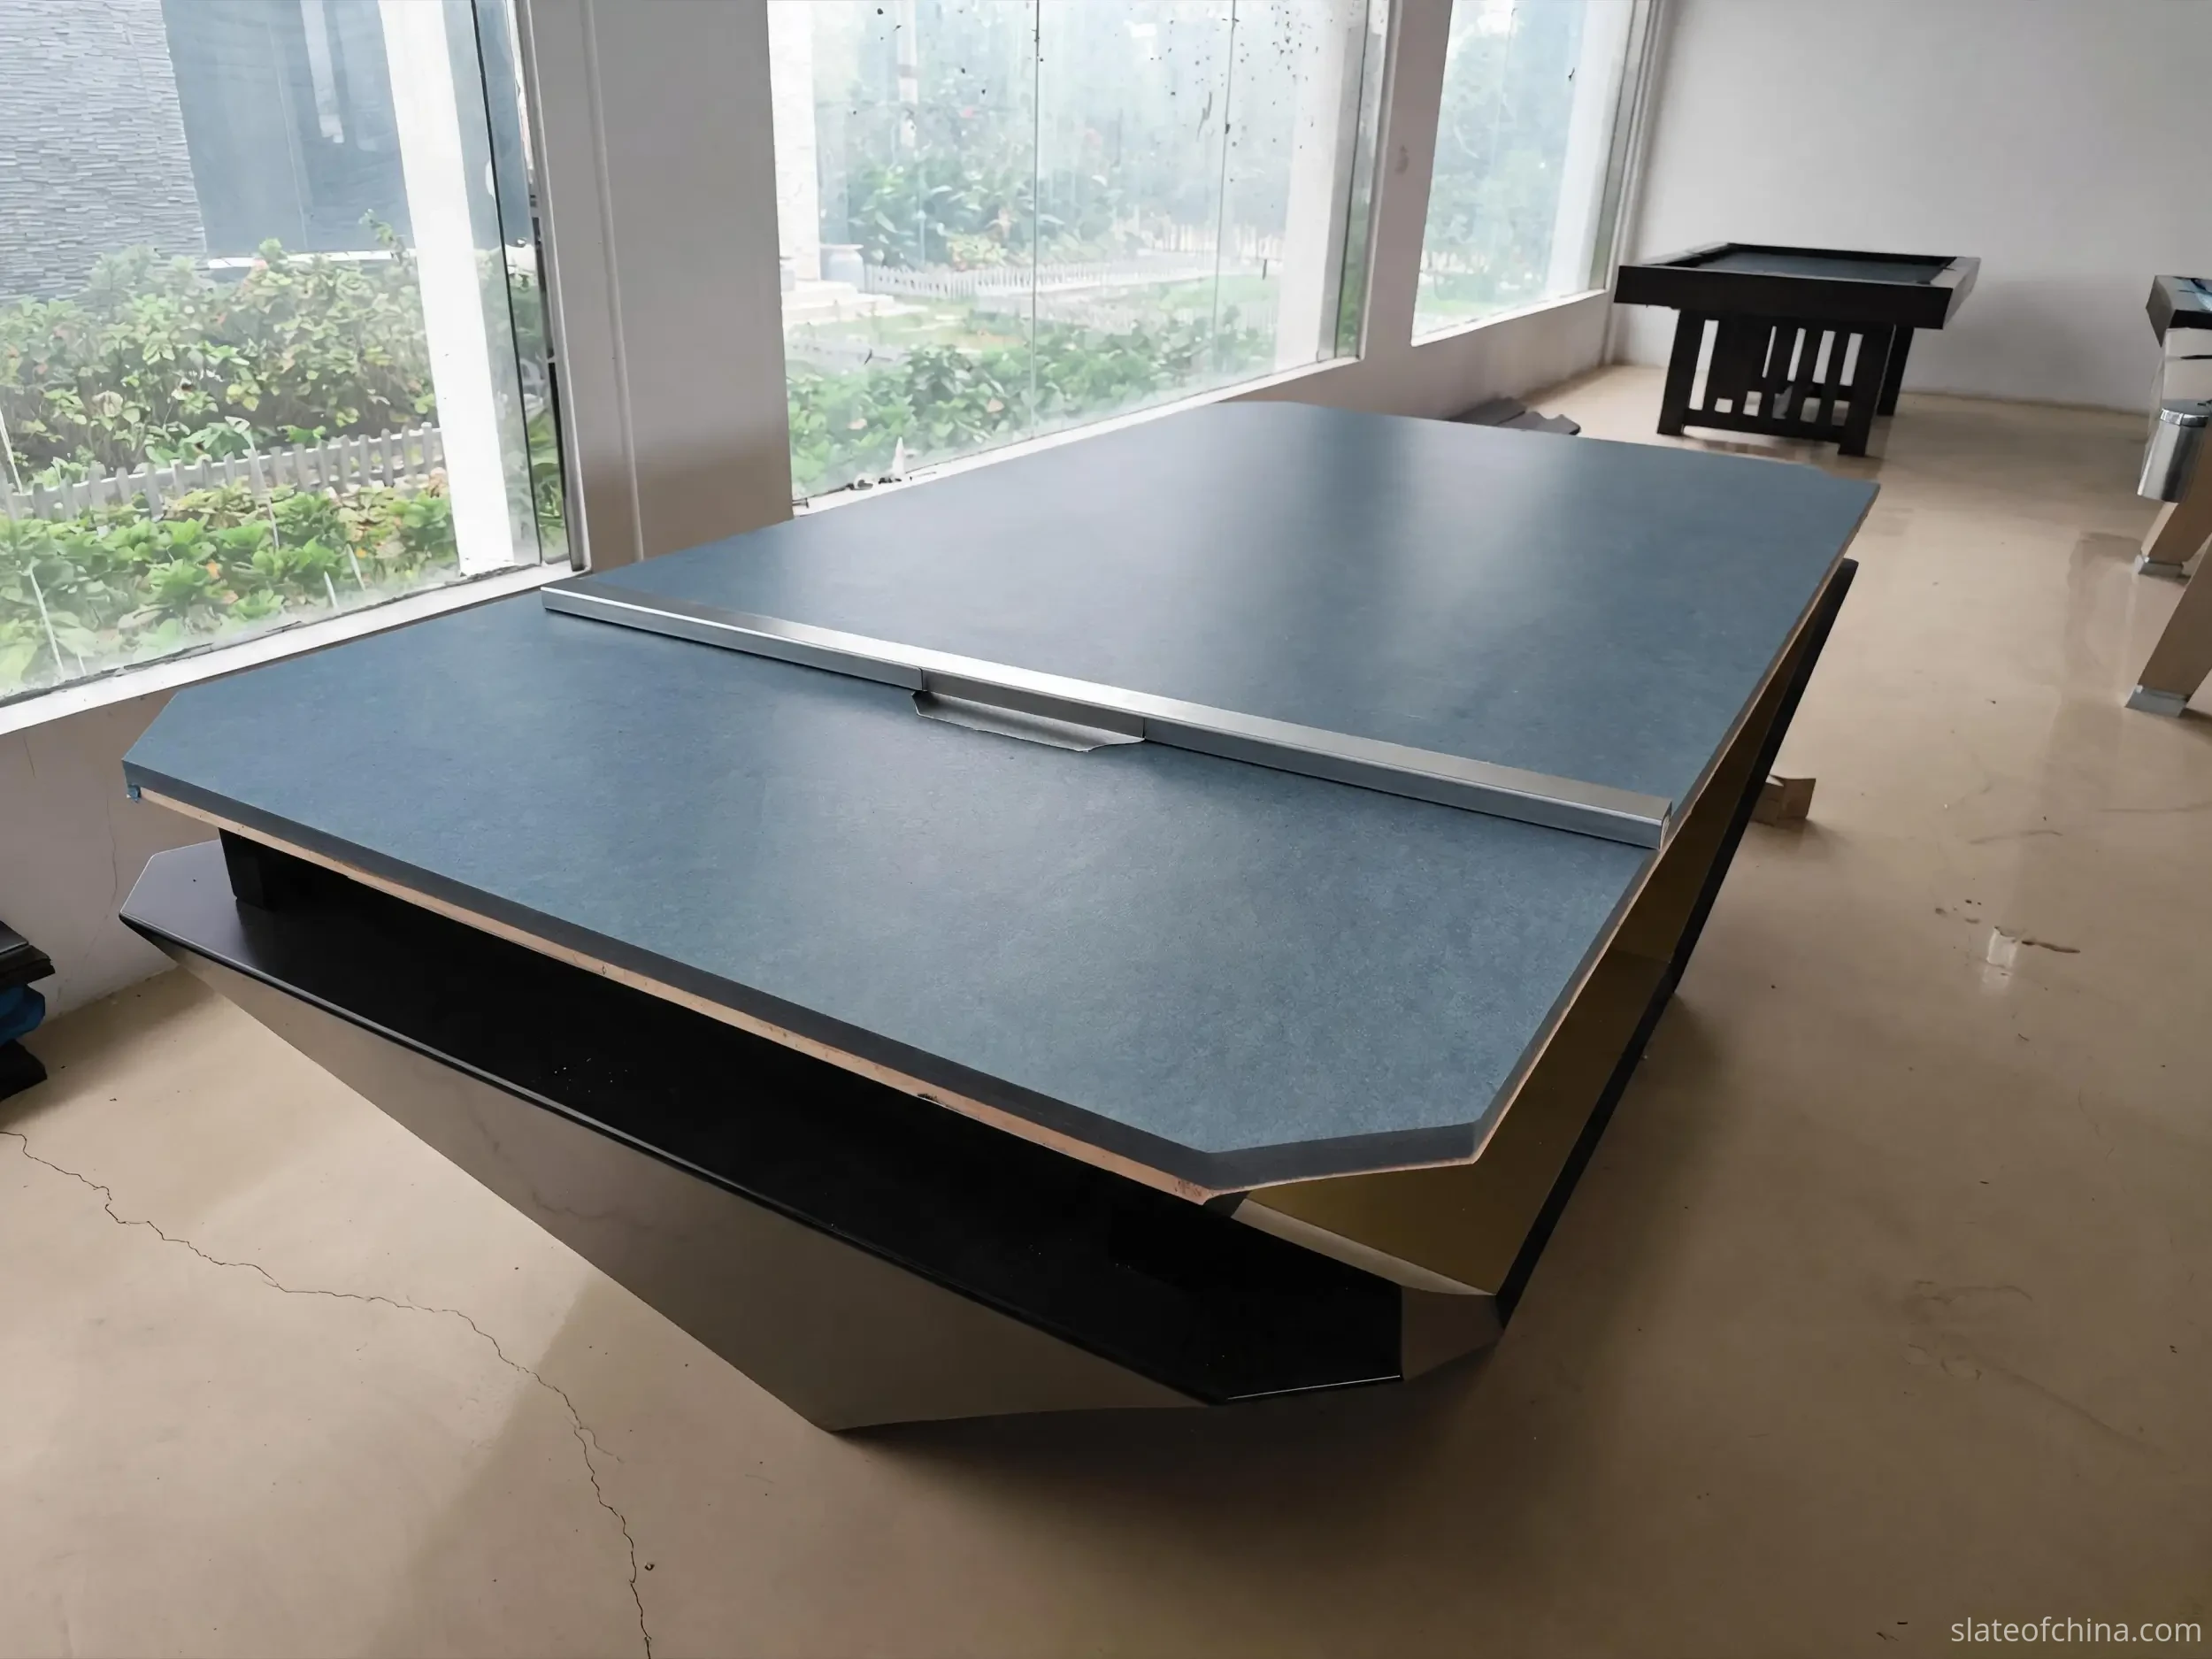
Step 3: Measure the largest gap. Insert feeler gauges into the gap. Start with a thin blade — 0.10 mm — and work up. The largest gauge that fits into the gap with slight friction gives you the approximate deviation at that location. Record the position and the value. For example: "Lengthwise centreline, 1,500 mm from the left end: 0.35 mm gap." This is far more useful than writing "slate is flat" — and far more useful than writing "slate is not flat" without a number.
Step 4: Record the position. A measurement without a location is half a measurement. "0.30 mm" tells you there is a deviation. "0.30 mm at the front-right corner, 200 mm from the edge" tells you where to look if the panel needs rework, and whether the deviation is in a critical playing area or near a non-critical edge.
Repeat these four steps across the full inspection pattern. A single pass down the centre is not an inspection — it is a spot check.
The Grid: Why One Spot Is Never Enough
The most common incoming inspection mistake is measuring the centre of the slate and assuming the whole panel is flat. Large slate panels can have different conditions in different areas — the centre may be perfect while a corner is twisted, or the lengthwise centreline may be flat while the edges are bowed.
Consider this example from a 9 ft three-piece panel:
| Location | Measured deviation |
|---|---|
| Centre | 0.20 mm |
| Left edge | 0.15 mm |
| Right edge | 0.55 mm |
| Front corner | 0.20 mm |
| Rear corner | 0.70 mm |
The centre measurement alone would pass most tolerance specs. The rear corner would not. If you only checked the centre, you would accept a panel that has a real problem at one corner — and that problem will show up on the table, not in your report.
For commercial incoming inspection, use a measurement grid. Divide the slate into zones — a 3 × 5 grid for standard panels, or a 5 × 7 grid for larger or higher-spec orders. Record the maximum deviation in each zone. The exact number of measurement points depends on the slate size, the specification, and the inspection plan. The important principle is repeatability: if you inspect 100 panels, the same inspection method should be used on all 100.
A simplified inspection record for a single panel might look like this:
| Point | Position | Deviation |
|---|---|---|
| P1 | Front-left | 0.20 mm |
| P2 | Front-centre | 0.15 mm |
| P3 | Front-right | 0.25 mm |
| P4 | Mid-left | 0.20 mm |
| P5 | Centre | 0.18 mm |
| P6 | Mid-right | 0.30 mm |
| P7 | Rear-left | 0.25 mm |
| P8 | Rear-centre | 0.20 mm |
| P9 | Rear-right | 0.35 mm |
This takes longer than a single spot check — but it is the difference between an inspection report that holds up in a supplier discussion and one that does not.
Multi-Piece Slate: The Joints Are Part of Flatness
For a three-piece, four-piece, or five-piece billiard slate set, individual panel flatness is only part of the inspection. The relationship between the panels matters just as much.
Check the edge straightness of each mating edge. Check the joint alignment — do the panels sit flush when placed together? Check the thickness matching — are adjacent panels the same thickness at the joint? Check the height difference between adjacent panels — a step at the joint will create a bump under the cloth that affects ball roll across the seam.
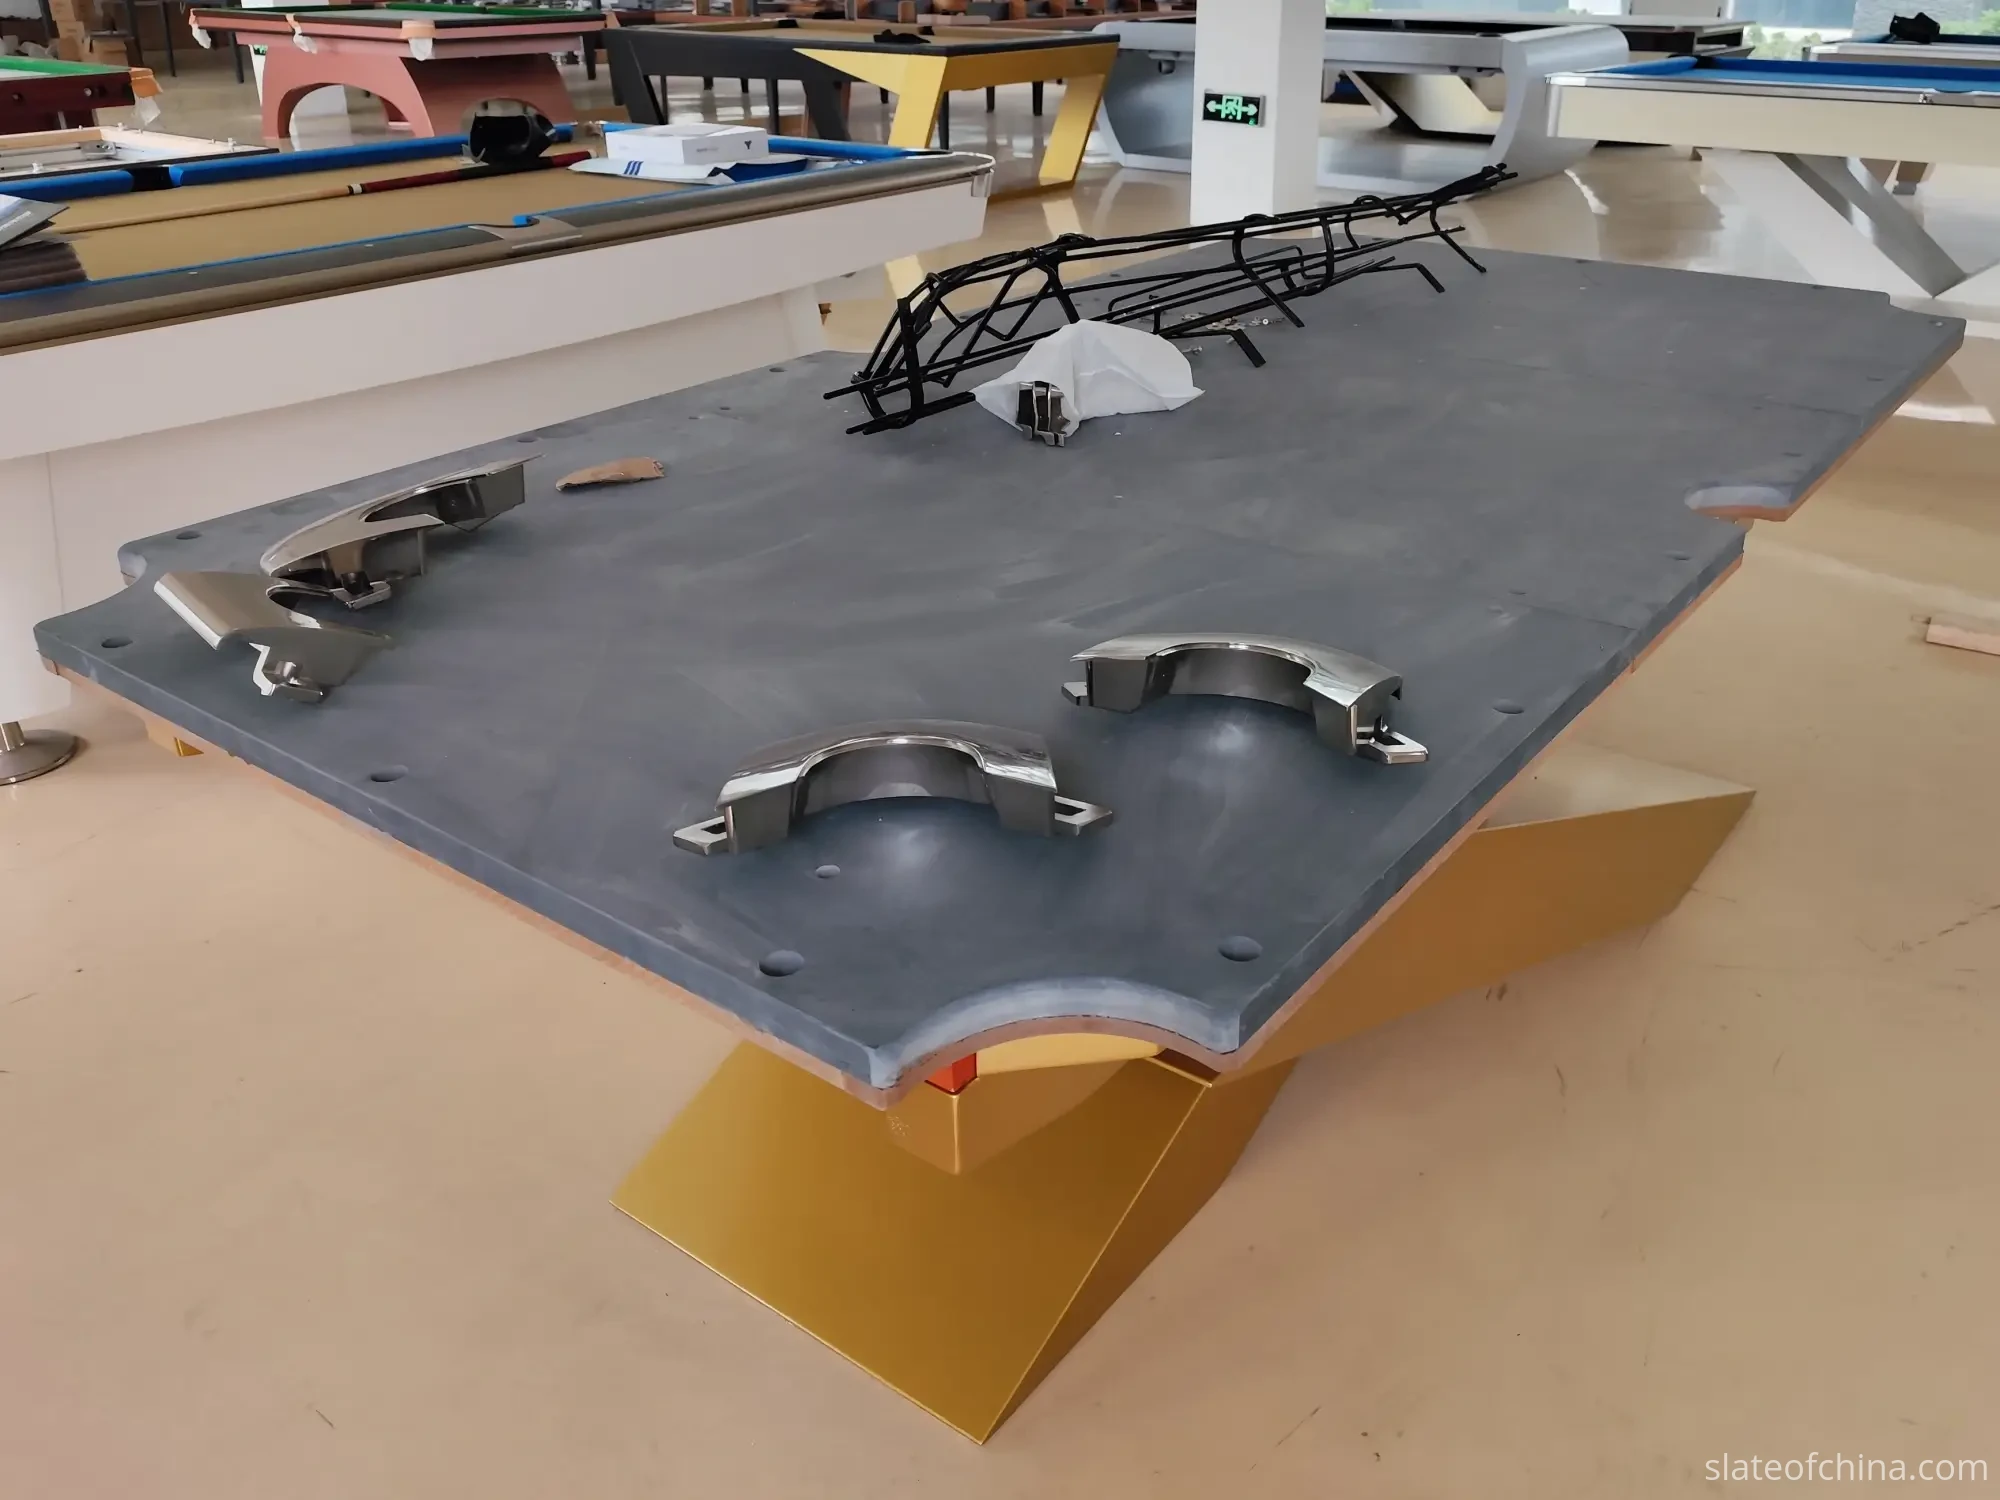
Place the panels together as they will be installed. Then check the joint with a straightedge laid across the seam. A set can consist of individually flat panels that still require attention if the mating edges are not properly matched — or if the joint surfaces are not machined to the same plane. This is particularly important for snooker slate, where large multi-piece panels must work together as one continuous playing surface.
If you are ordering replacement slate for an existing table, the joint check is even more critical — our replacement slate guide covers how to measure the old set so the new panels match.
"How Flat Should It Be?" — The Honest Answer
This is where buyers should be careful, because the honest answer is: there is no single universal billiard slate flatness tolerance that applies to every table, every slate size, and every manufacturer.
You will see specifications such as "Flatness ≤ 1 mm." But this statement is incomplete unless the measurement conditions are also defined. 1 mm over what distance? 300 mm? 1,000 mm? The entire 3,658 mm length of a 12 ft snooker panel? These are very different requirements — and a panel that passes one may fail another.
A flatness number without a measuring length is not really a specification. It is an adjective. If you want to understand why this matters for ball roll, our flatness physics guide breaks down how a deviation that is invisible to the eye becomes visible on the table. For incoming inspection, the practical implication is this: do not automatically use an arbitrary number — 0.5 mm, 1 mm, or any other single value — as a universal pass/fail limit. The acceptable value depends on the table type, slate dimensions, slate thickness, number of pieces, machining method, table construction, leveling system, joint design, and the intended playing standard.
Instead, establish the acceptance criterion before shipment. A meaningful specification defines four things: the maximum allowable deviation, the reference length over which it is measured, the measurement method, and the support conditions. For example: "Maximum deviation ≤ X mm over a reference length of Y mm, measured using a precision straightedge and feeler gauge under defined support conditions." This makes the requirement measurable — and makes it easier for both buyer and supplier to understand what they have agreed to.
Do not copy a tolerance from another supplier without checking whether the measurement method and reference length are comparable. A "0.1 mm flatness" claim from one factory and a "0.1 mm flatness" claim from another may describe entirely different measurement conditions.
A Practical Pass/Fail Decision
So you have measured the slate. You have a number — 0.3 mm, 0.6 mm, 1.0 mm. What do you do with it? Here is a four-step decision that works whether you are inspecting one panel or a hundred.
Step 1 — Check the purchase specification. Was a flatness tolerance agreed before the order was placed? If yes, the specification is your reference: compare the measured deviation to the agreed maximum, over the agreed reference length, using the agreed method. If no — and this happens more often than it should — do not declare the slate "not flat" based on a number you invented after the container arrived. Record the actual measurements, then contact the supplier to confirm what their production tolerance is and whether the result falls within it. A specification that does not exist until after the shipment arrives is not a specification — it is a negotiation.
Step 2 — Check the measurement method. Before comparing your reading to any number, confirm four things: the reference length over which the deviation was measured, the accuracy of the straightedge, the measurement points used, and the support conditions under the slate. A deviation of 0.4 mm measured over a 300 mm span is not the same as 0.4 mm over the full 2,800 mm length of a 9 ft panel. If your method does not match the method used in the specification, the comparison is not valid.
Step 3 — Compare like with like. Do not mix measurement conditions. A factory report that says "0.05 mm flatness" may mean 0.05 mm over a 200 mm measurement span with a dial indicator. Your incoming reading of 0.3 mm over the full panel length with a straightedge is not a contradiction — it is a different measurement. Before you pick up the phone to the supplier, make sure you are comparing the same thing measured the same way.
Step 4 — Classify the result. Once the method matches the specification, the decision is straightforward:
| Measured result | Classification | Action |
|---|---|---|
| Within the agreed tolerance | Pass | Record and proceed |
| Slightly outside, localised | Conditional acceptance | Review with supplier — may be usable after leveling or rework |
| Clearly outside, widespread | Rework or reject | Hold the panel, notify supplier with data, do not install |
Two worked examples make this clearer:
Example A: A buyer receives a 5-piece snooker slate set. During incoming inspection, the longest measured gap under the straightedge is 0.45 mm over the specified reference length. The purchase specification allows a maximum deviation of 0.50 mm under the same measurement method.
Result: Pass. The panel is within the agreed tolerance. Record the measurement and proceed.
Example B: The same shipment, a different panel. The measured deviation is 0.72 mm against the same 0.50 mm maximum, over the same reference length, using the same method.
Result: Fail. Hold the panel for supplier review. Photograph the straightedge position, record the feeler gauge reading, note the location, and notify the supplier with the data. Do not install the panel.
Notice what these examples do not do: they do not claim that 0.50 mm is an industry standard. The pass/fail line comes from the purchase specification, not from a generic number. This is what makes the decision defensible.
Frequently Asked Questions
What tools do I need for a basic incoming flatness check?
A precision straightedge, a set of feeler gauges (0.05–1.00 mm), a digital caliper for thickness, a steel tape for dimensions, and a stable support surface. For most receiving inspections of billiard slate, the straightedge-and-feeler-gauge method is sufficient as a first-level check. A dial indicator can be added for tighter specifications or higher-volume programmes, but it is not required for a practical baseline inspection.
How many panels should I measure for flatness?
For a small shipment — a few sets — inspect every panel. For larger commercial orders, establish a sampling plan: inspect every panel visually, measure a defined percentage for flatness, and measure all panels if a sample fails. Increase the inspection frequency for a new supplier, and use full inspection for critical or high-value orders. Define the sampling rule before the shipment arrives, not after you see the results.
Can I check flatness with the slate on the floor?
No. A floor that is not perfectly flat will distort the measurement — the slate conforms to the support underneath, and you end up measuring the floor's defects instead of the slate's. Use rigid, stable supports at consistent contact points. The panel should not rock. If it does, fix the support, not the slate.
What if the factory report says 0.05 mm but I measure 0.3 mm?
First, check your support surface and your measurement method — the difference may be in the setup, not the slate. Then check the reference length: the factory may have measured over a shorter span with a different method. If the method and conditions are comparable and the deviation still exceeds the agreed specification, record the measurement, photograph it, and notify the supplier with the data. The factory report tells you what was measured before shipment; your incoming measurement tells you what arrived. Both can be correct — and the difference is what incoming inspection is for.
Should I reject the whole container if one panel fails?
Not immediately. First determine how many panels are affected, what the maximum deviation is, where it occurs, and whether it is local or across the entire panel. Separate the results into pass, conditional acceptance, rework, or reject categories. One failed panel does not invalidate the batch — but a pattern of failures across multiple panels may indicate a production or transport issue that needs a broader response.
Can slate flatness change during shipping?
Yes, though not dramatically in well-packed containers. The main factors are impact during handling, uneven support during stacking, temperature gradients, and humidity changes. None of these are likely to cause a large shift in a dense, rigid slate panel — but small deviations that were within tolerance at the factory can move past the limit during transit. This is exactly why incoming inspection exists: to verify what arrived, not to assume it matches what left.
Pass, Conditional, Rework, Reject
When a panel fails flatness, do not immediately reject the entire container. First, sort the results into four categories — this approach is more useful than labelling everything "good" or "bad."
Pass — the panel is within the agreed specification. Record the measurement and move on. This is the category every panel should be in, and the one that requires the least discussion.
Conditional acceptance — the panel has a slight deviation but is potentially usable after additional machining, leveling, or supplier confirmation. This category exists because not every deviation affects every installation — a small bow near a non-critical edge may be invisible once the panel is installed and leveled. Mark it, note the deviation, and decide based on the specific table and the agreed tolerance.
Rework — the panel should be corrected before installation. It is not a reject — the slate is sound, the geometry is fixable — but it needs to go back to the machining step. This is where the relationship with your supplier matters: a good supplier will have a rework process and will not treat a rework request as a rejection.
Reject — the panel clearly exceeds the agreed specification and cannot reasonably be brought into acceptable condition. This is the category that requires the strongest evidence: a documented measurement at a defined position, with a defined method, compared to a defined tolerance. A rejection without numbers is an opinion. A rejection with numbers is a quality decision.
Before assigning any category, ask: How many panels are affected? Is the deviation local or across the entire panel? Is it repeatable under the same measurement conditions? Can the panel be re-machined? Does the deviation affect the actual installation? And — the question that resolves most disputes — what does the agreed purchase specification say?
Flatness Is Not the Same as Level
One of the most common confusions in slate inspection is the difference between flatness and level. They are not the same thing, and mixing them up leads to two kinds of mistakes: rejecting slate that is perfectly good, and accepting slate that has a real problem.
Flatness is a property of the slate surface itself. It describes how closely the surface conforms to a theoretical flat plane. You measure it with a straightedge and feeler gauges, on the slate, on a support surface, before installation. The measured result, however, can still be affected by support conditions and temperature — which is why the setup steps earlier in this guide matter.
Level is a property of the installed table. It describes whether the playing surface is horizontal relative to the floor and the earth. You measure it with a precision level or electronic level, on the assembled table, after the slate is installed, shimmed, and adjusted. Level can change when you move the table, adjust the legs, or shift the frame.
A slate panel can be perfectly flat but not level — if the table frame is uneven, the slate is flat but the ball rolls downhill. A slate panel can also be level but not flat — if the surface has a localised high spot, the panel sits level on the frame but the ball still deviates at that spot.
This is why incoming inspection checks flatness, not level. Level is an installation step — and it happens later, on the assembled table, with shims and adjusters. Our slate leveling guide covers that process. But if the slate is not flat when it arrives, no amount of leveling will fix it — leveling adjusts the table, not the stone.
The Record That Holds Up
For professional purchasing, "batch passed" is not a record. A record holds up when it contains the original measurement data — the actual numbers, the method, and the photos.
Instead of "batch passed," record:
Batch SOC-2026-10
40 panels inspected
Maximum measured deviation: 0.XX mm
Average deviation: 0.XX mm
Panels outside specification: X
Measurement method: straightedge + feeler gauge
Reference length: XXXX mm
For each problem panel, photograph the full panel, the identification number, the measurement location, the straightedge position, the feeler gauge reading, and any damaged area. If possible, include a ruler or gauge in the photograph as a scale reference. This provides much stronger evidence than an email saying "the slate is not flat."
A good incoming inspection record combines numbers and images. It creates a traceable quality record that can be compared across different suppliers or production batches over time. And if a dispute arises — with the supplier, the insurer, or the customer — the record is what you have. The measurement is what you did. The photograph is what you saw. Together, they are the inspection.
Agree Before Shipment, Not After
The easiest time to argue about slate flatness is before the container leaves the factory. The hardest time is after the container arrives and the buyer says "this slate is not flat enough" and the supplier says "it is within our normal tolerance" — and both sides believe they are correct because the acceptance standard was never clearly defined.
A professional purchase specification should define four things: what is measured, where it is measured, how it is measured, and the maximum allowable deviation. In a format similar to this:
Flatness: The playing surface shall meet the agreed flatness tolerance when measured under defined support conditions using a precision straightedge and feeler gauge. Maximum allowable deviation shall be ___ mm over a reference length of ___ mm. Measurement locations shall include centrelines, diagonals, edges, and specified grid points.
The actual tolerance should be agreed according to the table design, slate specification, machining capability, and quality requirements. This protects both buyer and supplier: the buyer knows what they are accepting, and the supplier knows what they are being held to. A specification that is agreed after the shipment arrives is not a specification — it is a negotiation.
If you are setting up a new supplier relationship, our buying guide covers the full sourcing process, and our quality test data page shows the factory QC figures you can ask to see before you order. The technical specifications page collects the standard sizes, thicknesses, and tolerances in one reference table.
Quick Reference: Billiard Slate Incoming Inspection
| Inspection item | What to check |
|---|---|
| Appearance | Cracks, chips, broken corners, surface damage, machining defects |
| Dimensions | Length, width, thickness — confirm against the drawing, not just the label |
| Flatness | Overall and local deviation — straightedge and feeler gauge across a grid |
| Bow | Long-direction curvature — straightedge laid lengthwise |
| Twist | Relative corner elevation — measurements at all four corners |
| Edges | Straightness and damage — especially on mating edges of multi-piece sets |
| Joints | Alignment, height difference, and gap between adjacent panels |
| Machining | Holes, pocket cuts, edges, surface finish |
| Packaging | Transport damage, broken crates, shifted pallets |
| Records | Measurement data + photographs + batch number + method + reference length |
| Acceptance | Compare with the agreed specification — not a generic standard |
A flat-looking slate is not necessarily a measured-flat slate. For commercial billiard slate purchasing, documented measurement is the safer standard.
Need help defining a flatness specification for your next order? Send us your table type, slate size, and tolerance requirement — we will help you write a specification that both sides can agree on before the container leaves.
Related Reading
Need to define an incoming inspection specification for your next billiard slate order?
Send us your table type, slate dimensions, thickness, number of pieces, and required tolerance. We can review the specification and confirm the inspection method before production — so that when the container arrives, incoming inspection is a verification, not a surprise.