
How to Calculate Roofing Slate Headlap: 5 Steps From Pitch to Millimetres
At Slate of China, we work with roofing slate specifications for international markets — pitch drawings, exposure ratings, slate sizes, nail-hole patterns, packing lists. One number runs through all of that paperwork: headlap, the hidden overlap at the head of every slate that protects a double-lap roof against wind-driven rain. Set it correctly and the gauge, the batten spacing and the slate count all fall out of one number. Set it by habit, and nothing later on the roof fully corrects it.
So this page is about how the number is actually arrived at — not as folklore passed between trades, but as a five-step decision you can trace, document and defend, from the standard that sets the minimum to the tape measure that confirms it. It is written from the supplier's side of the table: what we check when a buyer asks us to confirm a headlap, and what we ask the buyer to confirm on theirs.
Quick answer: there is no single formula used to calculate roofing slate headlap — it is a specification decision made in five checks, and the arithmetic comes last:
| 1 · The rulebook | the minimum lap comes from the applicable roofing standard, for the roof's pitch, exposure grade and system — not from habit |
| 2 · The real pitch | measured on the roof, not read off the tender drawing |
| 3 · The exposure | coastline, ridgeline or open country raise the minimum |
| 4 · The slate itself | size and nail-hole pattern must support the chosen lap — confirmed on the technical sheet |
| 5 · The arithmetic | gauge = (slate length − headlap) ÷ 2, then battens to gauge and the count follows |
Worked example: a 500 × 250 mm slate at an illustrative 100 mm headlap gives a 200 mm gauge and about 20 slates per square metre. Every figure in this guide is an example to show the method — the numbers for a real roof come from the standard that applies to it.
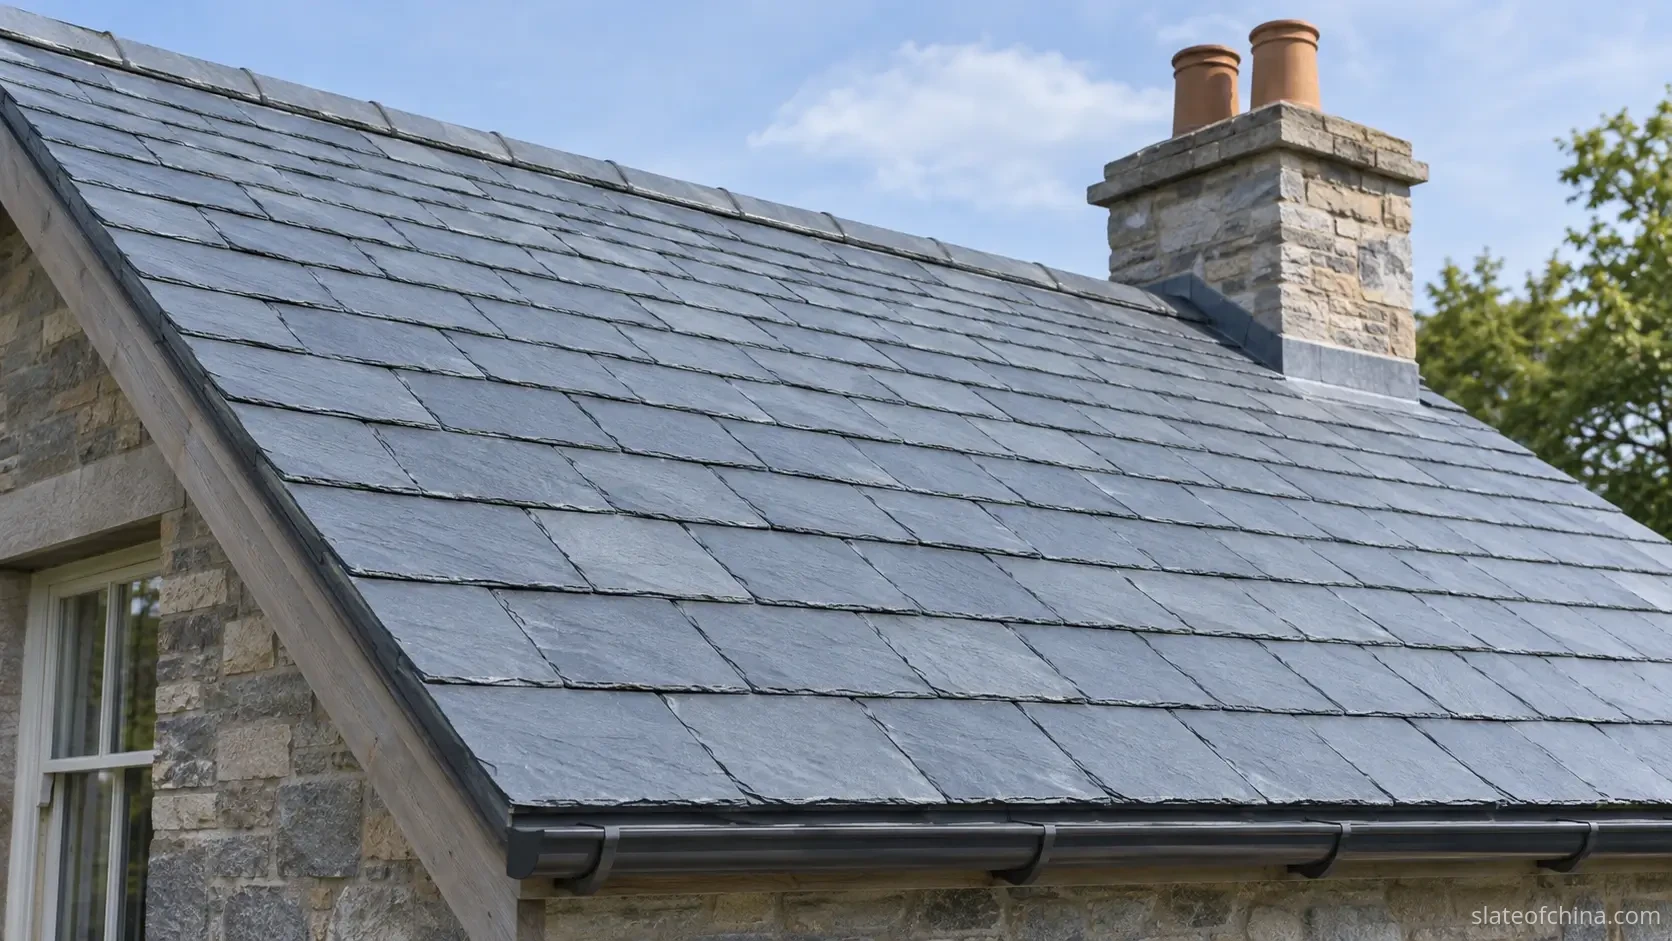
Important: The headlap values shown in this guide are illustrative examples, not universal installation requirements. Always confirm the minimum pitch, headlap, slate size and fixing details required for your project against the applicable local roofing standard, the site's exposure conditions and the slate supplier's installation guidance.
The five steps, in one list
- Start with the rulebook, not with a number. The required minimum headlap comes from the applicable slating standard for the project's pitch and exposure grade, and from the system being installed. In UK practice the working floor for a normal double-lap slate roof in moderate conditions is widely quoted as 75 mm — a classic starting point, not a universal constant.
- Measure the pitch that was built. Tender drawings say 30°; the roof frames up at 26°. The minimum lap in the slating tables follows the real pitch, so the pitch check is the first thing to do on site — before the battens, before the order.
- Weigh the site's exposure. Coastlines, ridgelines and open country increase the wind-driven rain a roof has to resist, and with it the required minimum lap. The exposure grade, not intuition, decides how much.
- Match the slate to the fixing. The ordered slate must be punched for the fixing that the headlap implies: the nail-hole positions and the fixing method (head-nailed or centre-nailed) have to agree with the chosen lap and the resulting gauge. This is a check against the supplier's technical sheet, not something to settle on the roof.
- Derive the set-out, then verify it. Gauge = (slate length − headlap) ÷ 2 sets the batten spacing; the slate count follows from the gauge and the slate width. On the finished roof, the gauge is the measurement you can still take — the headlap is confirmed by arithmetic.
Steps 1 to 4 are judgements with documents behind them; step 5 is pure arithmetic. The three measurements themselves — headlap, gauge and exposure — are defined in Understanding Slate Headlap, Gauge and Exposure; this page is about arriving at the number for a specific roof. The sections below take the steps where things usually go wrong — where the minimum comes from, what the fixing check actually checks, and how the finished roof is verified — and then run the whole chain on one project.
Step 2 in detail: pitch, and where the minimum comes from
As the pitch falls, three things happen at once: run-off slows, water sits longer at the laps, and wind can push rain further up the slope beneath the tail of each course. Slating standards answer with tables — minimum laps graded by pitch and, separately, by exposure — rather than with a single rule of thumb. The values below are illustrative examples of how the set-out typically moves in UK practice; the numbers for a real project come from the standard that applies to it and the specifier of record.
| Roof pitch | Direction the set-out moves | What is driving it |
|---|---|---|
| 25° and above | The standard floor applies — 75 mm is the classic working figure (example) | Fast run-off; the stock double-lap defence is at its best |
| 20°–25° | The minimum rises above the floor — figures around 100 mm are commonly quoted (example) | Run-off slows enough that wind can drive water up the lap |
| Below 20° | Larger laps, project-specific — the slate length and its fixing pattern start constraining what is buildable at all | Drainage becomes marginal; the lap alone cannot carry the roof |
| Very low pitch | Not a number any more — a system decision | Very low-pitch slate roofs require a specifically designed and approved roofing system; conventional double-lap slate installation may not be suitable |
Two readings of that table are worth separating. First, pitch moves more than the headlap: at lower pitches the whole slate specification — length, thickness, fixing — is redrawn, not just the lap. Second, the last row is deliberately not a millimetre value. A roof framed flatter than a double-lap system allows cannot be rescued by adding headlap indefinitely; it needs a purpose-designed low-pitch system, which is a different conversation entirely.
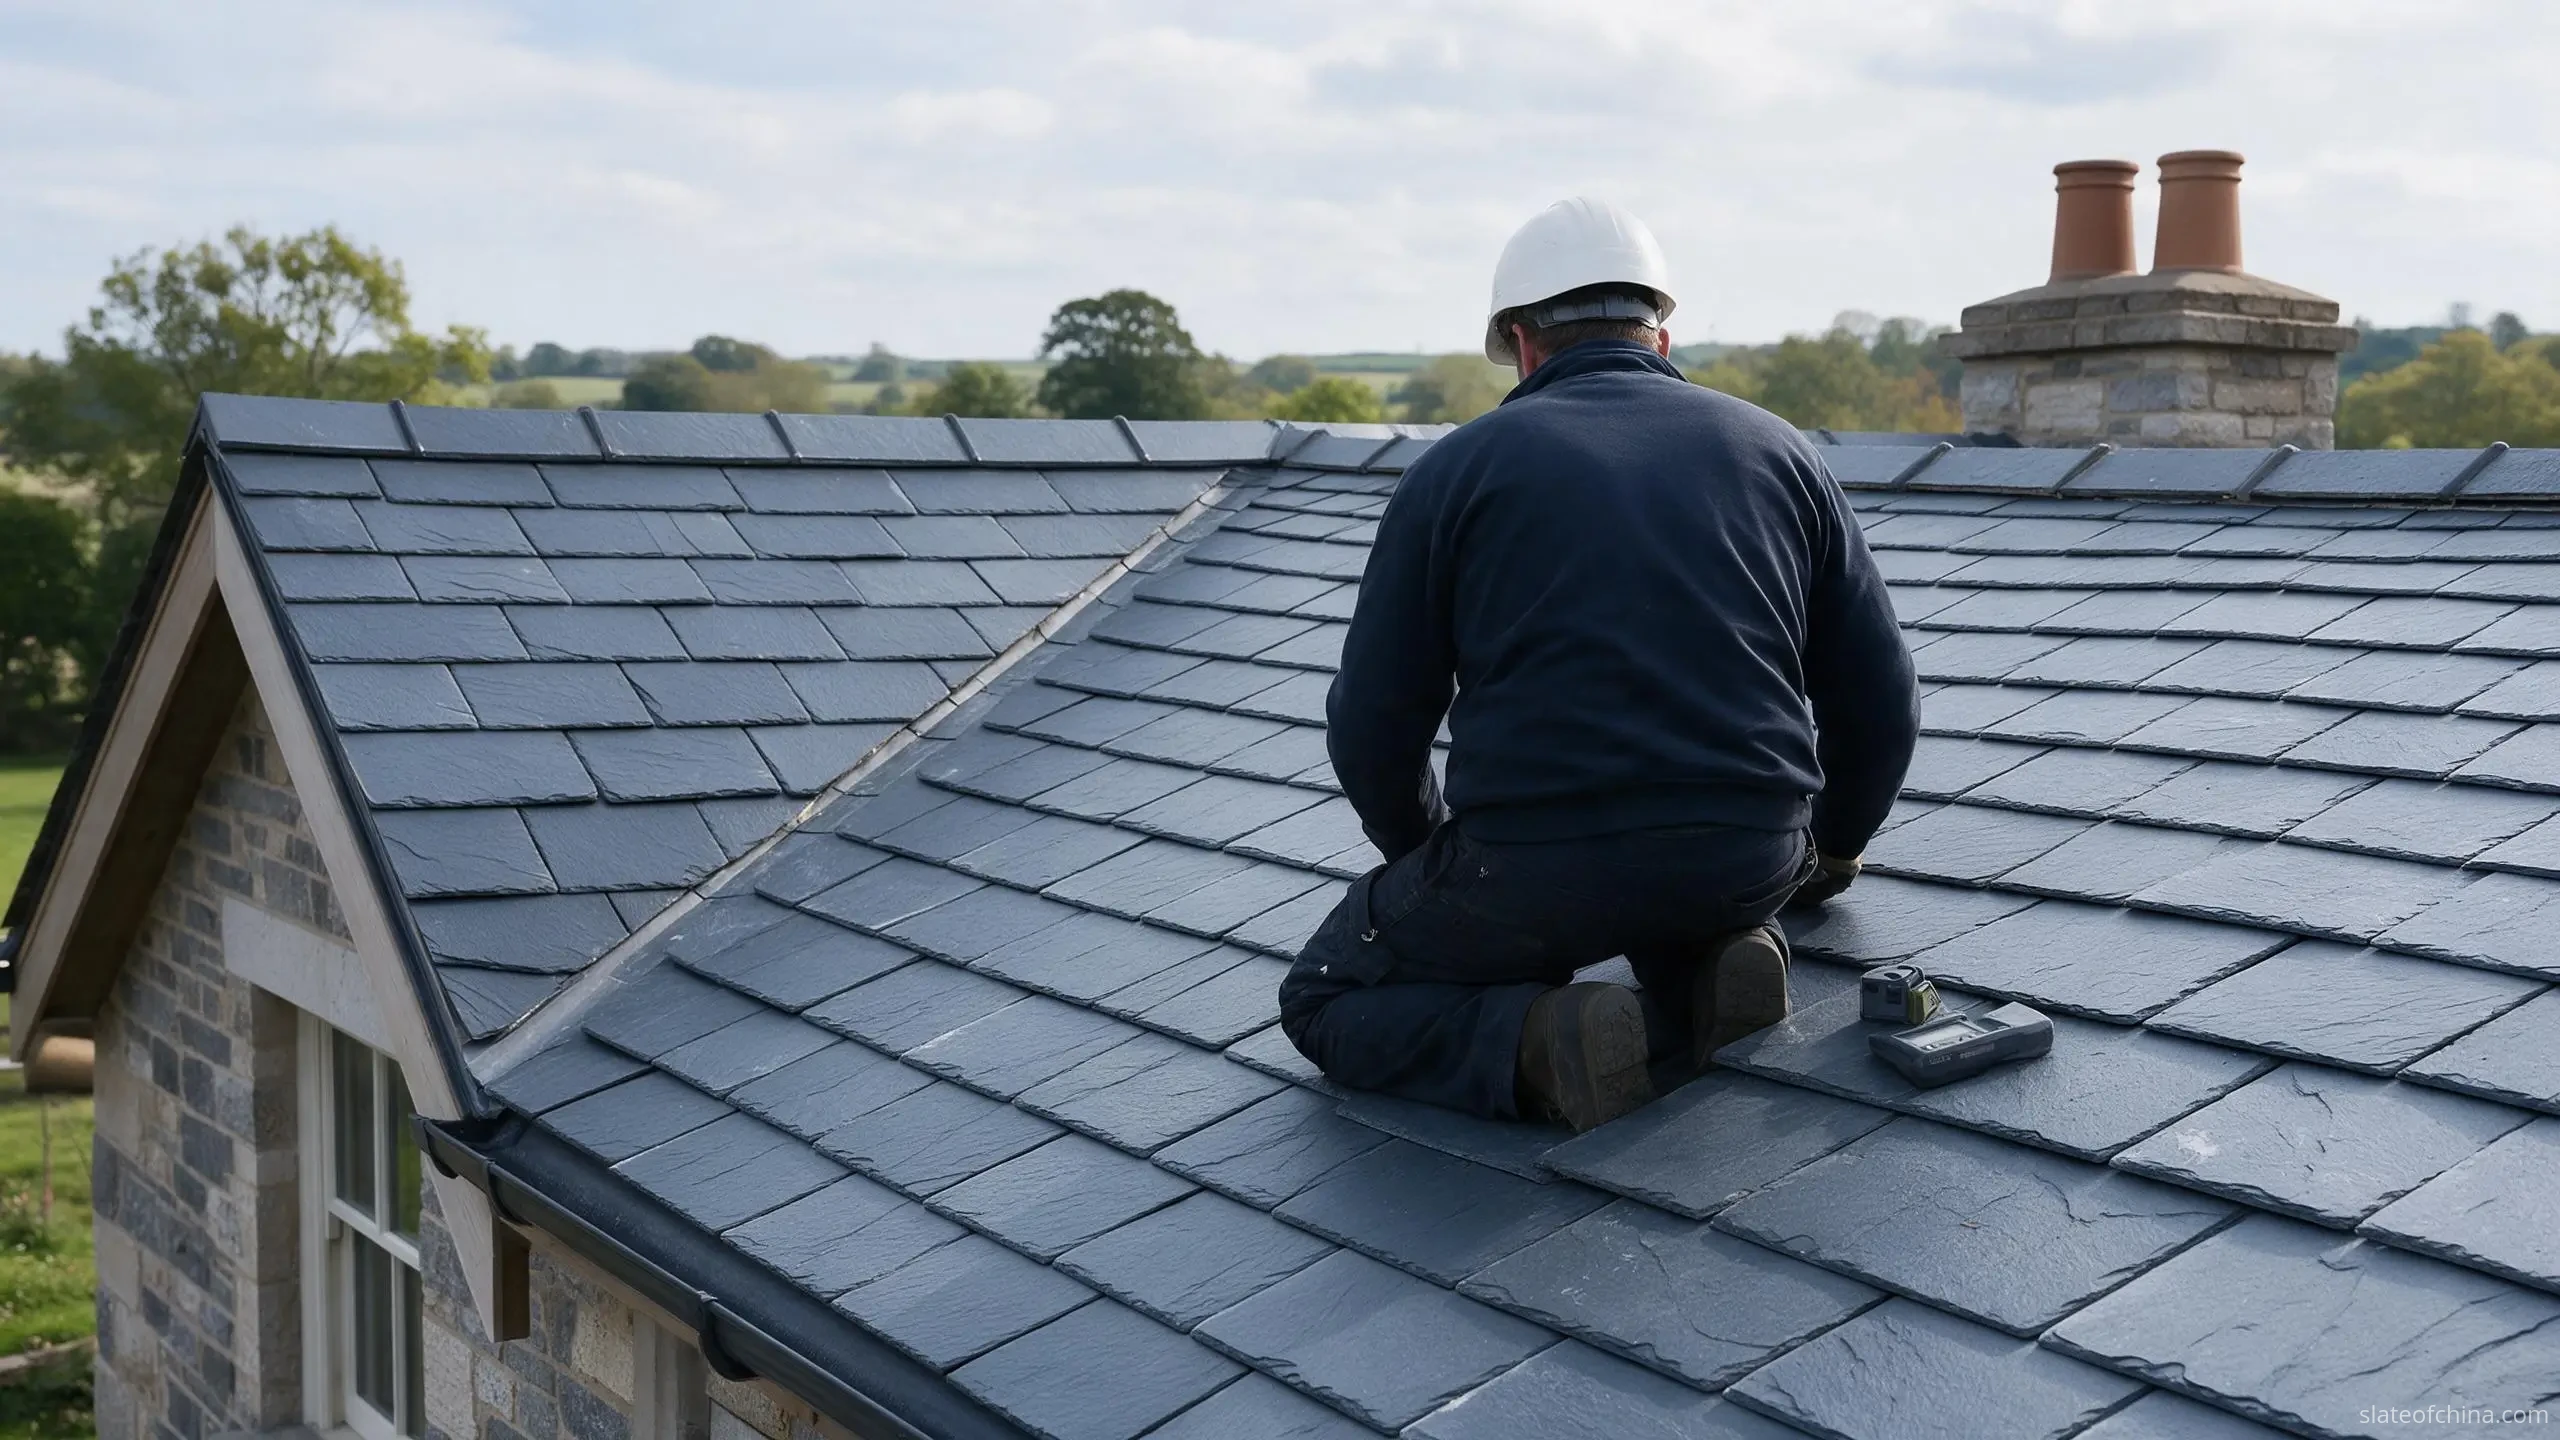
The pitch check itself is cheap insurance. Paperwork says 25°, the roof was framed at 22°: at that difference the slating table gives a different minimum, and nothing about the slate in the crate warns you. A spirit level and a digital angle finder settle the question before the battens go up — measure at the eaves, mid-slope and at the ridge, on both faces, and write the number down. It belongs in the same file as the order.
Step 4 in detail: the fixing check that decides what is buildable
Every slate on a double-lap roof is fixed with two nails, and those nails have to land on the batten the slate is fixed to, with sound edge distances to the head and to the sides. That single mechanical fact ties the whole specification together: the slate length, the headlap, the gauge, the punched hole positions and the fixing method all constrain one another. It is why a headlap is never chosen on the roof — it is chosen with the order.
Roofing slates are most often head-nailed, with the holes punched a set distance in from the head edge so the slate fixes through the batten beneath its covered zone. Longer slates and exposed sites are commonly centre-nailed instead, so the fixing sits closer to the middle of the slate and the tail is freer to resist wind uplift. Which pattern is right depends on the slate length, the wind zone and the design standard — a decision for the specifier and the supplier together, and one that cannot be reversed on site without drilling the slate, which is exactly what punching exists to avoid.
The practical order of operations, then: before a headlap goes into a specification, ask for three things on paper — the hole positions for the ordered size, the fixing method those positions suit, and the gauge the combination produces. If the pattern does not support the intended lap, the options are a different punching, a different fixing method, or a different slate length. All three are cheap to settle at quotation stage and expensive to discover after the container lands. The hole positions for our own slates are confirmed on the quotation's technical sheet, so the numbers travel with the order rather than in a separate conversation.
A worked example: one roof, five steps, every number shown
Take a gable roof on a ridgeline site — 300 m² measured on the slope, west-facing and open to the weather. The tender drawing says 30°. The roof as framed measures 24°. The buyer wants 500 × 250 mm slate, the classic size, and a course rhythm to match the elevation. Here is the whole chain:
- Rulebook. The specifier reads the applicable slating table for a 24° pitch on an exposed grade of site. The minimum it returns is the governing figure — 100 mm in this illustrative example.
- Real pitch. 24°, from the frame check — not the 30° on the tender drawing, which would have implied the standard floor was adequate.
- Exposure. Open west-facing ridgeline. The specifier confirms the higher minimum applies; the standard 75 mm floor is not the right specification for this site.
- Fixing check. The 500 × 250 mm slate is ordered centre-nailed, with the hole positions confirmed on the technical sheet as suitable for the 100 mm headlap — so the lap is buildable exactly as specified.
- Set-out and count. Gauge = (500 − 100) ÷ 2 = 200 mm, so the battens run at 200 mm centres. Coverage = 1,000,000 ÷ (200 × 250) = 20 slates per m², and the 300 m² roof takes 20 × 300 = 6,000 slates before waste.
Now the comparison that matters on the quotation. Set out at an illustrative 75 mm instead, the same roof would run a 212.5 mm gauge and about 18.8 slates per m² — roughly 5,650 slates. The deeper lap costs about 350 additional slates, some 6% extra material, and on this site that premium buys exactly the weather-tightness the exposure grade demands. It is far cheaper agreed before packing than argued after the first leak. The full counting method, including the waste allowance that belongs at the end of this arithmetic, is covered in How Many Roofing Slates per Square Metre?
How headlap is verified on a finished roof
On a completed double-lap roof, most of the geometry is invisible. What you can see are the course lines — the tail edges of each course, running across the slope. What you cannot see is the head of any slate: it sits underneath the two courses above it. That asymmetry decides the whole checking method: the gauge is measurable with a tape; the headlap is confirmed by arithmetic.
Measure the distance between two course lines — tail edge to tail edge — at several places across the slope. That distance is the gauge, and on a plain rectangular slate it is also the exposure. Then run the arithmetic backwards: headlap = slate length − (2 × gauge), with the slate length taken from the order. On the worked example above, a tape reading of 200 mm between course lines confirms the 100 mm headlap exactly: 500 − 400 = 100.
The arithmetic also catches drift. Suppose the same tape reads 205 mm in three bays out of four. The headlap in those bays is 500 − (2 × 205) = 90 mm — ten millimetres shallower than specified, almost certainly batten spacing that crept during fixing. A millimetre or two of variation between bays is normal on a hand-fixed roof; a consistent 5 mm is a set-out error that repeats every course to the ridge. It is far cheaper to pull battens on day two than slates in year two.
Schematic face view, not a construction drawing. Tail lines and the gauge are what you can check with a tape; the headlap is confirmed with the formula.
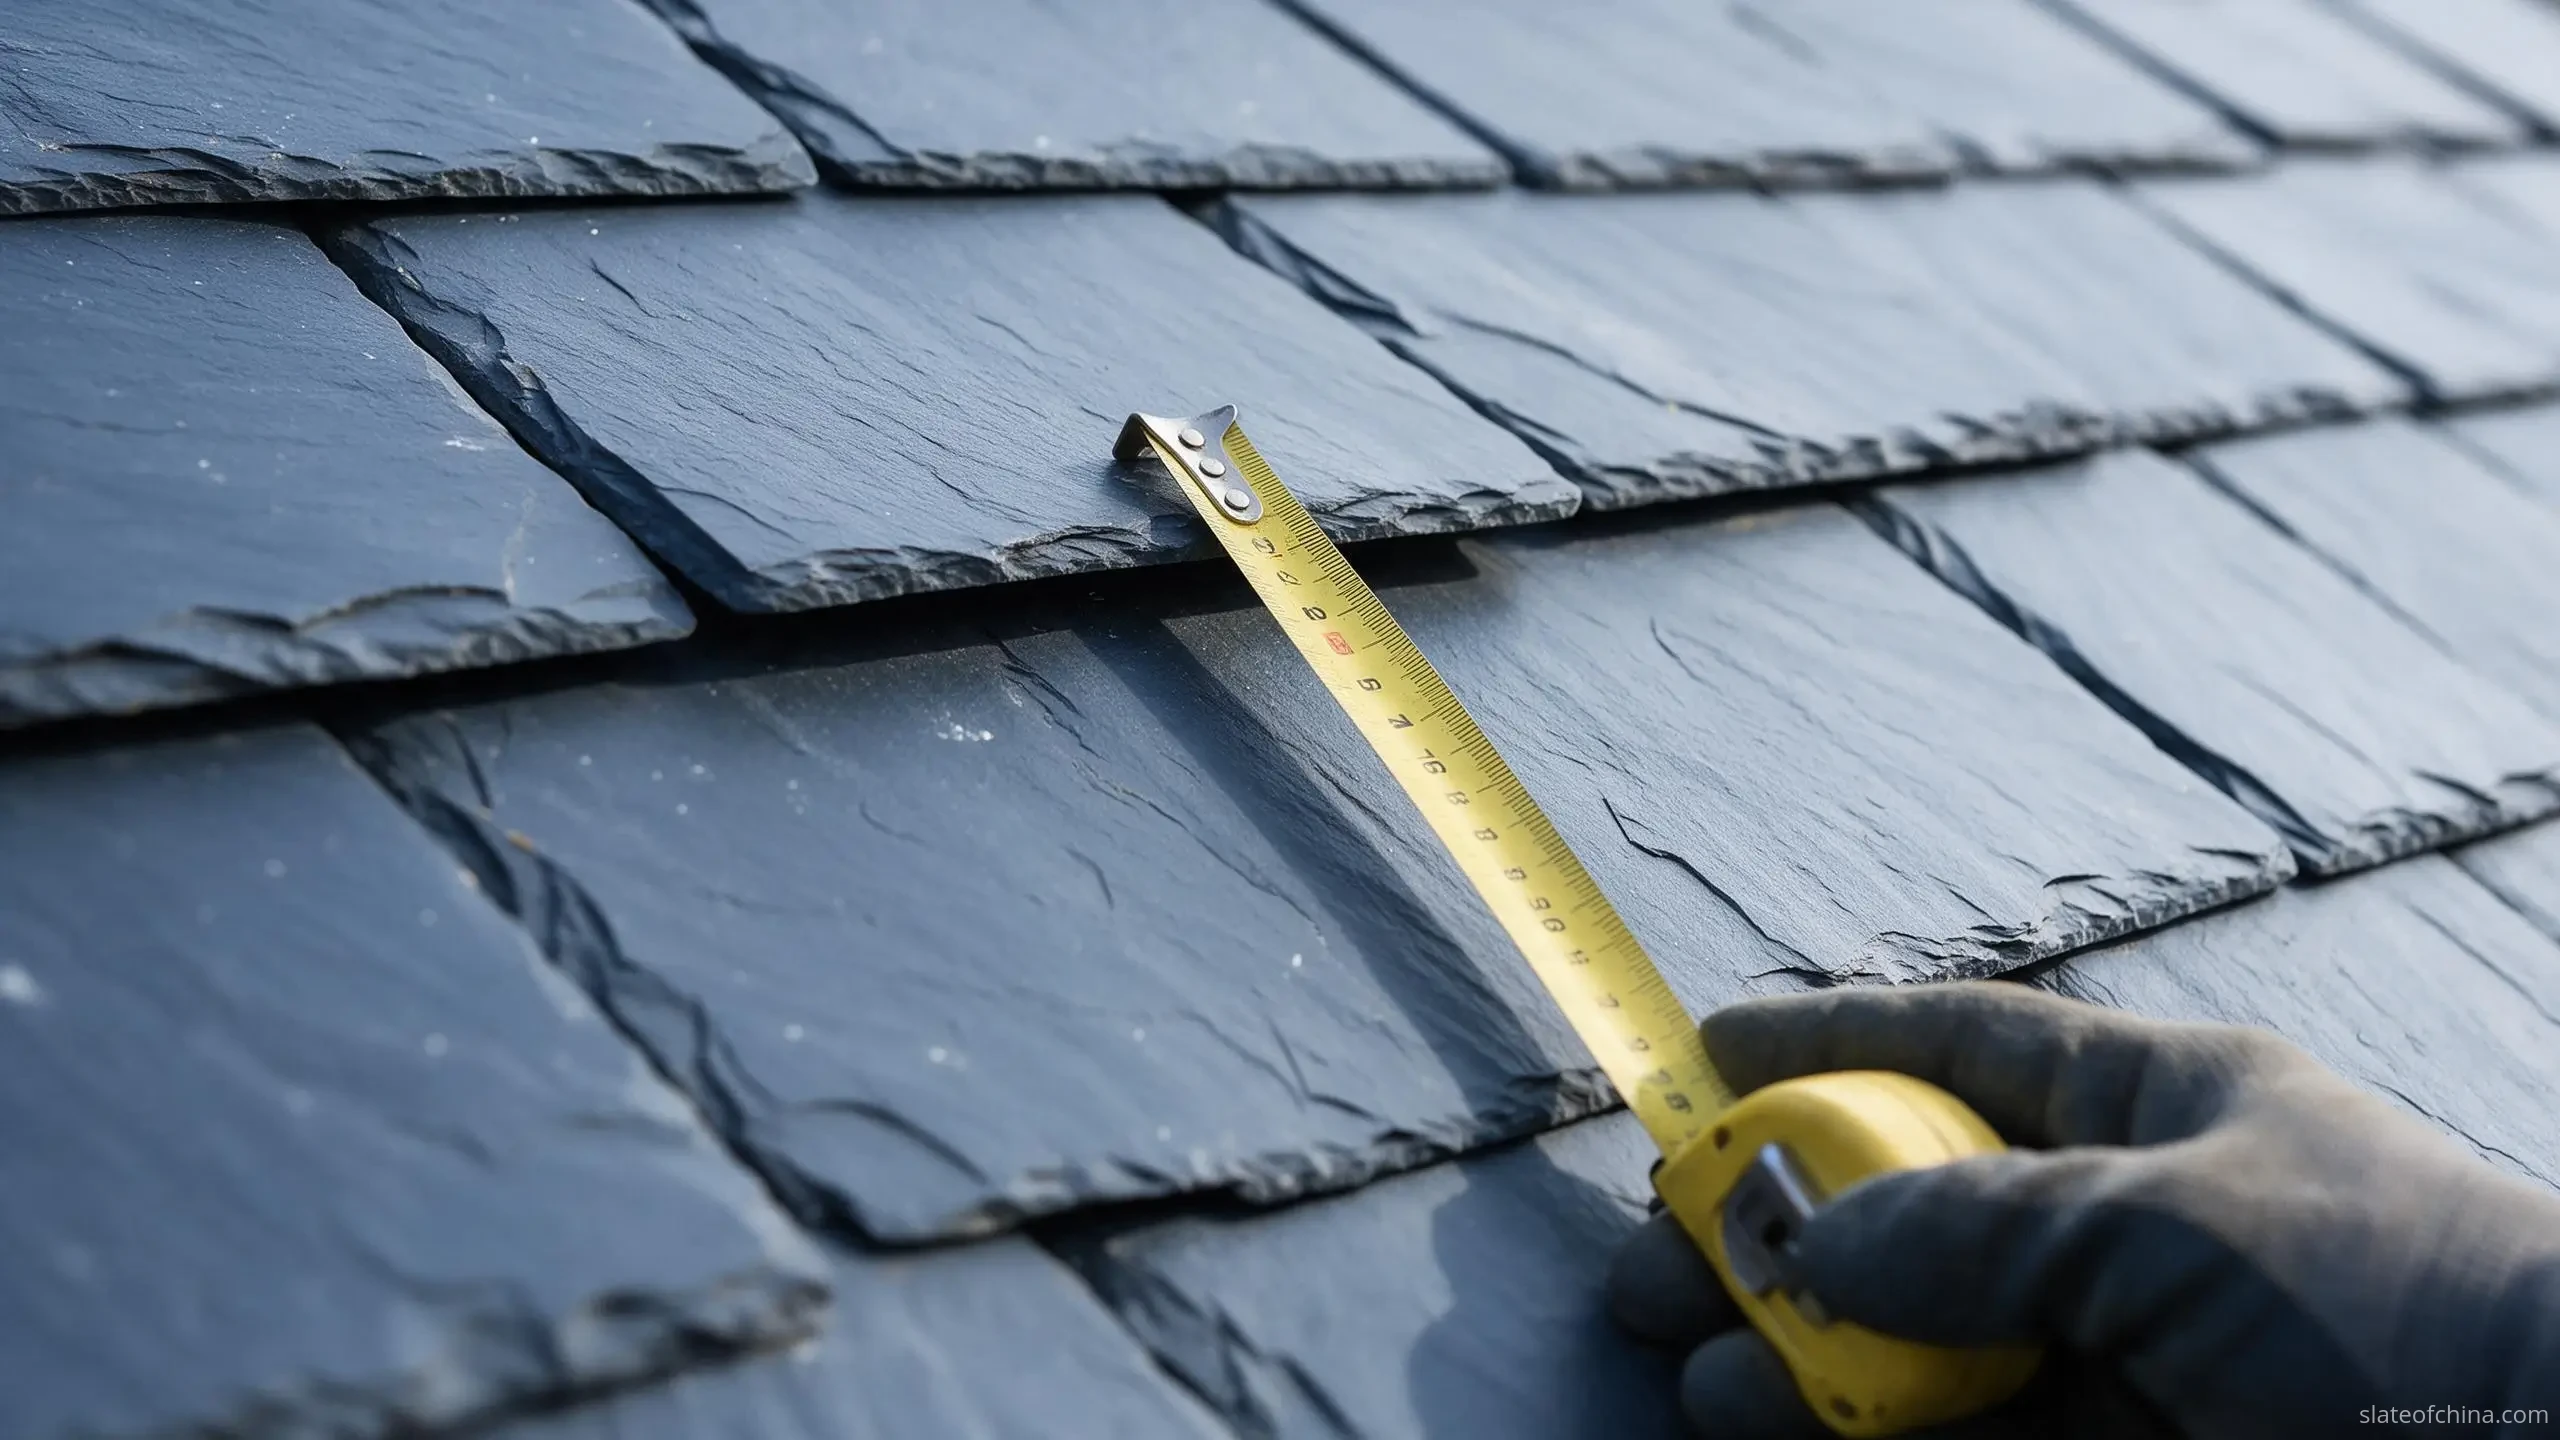
During installation the same number can be checked even more directly — batten centre to batten centre, across the slope, before a single slate is fixed. The finished-roof method above is the backstop for when the roof is already on: it cannot undo a bad set-out, but it can prove the arithmetic that the roof was built to.
Gauge and coverage for common slate sizes, worked at the examples
The table below is pure arithmetic from the formula, worked for the two example headlaps used throughout this page — 75 mm and 100 mm. It shows the trade a specifier is making: a deeper lap means a tighter gauge, a tighter gauge means more slates. The full range of standard roofing slate sizes is covered separately, as is the complete size–headlap–coverage reference table.
| Slate size (mm) | Gauge at 75 mm headlap (example) | Slates per m² | Gauge at 100 mm headlap (example) | Slates per m² |
|---|---|---|---|---|
| 600 × 300 | 262.5 mm | 12.7 | 250.0 mm | 13.3 |
| 500 × 250 | 212.5 mm | 18.8 | 200.0 mm | 20.0 |
| 450 × 250 | 187.5 mm | 21.3 | 175.0 mm | 22.9 |
| 400 × 250 | 162.5 mm | 24.6 | 150.0 mm | 26.7 |
| 400 × 200 | 162.5 mm | 30.8 | 150.0 mm | 33.3 |
The count uses 1,000,000 ÷ (gauge × slate width, both in millimetres) and ignores the waste allowance, which is added at the ordering stage. One caveat travels with the table: whether a given slate can actually be fixed at the deeper example depends on its punching and fixing method — the check in the fixing section above. The arithmetic never overrules the buildability.
BS 5534, EN 12326 and who actually decides the number
BS 5534 is the UK code of practice for slating and tiling. Its slating tables grade the minimum lap by pitch and by exposure grade, and the figure of 75 mm is the working floor it is most associated with in standard conditions. Two cautions go with that sentence: the tables belong to the current edition of the standard, and the applied value on any project is set by the specifier who signs the drawings. "BS 5534 says 75" is only ever the start of the conversation, never the end of it.
The other document in the room says nothing about laps at all. EN 12326 is the material standard for roofing slate in Europe: EN 12326-1 sets the product specification, EN 12326-2 the test methods that verify it — water absorption, freeze and thaw cycling, flexural strength, the sulphur exposure cycle. A slate that passes EN 12326 is proven stone; it is not thereby proven geometry. The line is worth repeating because quotation language blurs it: a material test certificate will not make a roof with the wrong headlap weather-tight. Material quality and installation geometry are two different documents, and the roof needs both to be right.
In the United States the material reference is ASTM C406 — again, it grades the stone rather than the lap. Wherever the roof is built, the number that makes it weather-tight is ultimately on the drawing, agreed between specifier and supplier, not on the certificate. The stone side of our own supply, test results included, is published on the roofing slate test results page; the headlap for any project we quote is stated alongside it.
When more headlap is not the answer
A deeper lap costs slates — on the worked example above, about 6% of the order — so it should be spent where the roof needs it. On a leaking roof, though, adding headlap is the most common misdiagnosis we are asked to check. Three faults mimic a headlap problem, and none of them is cured by one:
- Wrong batten spacing. If the courses are not set to gauge, the headlap drifts slate by slate: 5 mm per course is 100 mm of accumulated error by the ridge. No lap value survives a bad set-out — which is why the finished-roof check in the section above exists.
- Damaged or missing underlay. A double-lap roof is a two-layer defence: the slates shed almost all the water, and the underlay catches what wind drives through the joints. A tear at a valley, a chimney or a penetration will leak at any headlap whatsoever.
- Fixing failures. A nail that backs out, or a slate fixed so tightly it cannot flex with the roof, breaks the lap from below. The arithmetic on the drawing can be right and the roof still wet — the fixing, not the number, is what carries the load.
And when the fault really is the pitch — a roof framed flatter than the system allows — no headlap rescues it. That conversation is about the system itself, and it belongs in the minimum roof pitch for roofing slate.
Frequently Asked Questions
How do I calculate roofing slate headlap?
You don't derive it from a single formula. You set it as a specification decision: take the minimum lap the applicable roofing standard requires for your pitch and exposure grade, confirm that the slate size and its nail-hole pattern support that lap, and only then derive the set-out — gauge = (slate length − headlap) ÷ 2. The 75 mm and 100 mm figures used in this guide are illustrative examples, not universal requirements.
What is the minimum headlap for a slate roof?
It depends on the jurisdiction and the site. In UK practice the figure widely quoted for a double-lap slate roof in moderate conditions is 75 mm, with the applicable standard requiring more at lower pitches and on exposed sites. The permitted minimum for a specific project comes from the current local roofing standard and the specifier — not from a supplier's table.
How much headlap does a 500×250 slate need?
The slate size does not by itself set the headlap — the pitch and exposure grade do, and the fixing pattern must support the result. As widely used examples: at 75 mm the gauge is 212.5 mm and coverage about 18.8 slates per m²; at 100 mm the gauge is 200 mm and coverage about 20.0 per m².
What headlap do I need on a 20-degree roof?
Below about 25° the required minimum rises above the standard floor, and around 20° figures in the 90–100 mm range are commonly quoted in UK practice. The exact value comes from the slating table for the site's exposure grade. As the pitch falls further, a conventional double-lap slate roof becomes marginal and a specifically designed low-pitch system is normally required instead.
Do the nail holes limit the headlap I can use?
They limit the fixing combinations that work. The punched holes must land on the batten the slate is fixed to, with sound edge distances, so the hole positions, the fixing method (head-nailed or centre-nailed) and the gauge all have to agree with the chosen headlap. Confirm the hole positions on the supplier's technical sheet before the headlap goes into the specification.
How can I check the headlap on a finished roof?
Measure what is visible and calculate the rest. On a completed double-lap roof only the course lines — the tail edges — can be seen: the distance between two of them is the gauge. Then headlap = slate length − 2 × gauge, using the slate length from the order. The head edge itself is hidden under two courses and cannot be measured directly.
Does BS 5534 apply outside the UK?
No. BS 5534 is the UK code of practice for slating and tiling; other countries reference their own codes. Across Europe the slate material itself is characterised under EN 12326, and in the United States under ASTM C406 — but material standards do not set installation laps. Those come from the fixing code that applies where the roof is built.
Related Reading
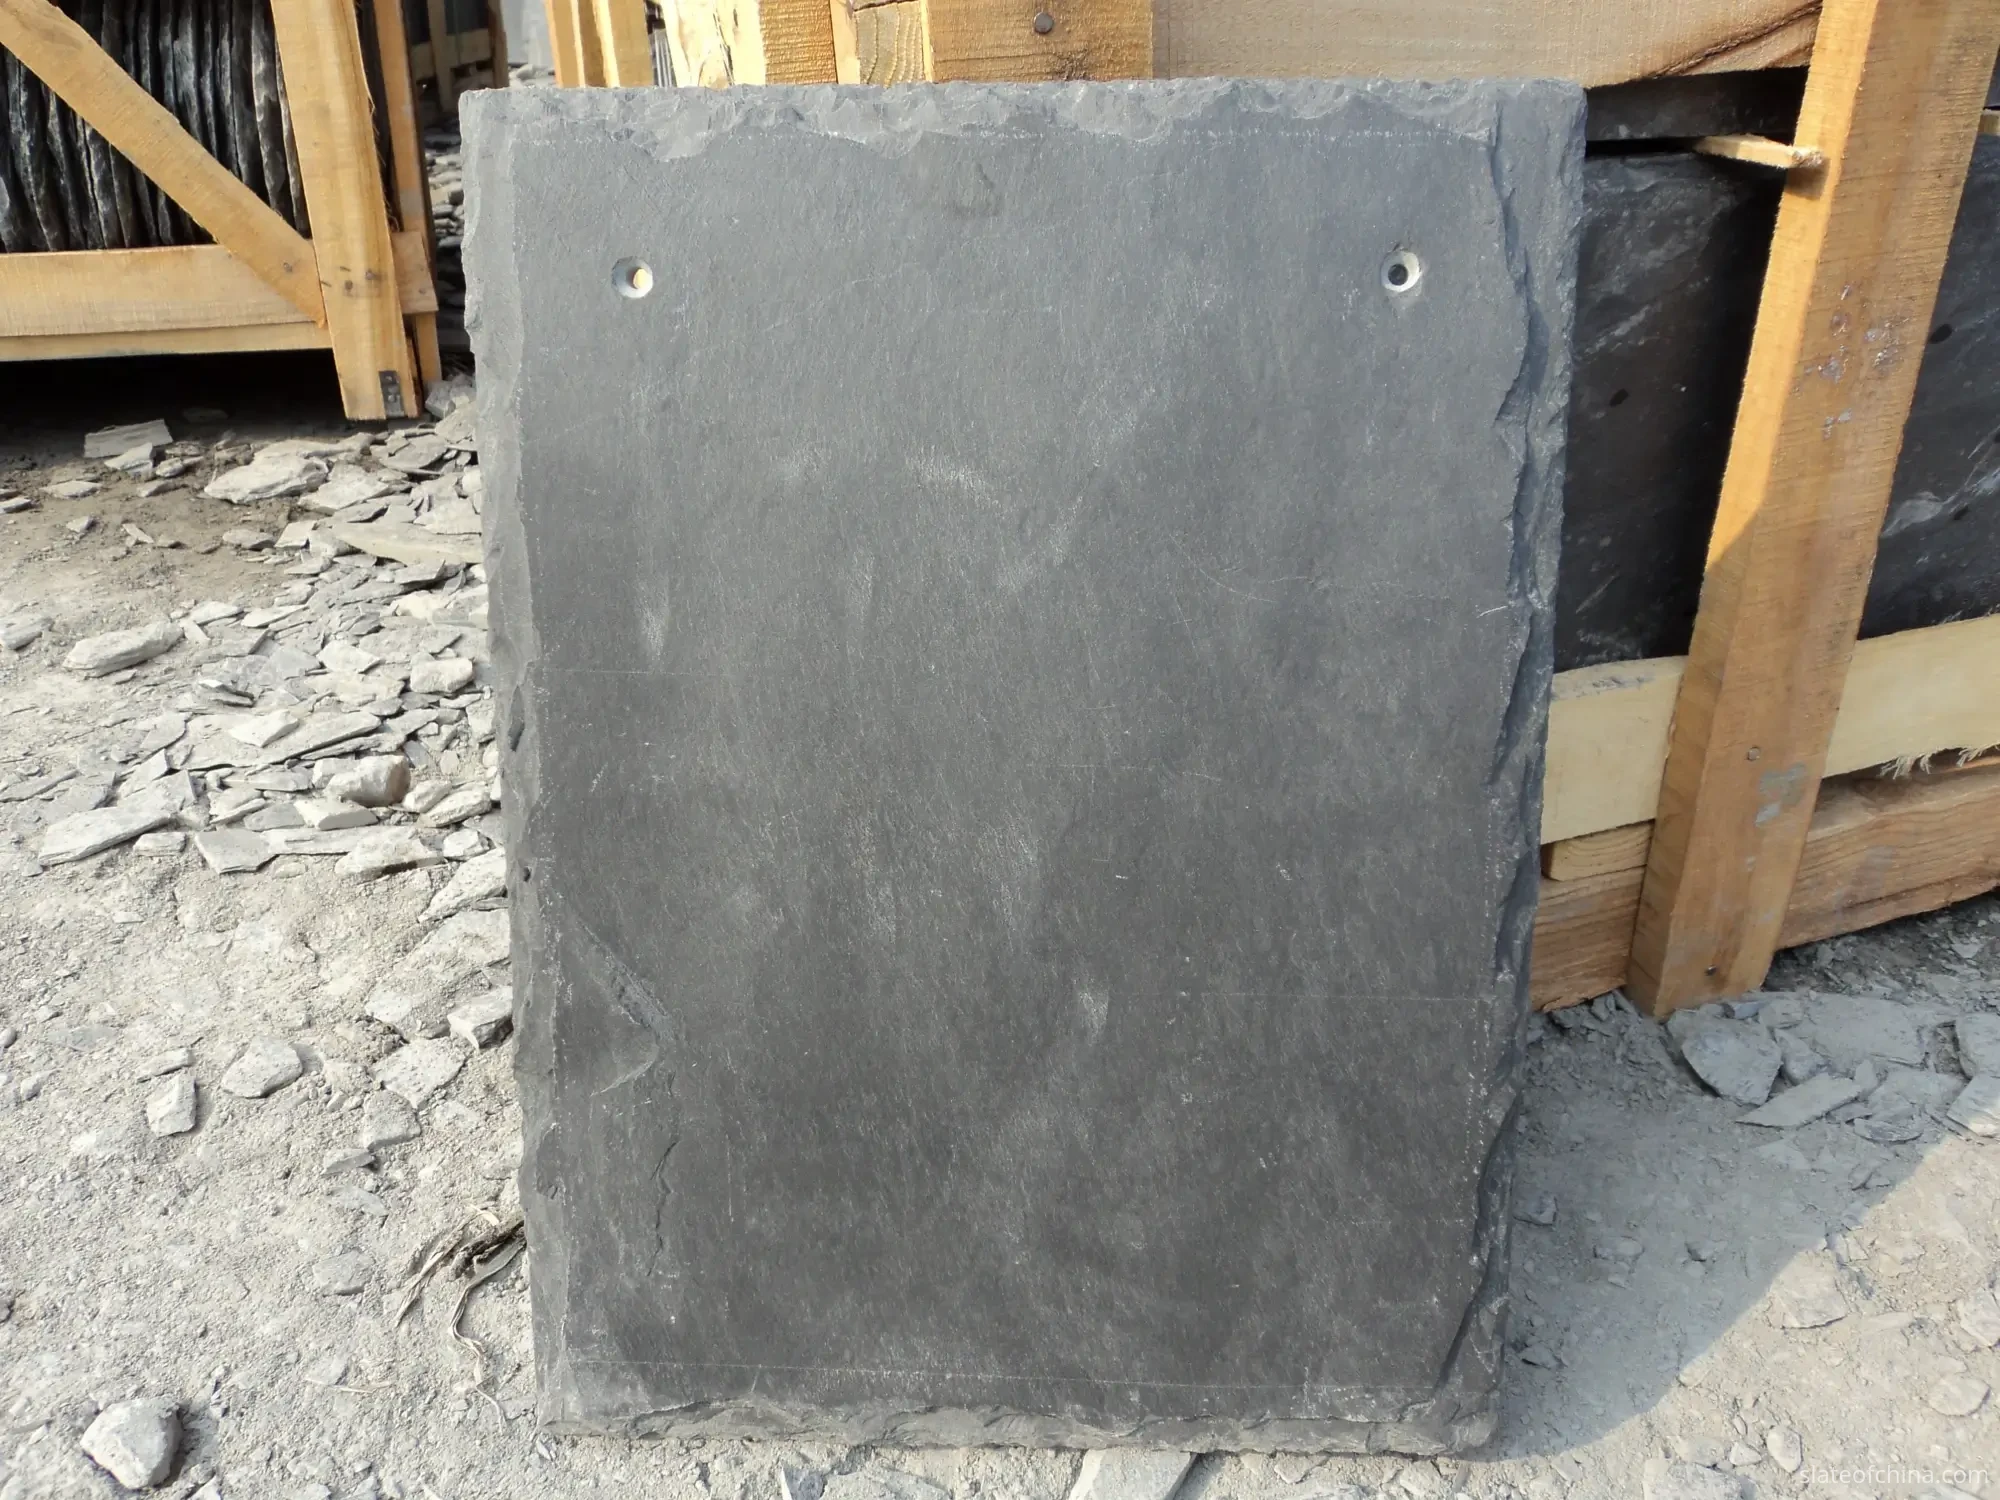
That chain of checks is the working method behind every roofing slate enquiry we handle at our Jiujiang works — pitch, exposure, size, punching, then the number. The natural roofing slate range shows the sizes we hold, and the technical sheet that travels with each quotation states the hole positions, so the headlap agreed on paper is the headlap that arrives in the crate.
Send us the pitch — we will send back the number.
We are a slate works in Jiujiang, China, supplying EN 12326 / ASTM C406 tested roofing slate to international projects. Give us the pitch, the area and the exposure conditions, and we will reply with the slate size, headlap, gauge and the fixing pattern that supports them — every slate individually inspected before it is packed.
Send your roof measurements →