
How to Match Replacement Slate
There is a particular kind of disappointment that only slate roof owners know. The leak is fixed. The roofer has gone. And from the driveway, the repair announces itself like a filling in a white smile — one tile, half a shade too blue, sitting in a field of weathered charcoal.
The roof doesn't leak any more. It just looks wrong. Neighbours notice. Surveyors notice. And when the time comes to sell, buyers notice too.
Matching replacement slate to an existing roof is not a matter of luck. It is a method — one that professional restorers and salvage merchants have refined over decades, and one that most people learn only after getting it wrong once. This guide walks through that method step by step: how to read the evidence on your own roof, how to measure what actually matters, how to order slate that will blend rather than shout, and how to place it so that in five years nobody, including you, can find the patch.
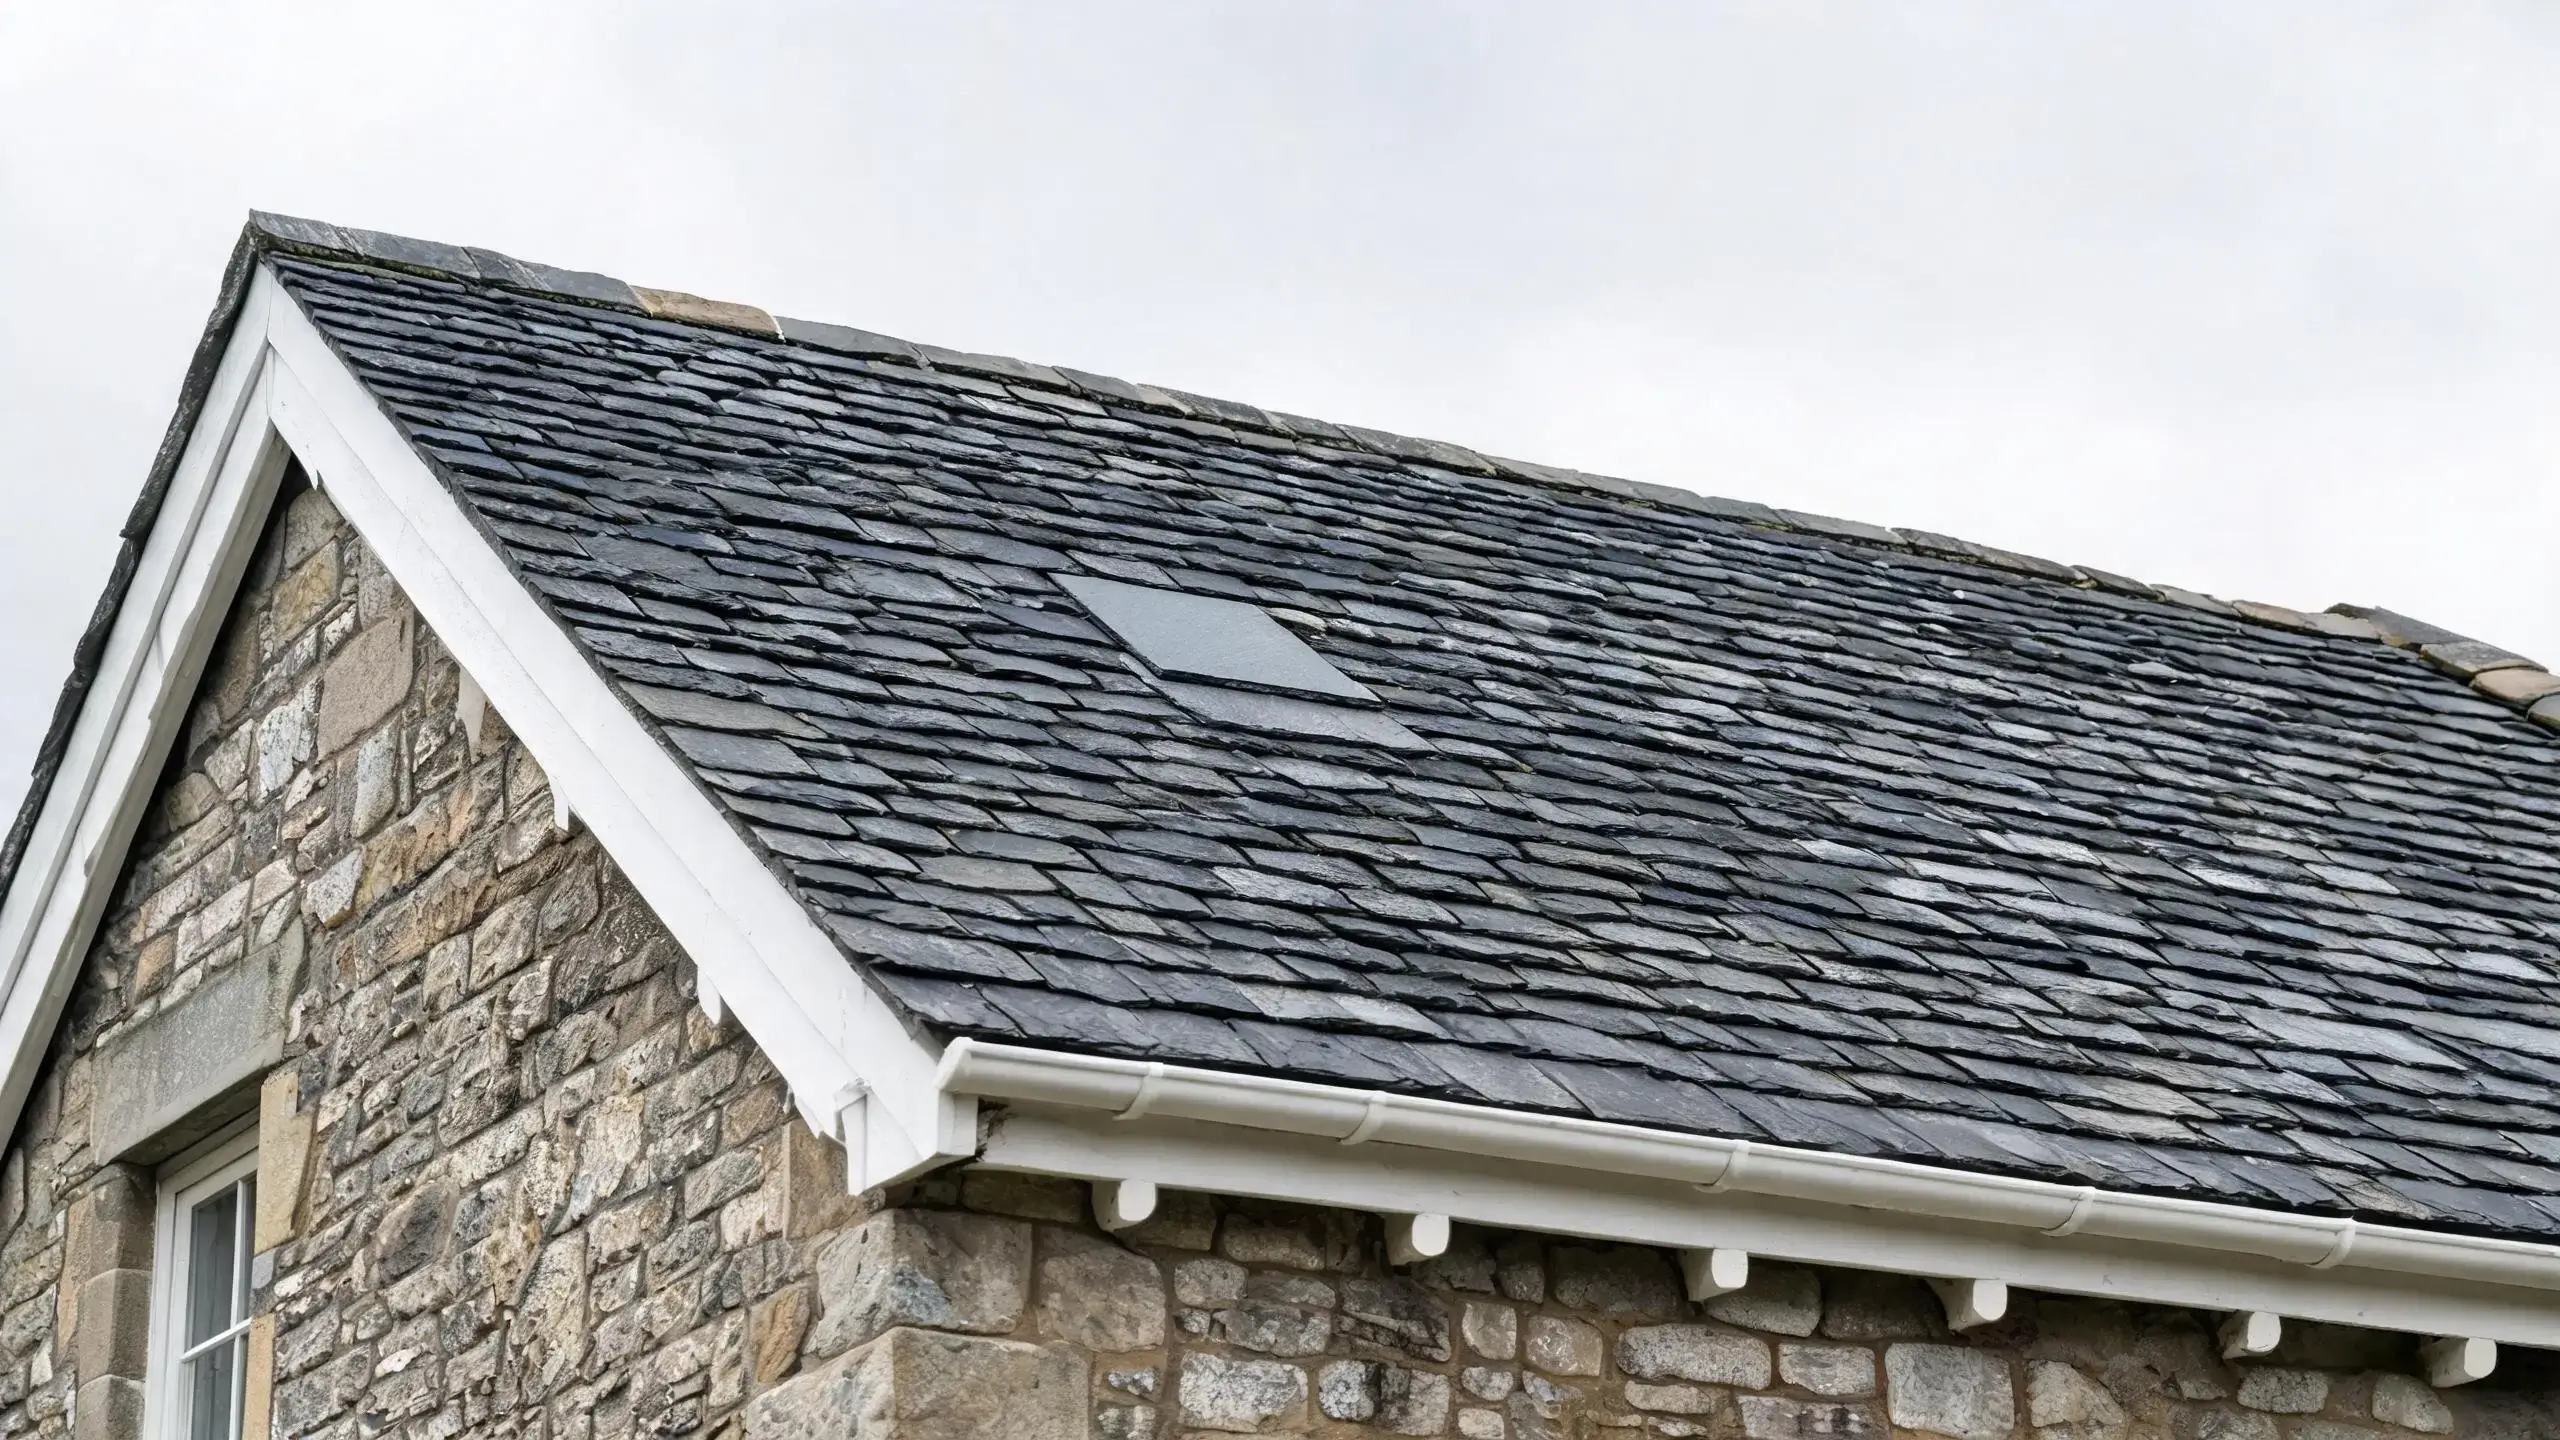
The short version: match in this order — (1) harvest the evidence: take the broken fragment off the roof, it is your only honest colour reference; (2) measure the tile: length, width and thickness to the half-millimetre; (3) order by range, not by name: give the supplier "no lighter than / no darker than" colour codes and a thickness band; (4) audition the tiles dry on the ground against the fragment before they go up; (5) place them where the pattern already breaks, and let time finish the job. A patch done this way disappears within a few seasons.
Why Slate Is Harder to Match Than Any Other Roofing Material
A cracked concrete tile can be ordered back by product code. A faded clay tile can be aged with patience. Slate is different, because slate is not manufactured — it is quarried. Two blocks taken from adjacent levels of the same quarry can differ in tone. Two batches cut in different years, or dried in different seasons, can differ more still.
The colour of slate comes from its mineral content — the balance of carbon, iron compounds and chlorite in the original mudstone — and the weathering on top of that colour comes from decades of sunlight, rain and airborne grime. So when you match a replacement tile, you are actually matching two things at once: the base colour of the new slate, and the weathered colour of the old roof. They are not the same, and confusing them is the single most common mistake.
A new tile that matches the roof today will keep weathering after installation. If you match an old weathered surface with a new tile that starts life already dark, the patch will end up too dark within a decade. The goal is to match the direction the old roof is heading, not just the point where it stands — a rule restorers summarise as match the family, not the moment.
Step 1: Harvest the Evidence Before It Disappears
Every matching job begins with a fragment. When a slate cracks, the broken pieces are usually still lying on the roof or in the gutter when the contractor leaves — and the fastest way to ruin a patch job is to throw them away.
The broken fragment is valuable for three reasons. First, it shows the true base colour of the roof: the underside of a slate, protected from sun and rain, preserves a colour much closer to how the tile looked the day it was installed. The upper face is weathered; the underside is the original. Second, the fracture face reveals the texture and grain — how the slate splits, how coarse or silky the cleavage surface is. Third, the fragment gives you a physical sample to send to a supplier, which beats any photograph ever taken.
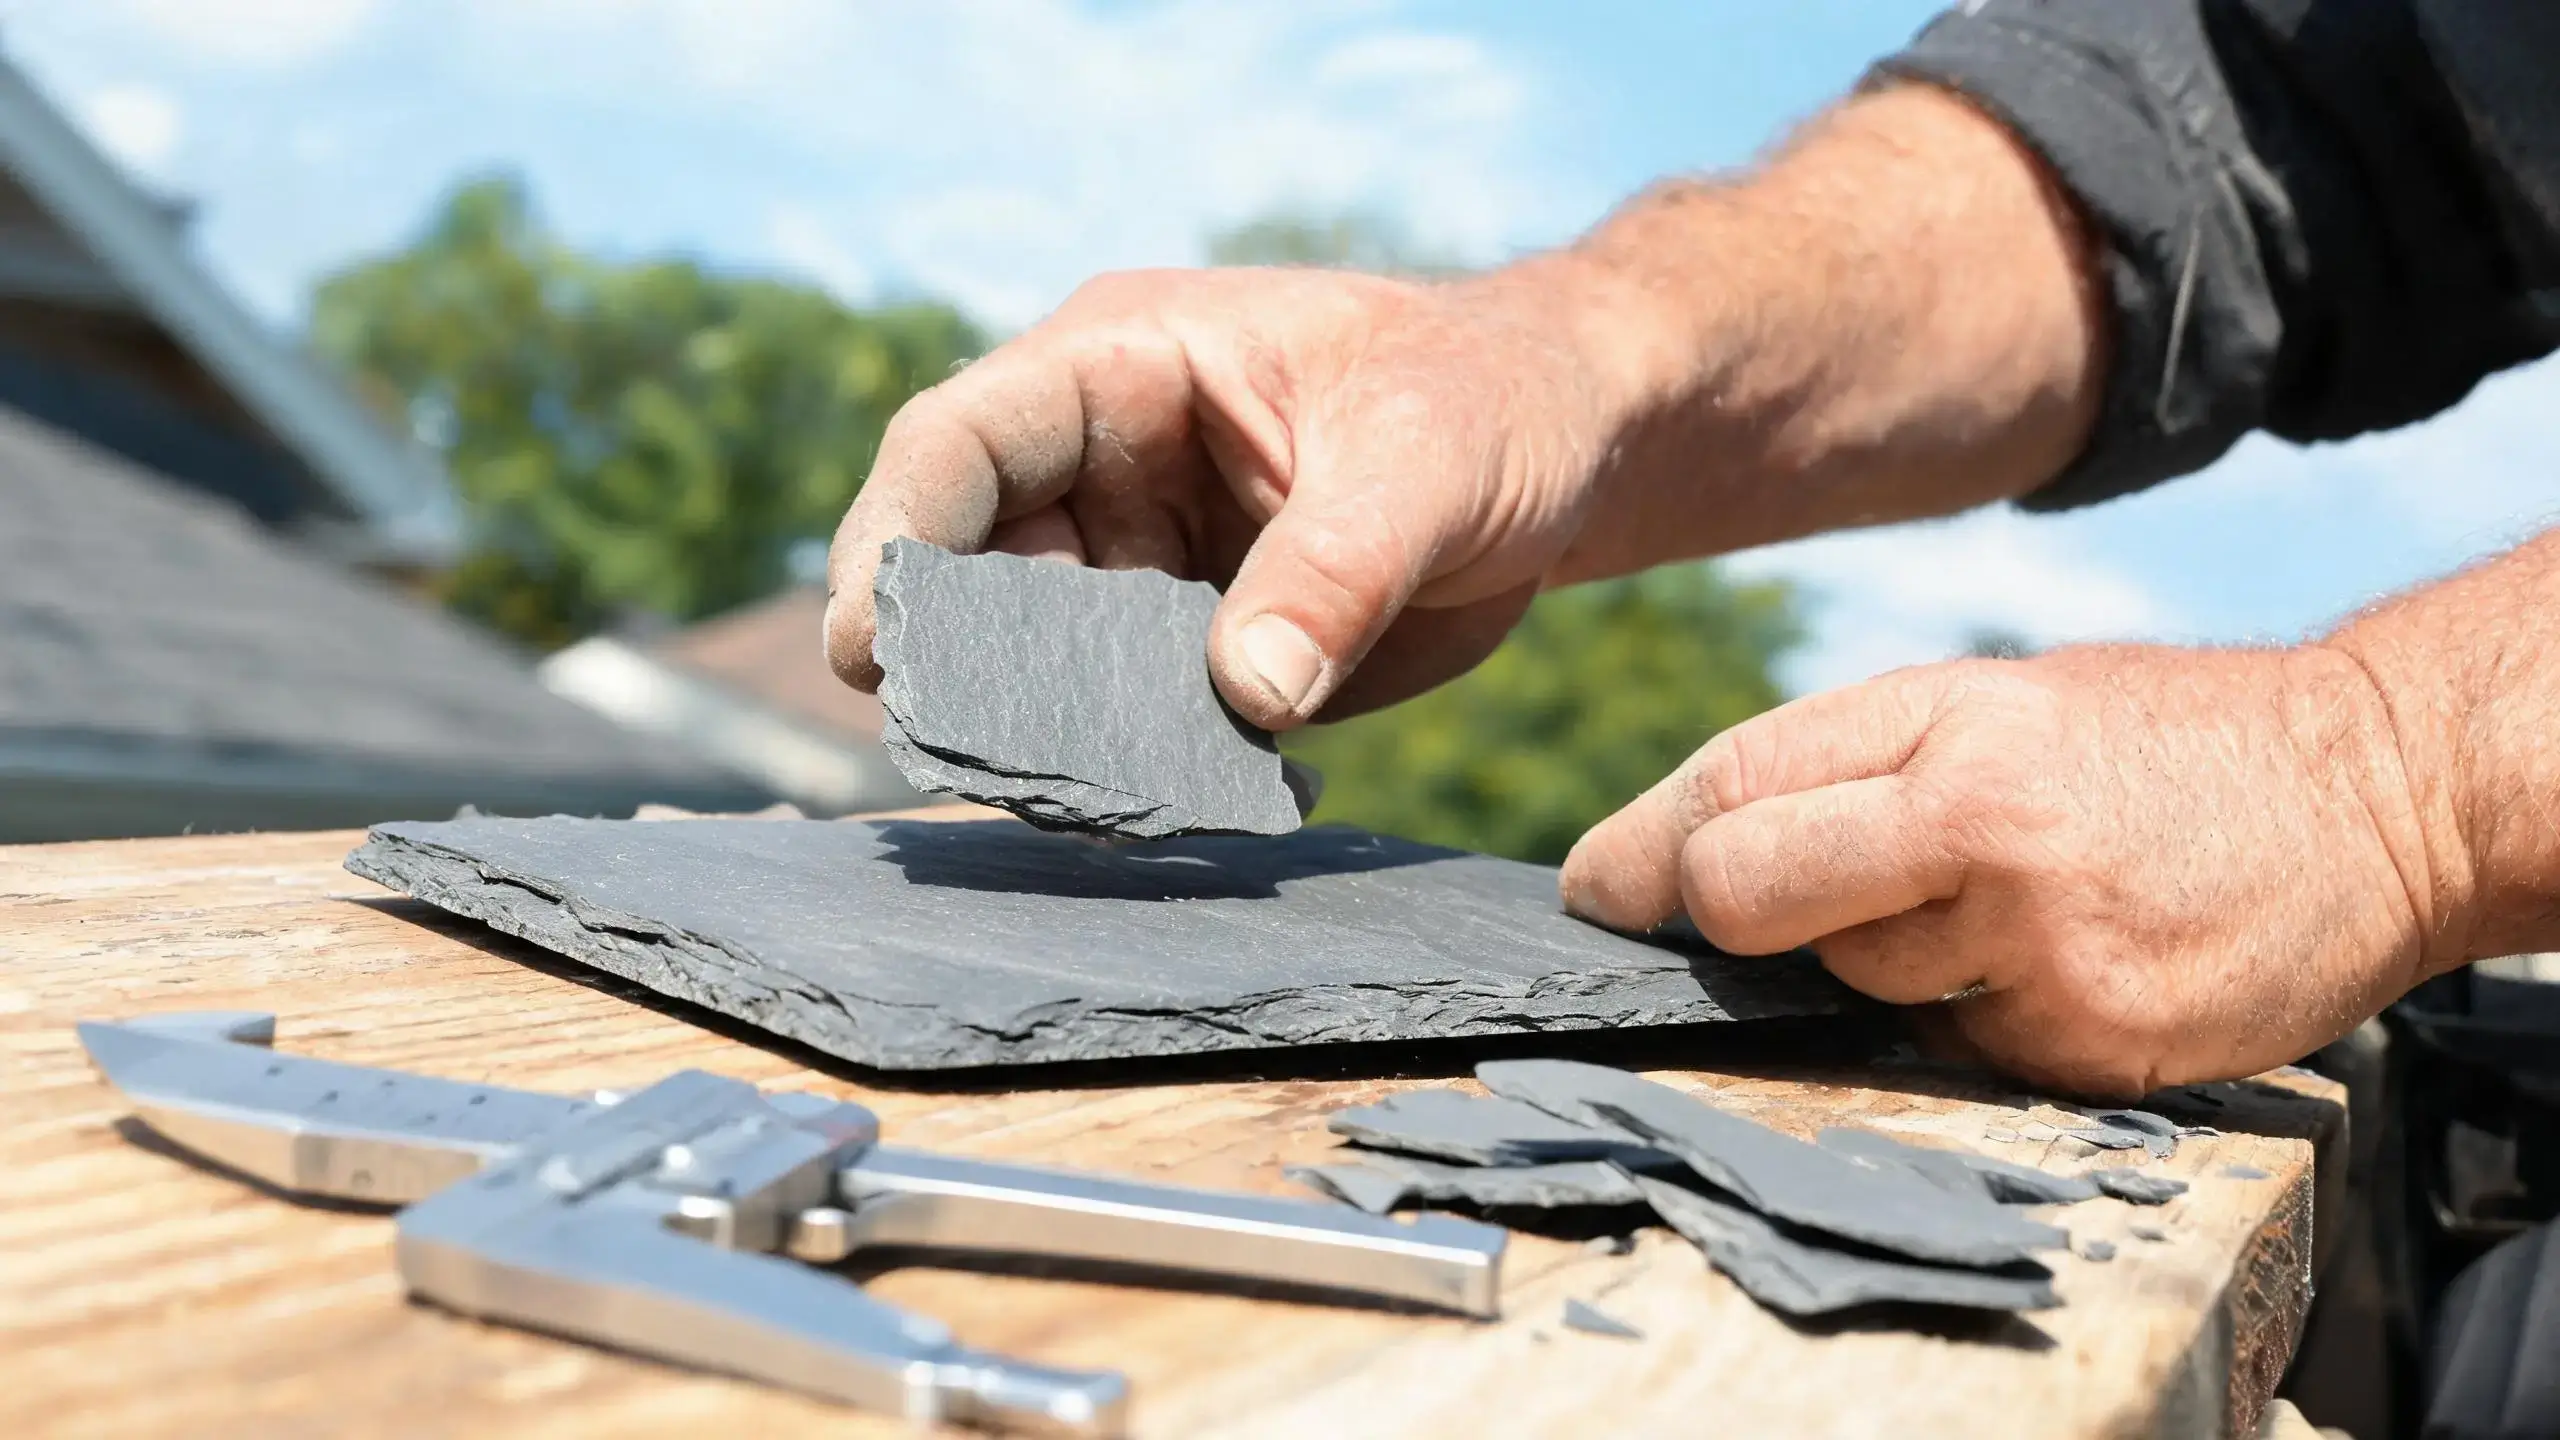
One caution: photographs lie. Interior lighting turns blue-grey into olive, phone auto-white-balance corrects away the very difference you are trying to communicate, and a photo cannot carry texture at all. Suppliers who ask for "a photo of your roof" are really asking to be disappointed. Send the stone itself. In a decade of matching work I have learned this trade's cheapest lesson: a fragment the size of a playing card, couriered to the supplier, is worth more than a full camera roll of the roof — a piece of stone buys more accuracy than a folder of pixels.
If the original fragments are long gone, take a substitute: one small, already-loose or sacrificial tile from a hidden area — behind a chimney, at the eaves behind a gutter, inside a valley. Never take it from the middle of a visible slope. And if nothing can be spared, a chip snapped from the underside corner of an existing tile (a corner that sits under the next course) still carries the base colour and texture.
Step 2: Measure What the Eye Sees — and What It Doesn't
Colour gets the blame, but it is rarely the only offender. The eye reads a patch from the ground using several signals, and they can be ranked roughly in order of how far away they register:
- Size and proportion — visible from across the street. A tile of the wrong length breaks the course rhythm immediately.
- Thickness — visible from the driveway. A tile thicker or thinner than its neighbours casts different shadows; the human eye sees those shadow lines before it consciously sees colour.
- Surface texture — visible from the garden path. A smooth machine-finished face against rough riven neighbours reads as a different material.
- Colour — visible up close, and the most forgiving of the four, because natural slate tolerates gentle tonal variation better than any other roof covering.
This ranking surprises people. It means the measurements matter more than the colour matching — and it explains why a patch can look wrong even when the colour is "right".
Measuring the tile
Measure one undamaged tile — not the broken one, which may have shifted or lost edges — and record three numbers: length, width, and thickness. For length and width, measure to the half-millimetre with a steel rule; typical UK roofs carry 500×250 mm or 600×300 mm slates, but plenty of older roofs carry imperial sizes or regional oddities that no modern catalogue reproduces exactly. A 460×230 mm slate, for instance, was once common and is now a special order.
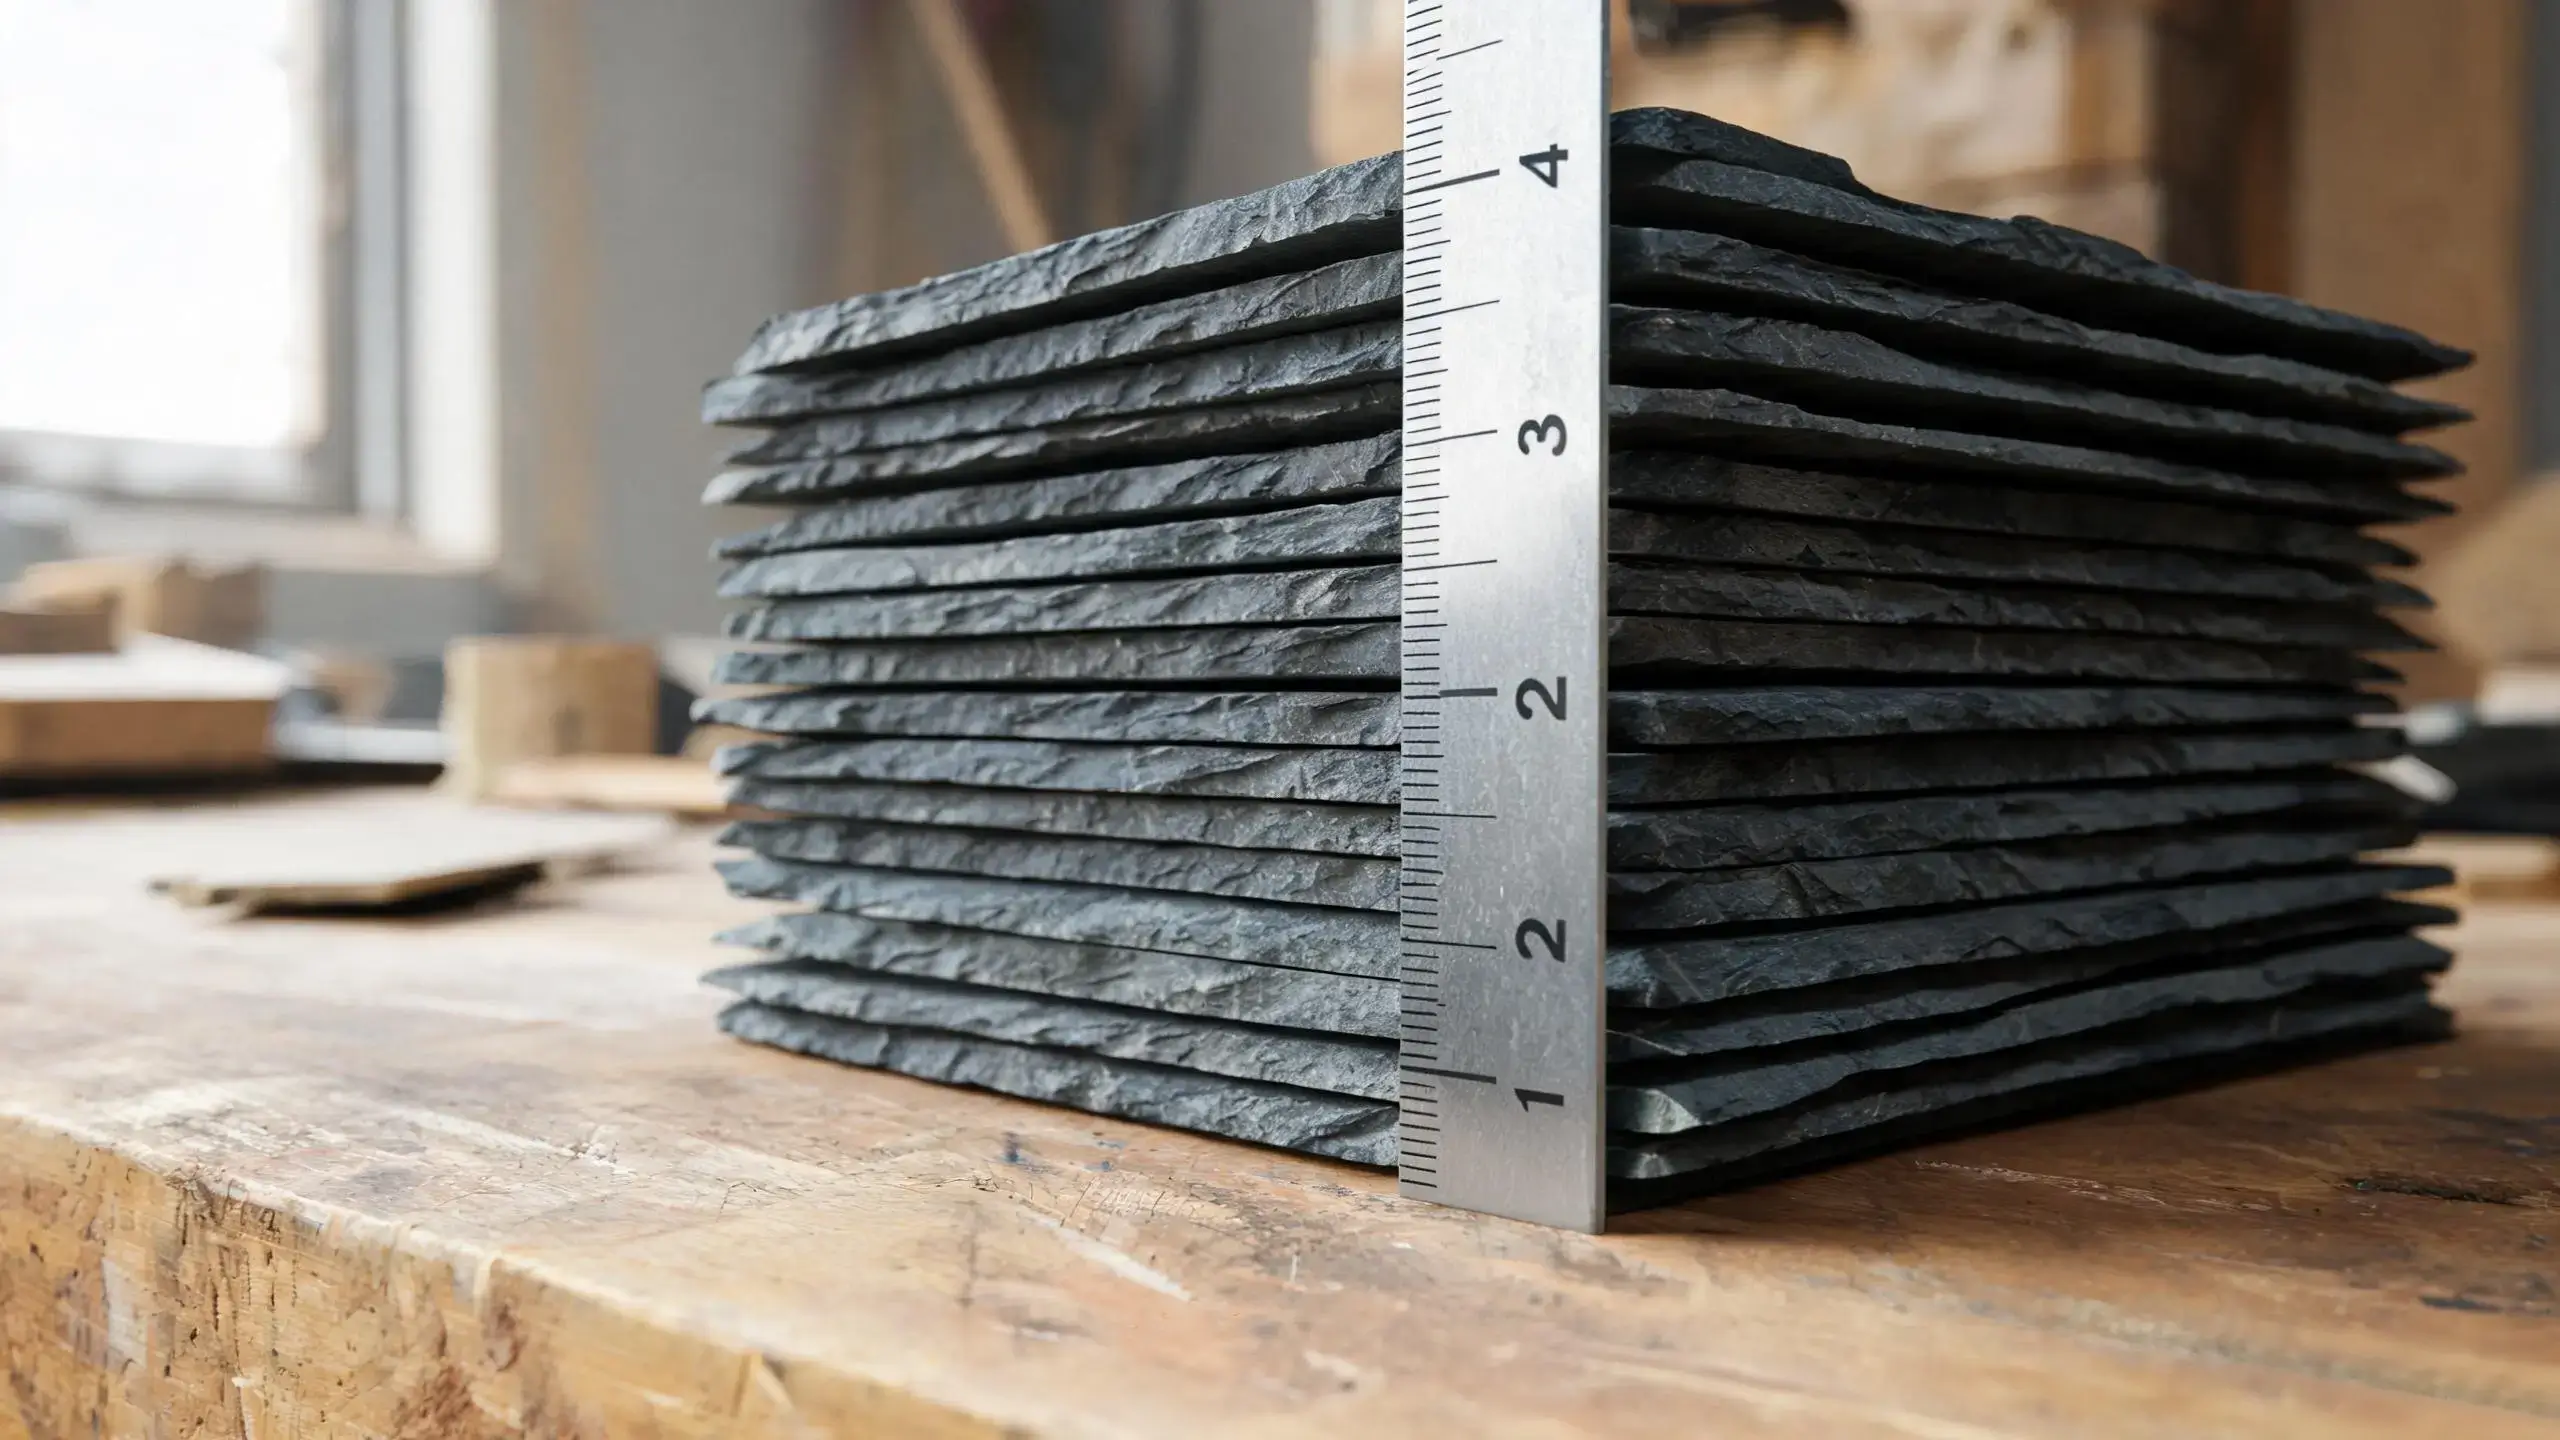
For thickness, measure the tile at the centre of its free edge with calipers, and take a second reading near a corner. Dimensional grades run roughly 4–6 mm, 6–8 mm and 8–10 mm for roofing work, and the difference between neighbouring bands is exactly the kind that throws a visible shadow line. A tile that is a full millimetre or two thicker than its neighbours will sit proud, catch light differently and stay obvious for years. If your roof carries the common 6–8 mm grade, say so — but confirm with the stone, because the eye and the caliper should agree before you place the order.
Reading the colour properly
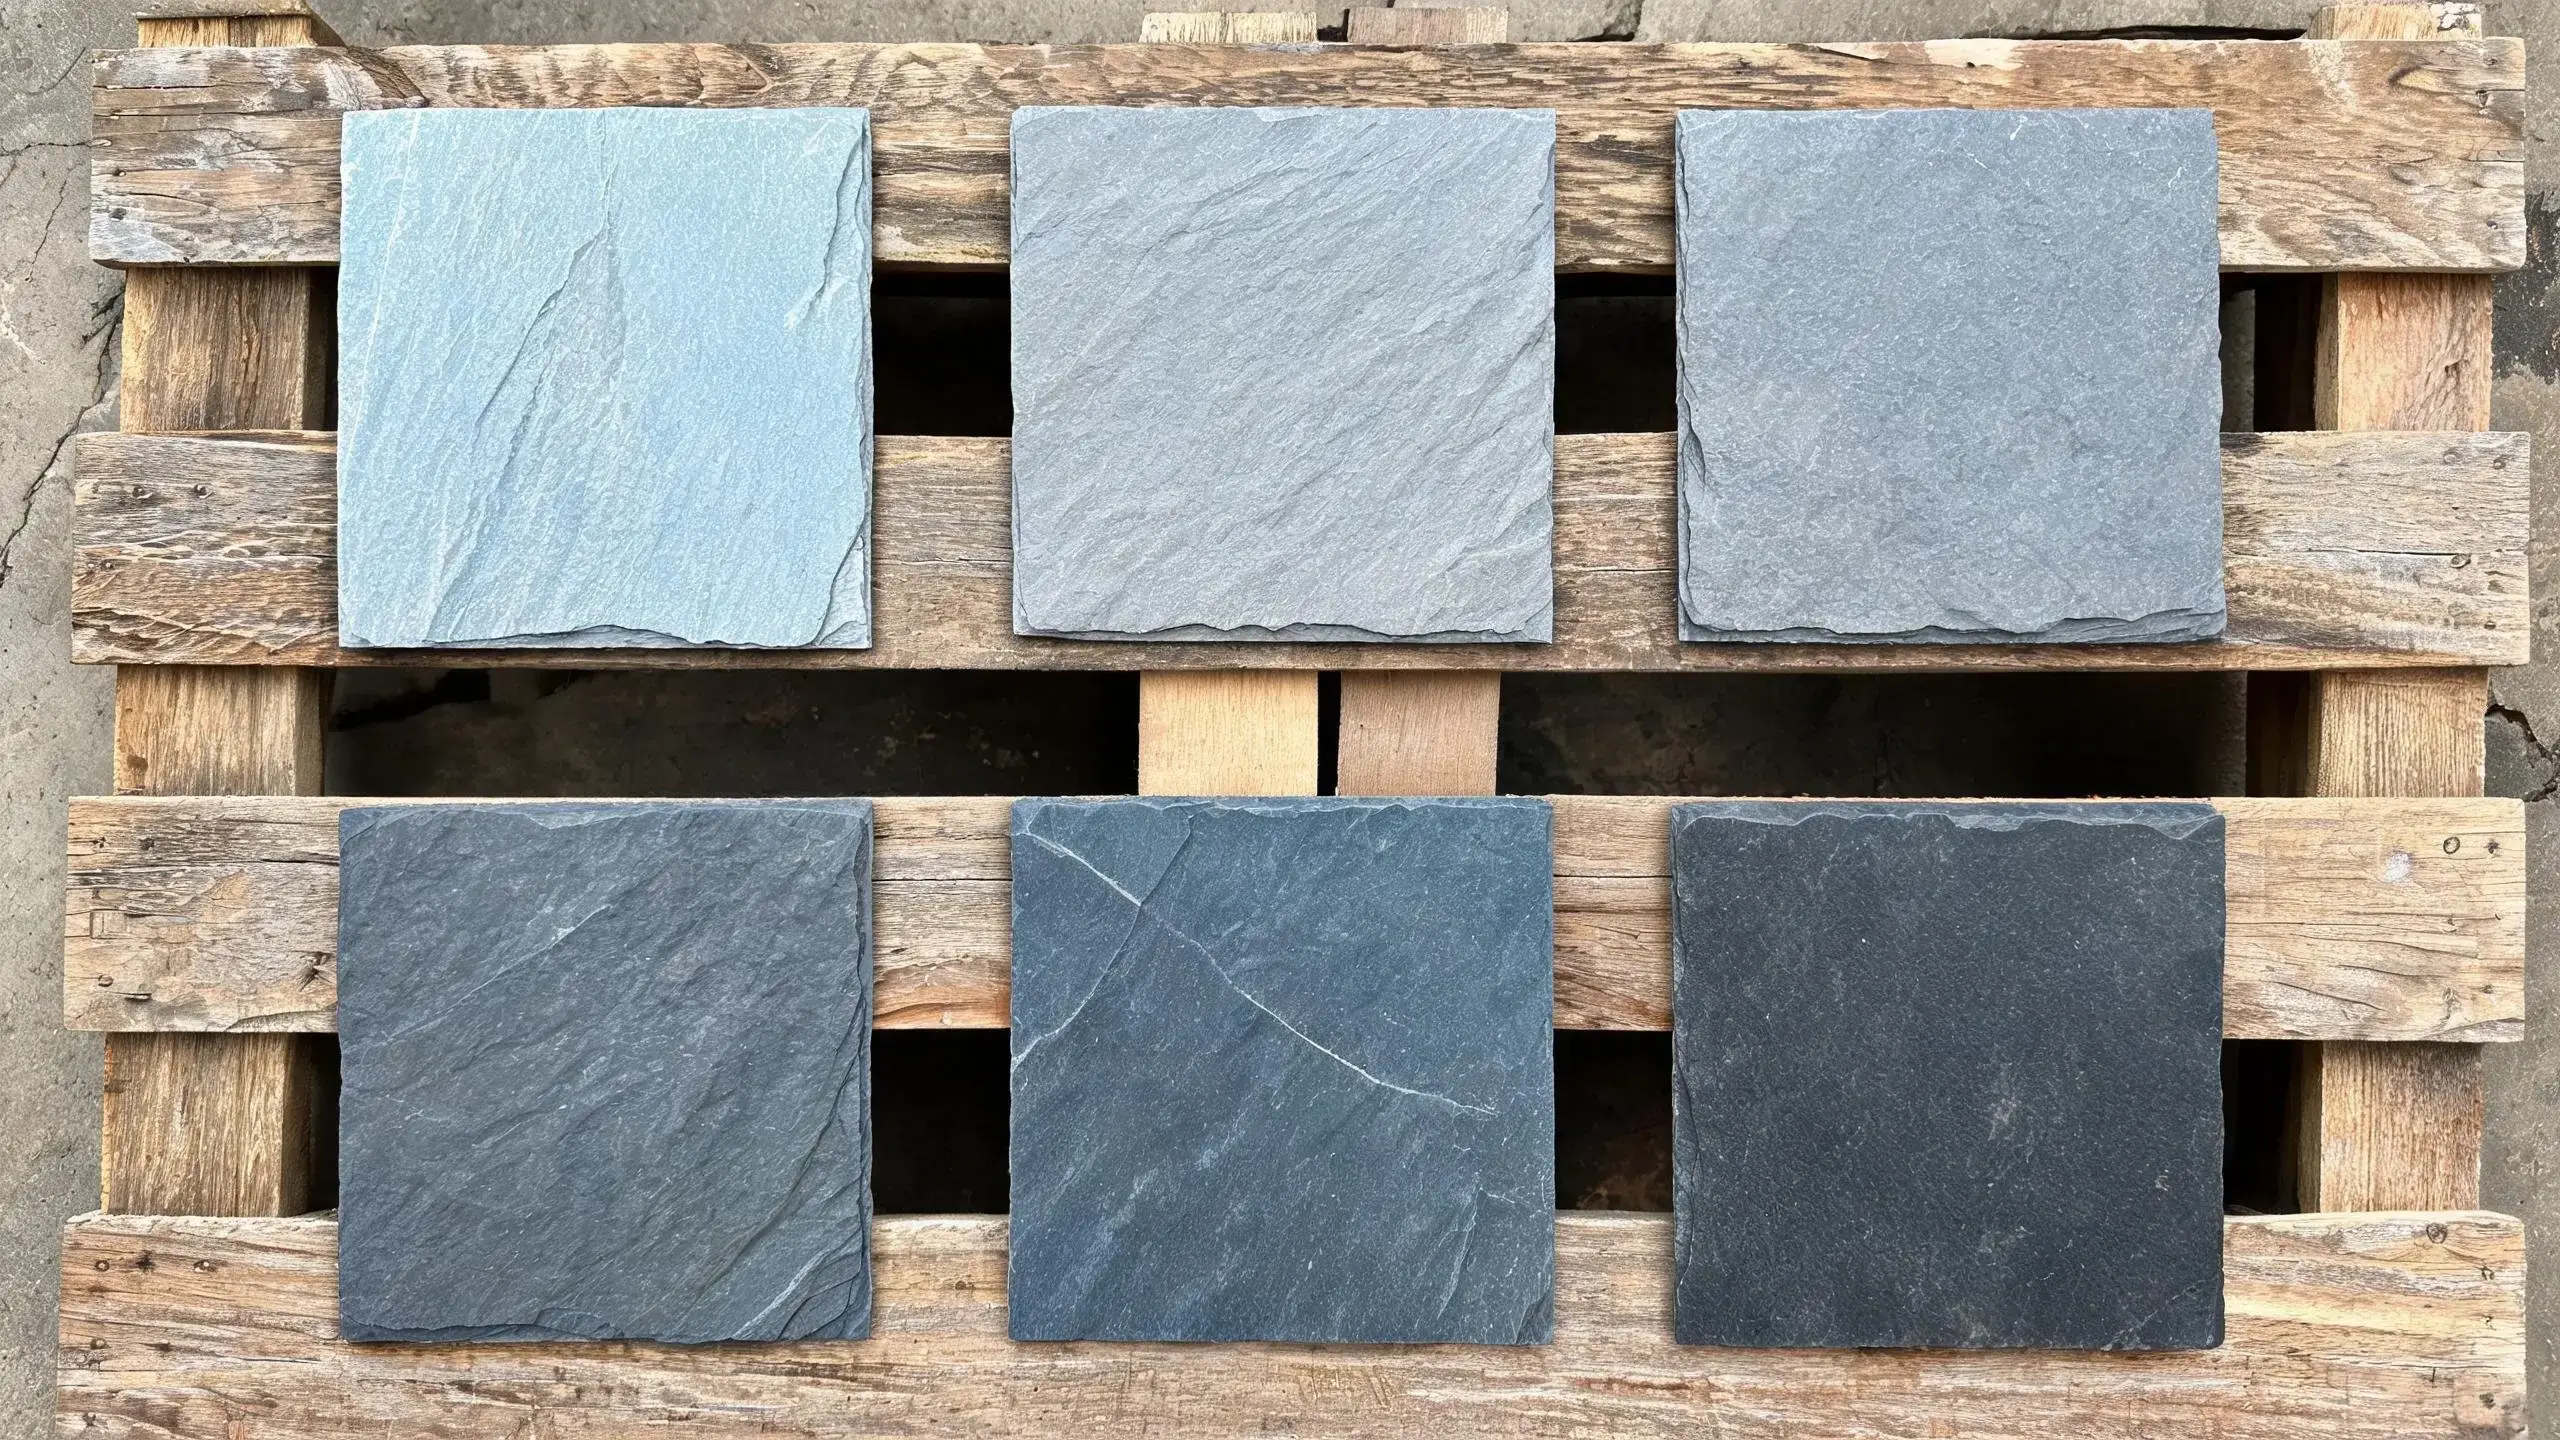
Now the colour — done in a way that survives shipping and seasons. Do not ask for "grey". Grey is a family, not a colour; a supplier can meet the word "grey" and still miss your roof by a visible margin. Instead, define the roof by its range endpoints: what is the lightest tile on the roof, and what is the darkest? Judge this on a dry day in natural light, from the ground, from the same distance most people will ever see the roof. Walk the perimeter once; roofs read differently from the front and the back, especially if one slope faces south and has bleached further.
The practical method used by restorers is the two-code rule: specify "no lighter than [shade A] and no darker than [shade B]", and ask the supplier to pull the order from within that band. Suppliers who grade by A/B/C shade codes — a discipline familiar from export packing, where tiles are grouped by tone before crating — can usually meet a two-code band without difficulty. The same discipline, applied in reverse, is exactly what you are doing on the roof: finding the roof's own band.
One more reading belongs in this step: the weathered cap. Look at an old tile end-on, and you will often see the top surface tone changes for the first few millimetres before giving way to the base colour underneath. That pale or darkened cap is years of weathering, and it is the cap your new tile does not have yet. If the roof is heavily weathered — deeply bleached, or carrying the gold-brown bloom of iron oxidation — say so to the supplier and ask for a shade one step away from the darkest reading, so that the tile can darken or bleach towards the roof over its first years instead of away from it.
Step 3: Order Like a Restorer, Not Like a Shopper
With evidence in hand, the ordering becomes almost clerical. The message to the supplier needs five things: the three measurements, the colour band with two endpoints, the quantity — and one line that amateurs never think to add: the purpose.
"This is a patch match to a 1930s roof; please select within the band, not to your standard shade" changes which crate the supplier opens. A supplier told the purpose will pull tiles deliberately; a supplier processing a line item will pull tiles conveniently. If the supplier offers shade codes — light / medium / dark, or an A/B/C letter system — give your band in their language.
Sample first. Five sample tiles, selected from within your band, cost a fraction of one wrong pallet, and they let you run the audition described in Step 4 before committing to a full order. Reputable suppliers treat samples as routine; be suspicious of any who resist sending them. When the samples arrive, check them against the fragment outdoors, under the same sky the roof lives under — never under kitchen lights, and never against memory.
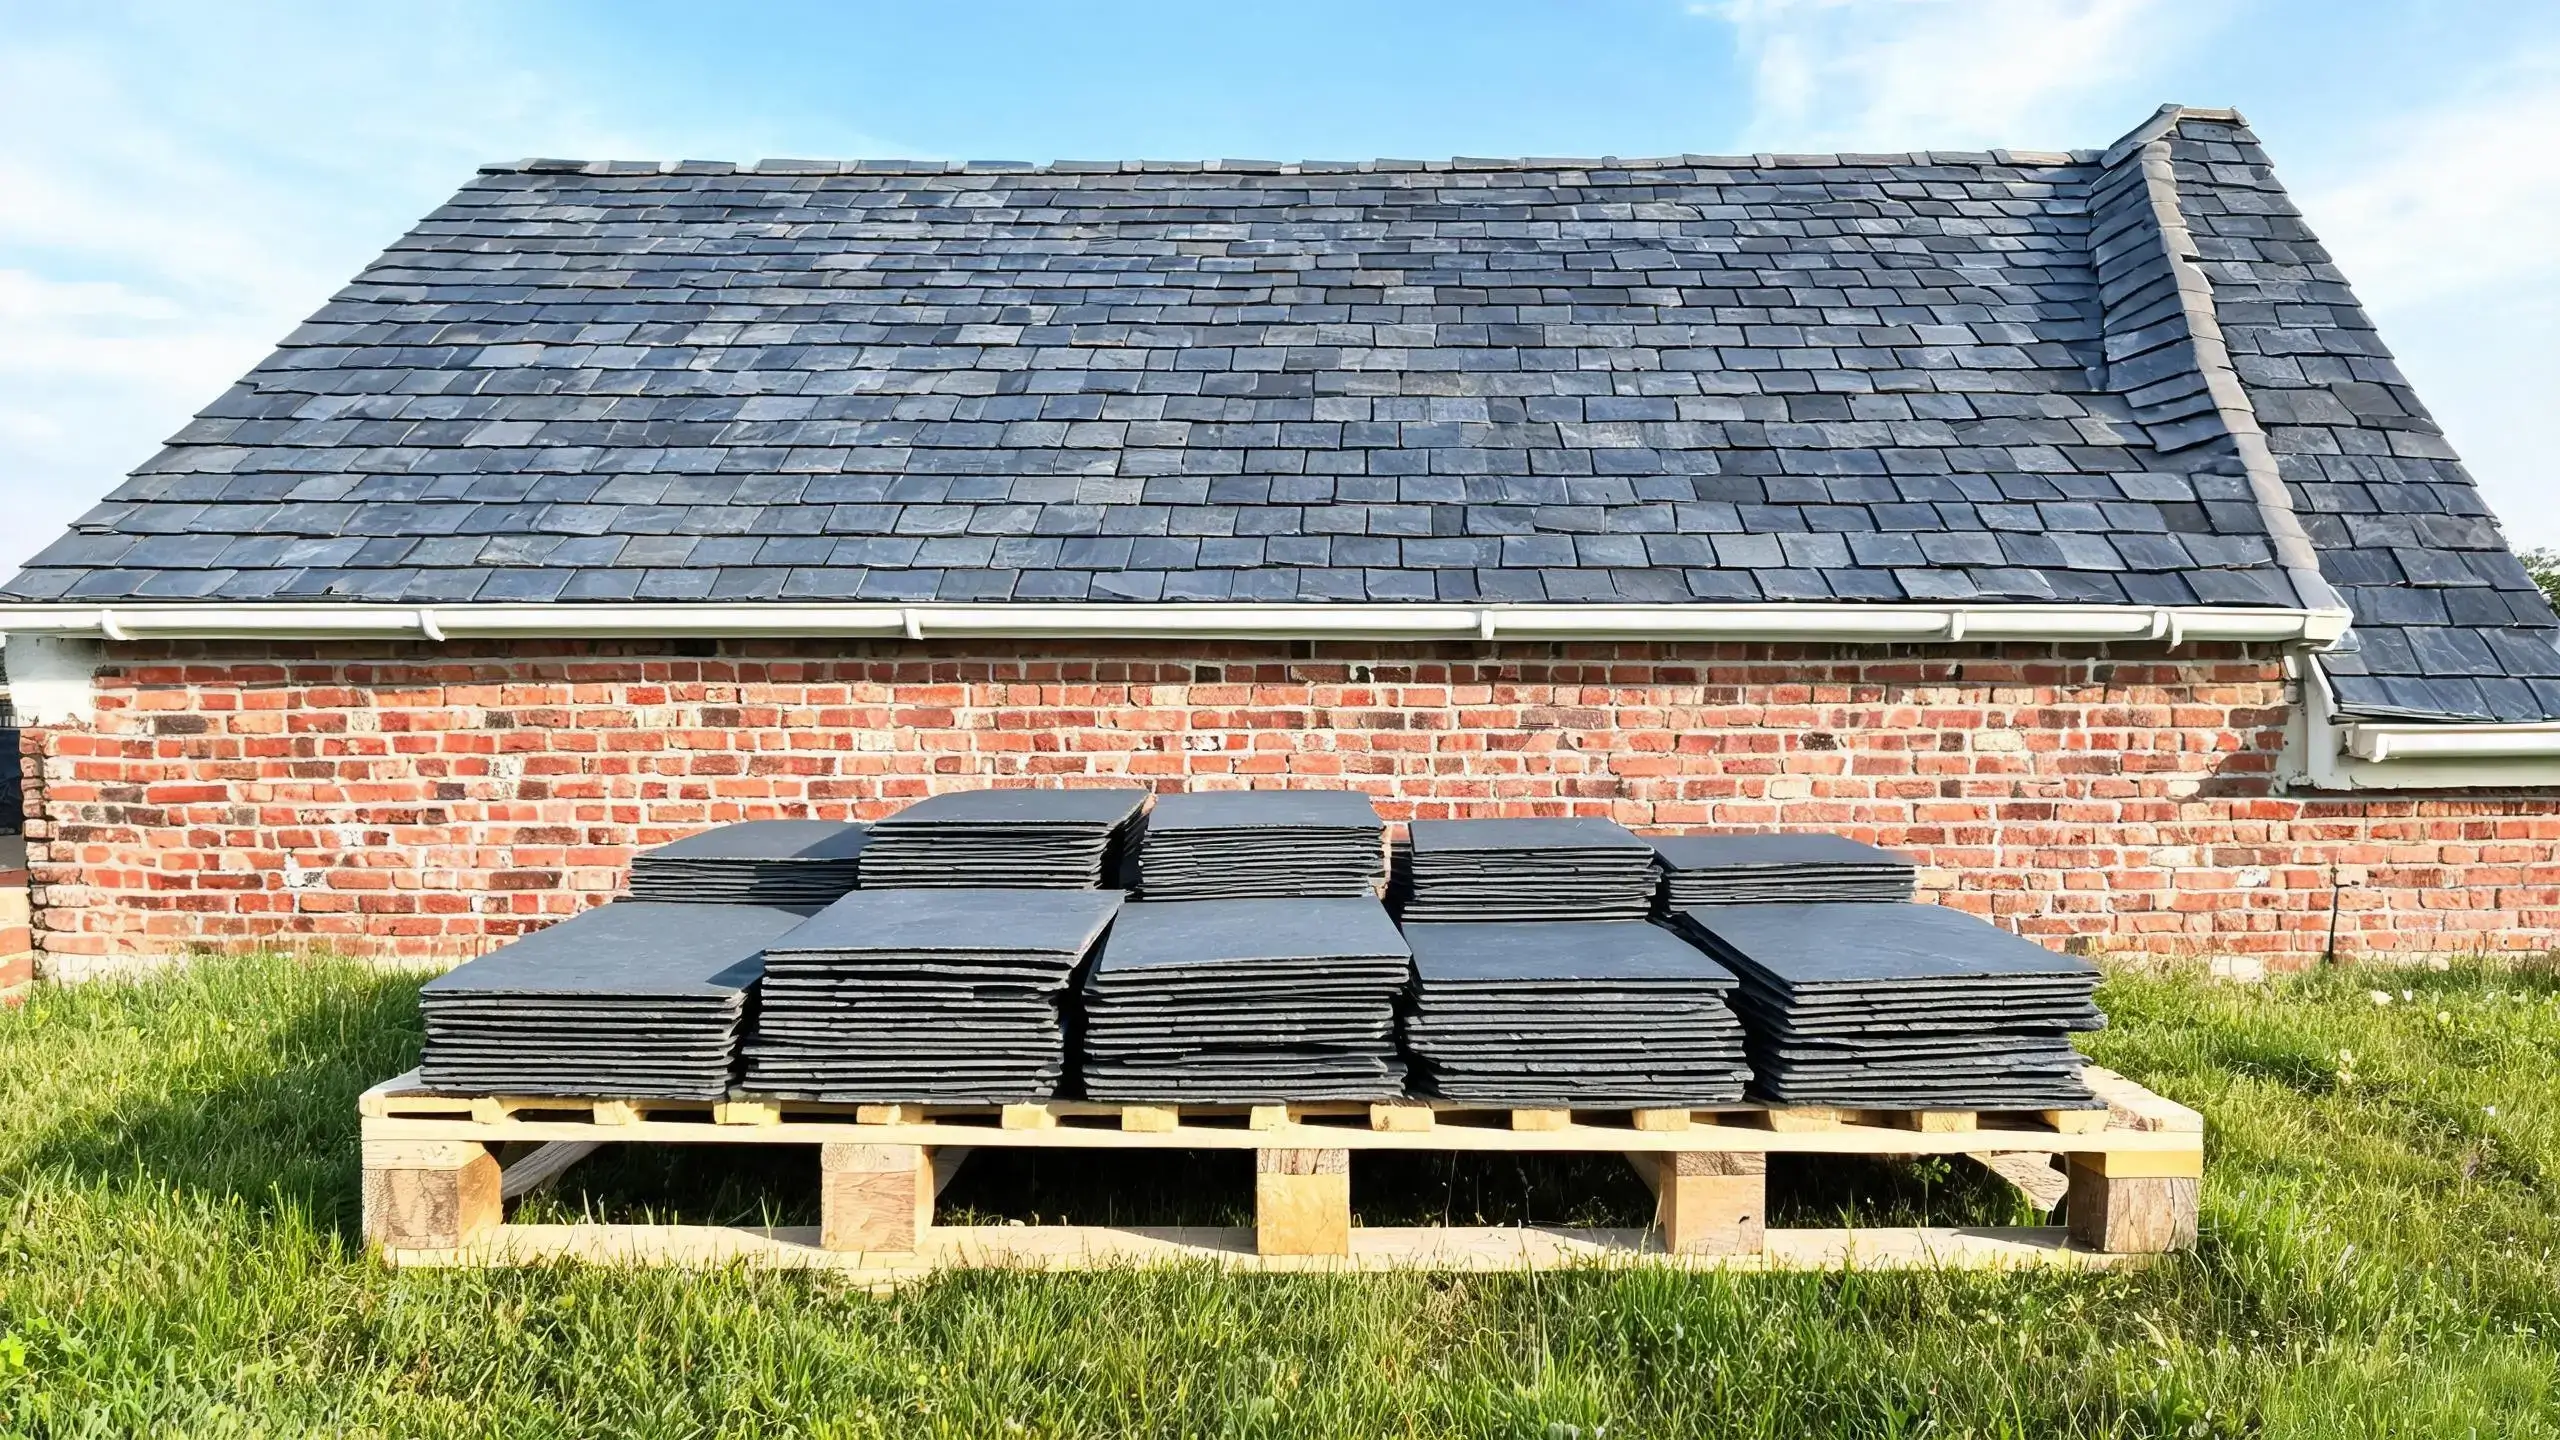
Quantity deserves one honest paragraph. Slate moves from a factory floor to a roof via forklifts, trucks, scaffolds and boots, and the trade plans for a small percentage of breakage in handling at every stage. For a patch job, add generous allowance — roughly ten percent on top of the count of tiles you need, or more for small jobs where one broken tile is one-fifth of the order. The breakage allowance is not pessimism; it is what separates a one-visit repair from a three-visit one, and the spare tiles left over belong in the loft, labelled, because your roof will ask for them again.
If the roof carries an imperial size or a texture the market no longer produces, the honest answer is a different decision — but before concluding that, ask about salvage. Reclaimed slate of the right vintage, graded and hole-punched, is the natural companion of this whole method: a tile that has already spent forty years weathering carries weathering you cannot order.
Step 4: The Dry Audition
Before any tile goes up the ladder, lay the candidates on the ground — on a plank, on the lawn, anywhere at eye level in open daylight — and compare them against the fragment and, if possible, against a photo of the slope taken from the ground on a dry day. This five-minute ritual is called the audition by the restorers I learned from, and it catches most mistakes at ground level, where mistakes cost nothing.
Three checks, in the order the eye will apply them from the street:
- Proportion first. Does the candidate hold the same length-to-width feel as the existing courses? A 500×250 tile in a 500×250 roof is invisible; a 510×255 near-match already disturbs the rhythm of the vertical joints.
- Thickness second. Stack the candidate on the fragment and sight along the edge. The eye reads a proud or shy edge instantly at this range, saving you from discovering it from the driveway.
- Colour last. Hold the fragment's weathered face beside the candidate's fresh face. Accept a candidate one step fresher than the roof — it will close the distance as it weathers. Reject anything that photographs differently from the roof in natural light, because that difference will not age away; it will only become more obvious.
Discard brutally. The audition exists precisely so that the discards happen on the lawn. A tile that survives all three checks goes up; a tile that only "probably" matches stays down, because on the roof, "probably" is the first word of every visible patch.
Step 5: Placement — Where a Patch Disappears
The final step happens on the roof, and it is as much about where as about what. A well-matched tile in the wrong position can still catch the eye; the same tile in the right position vanishes.
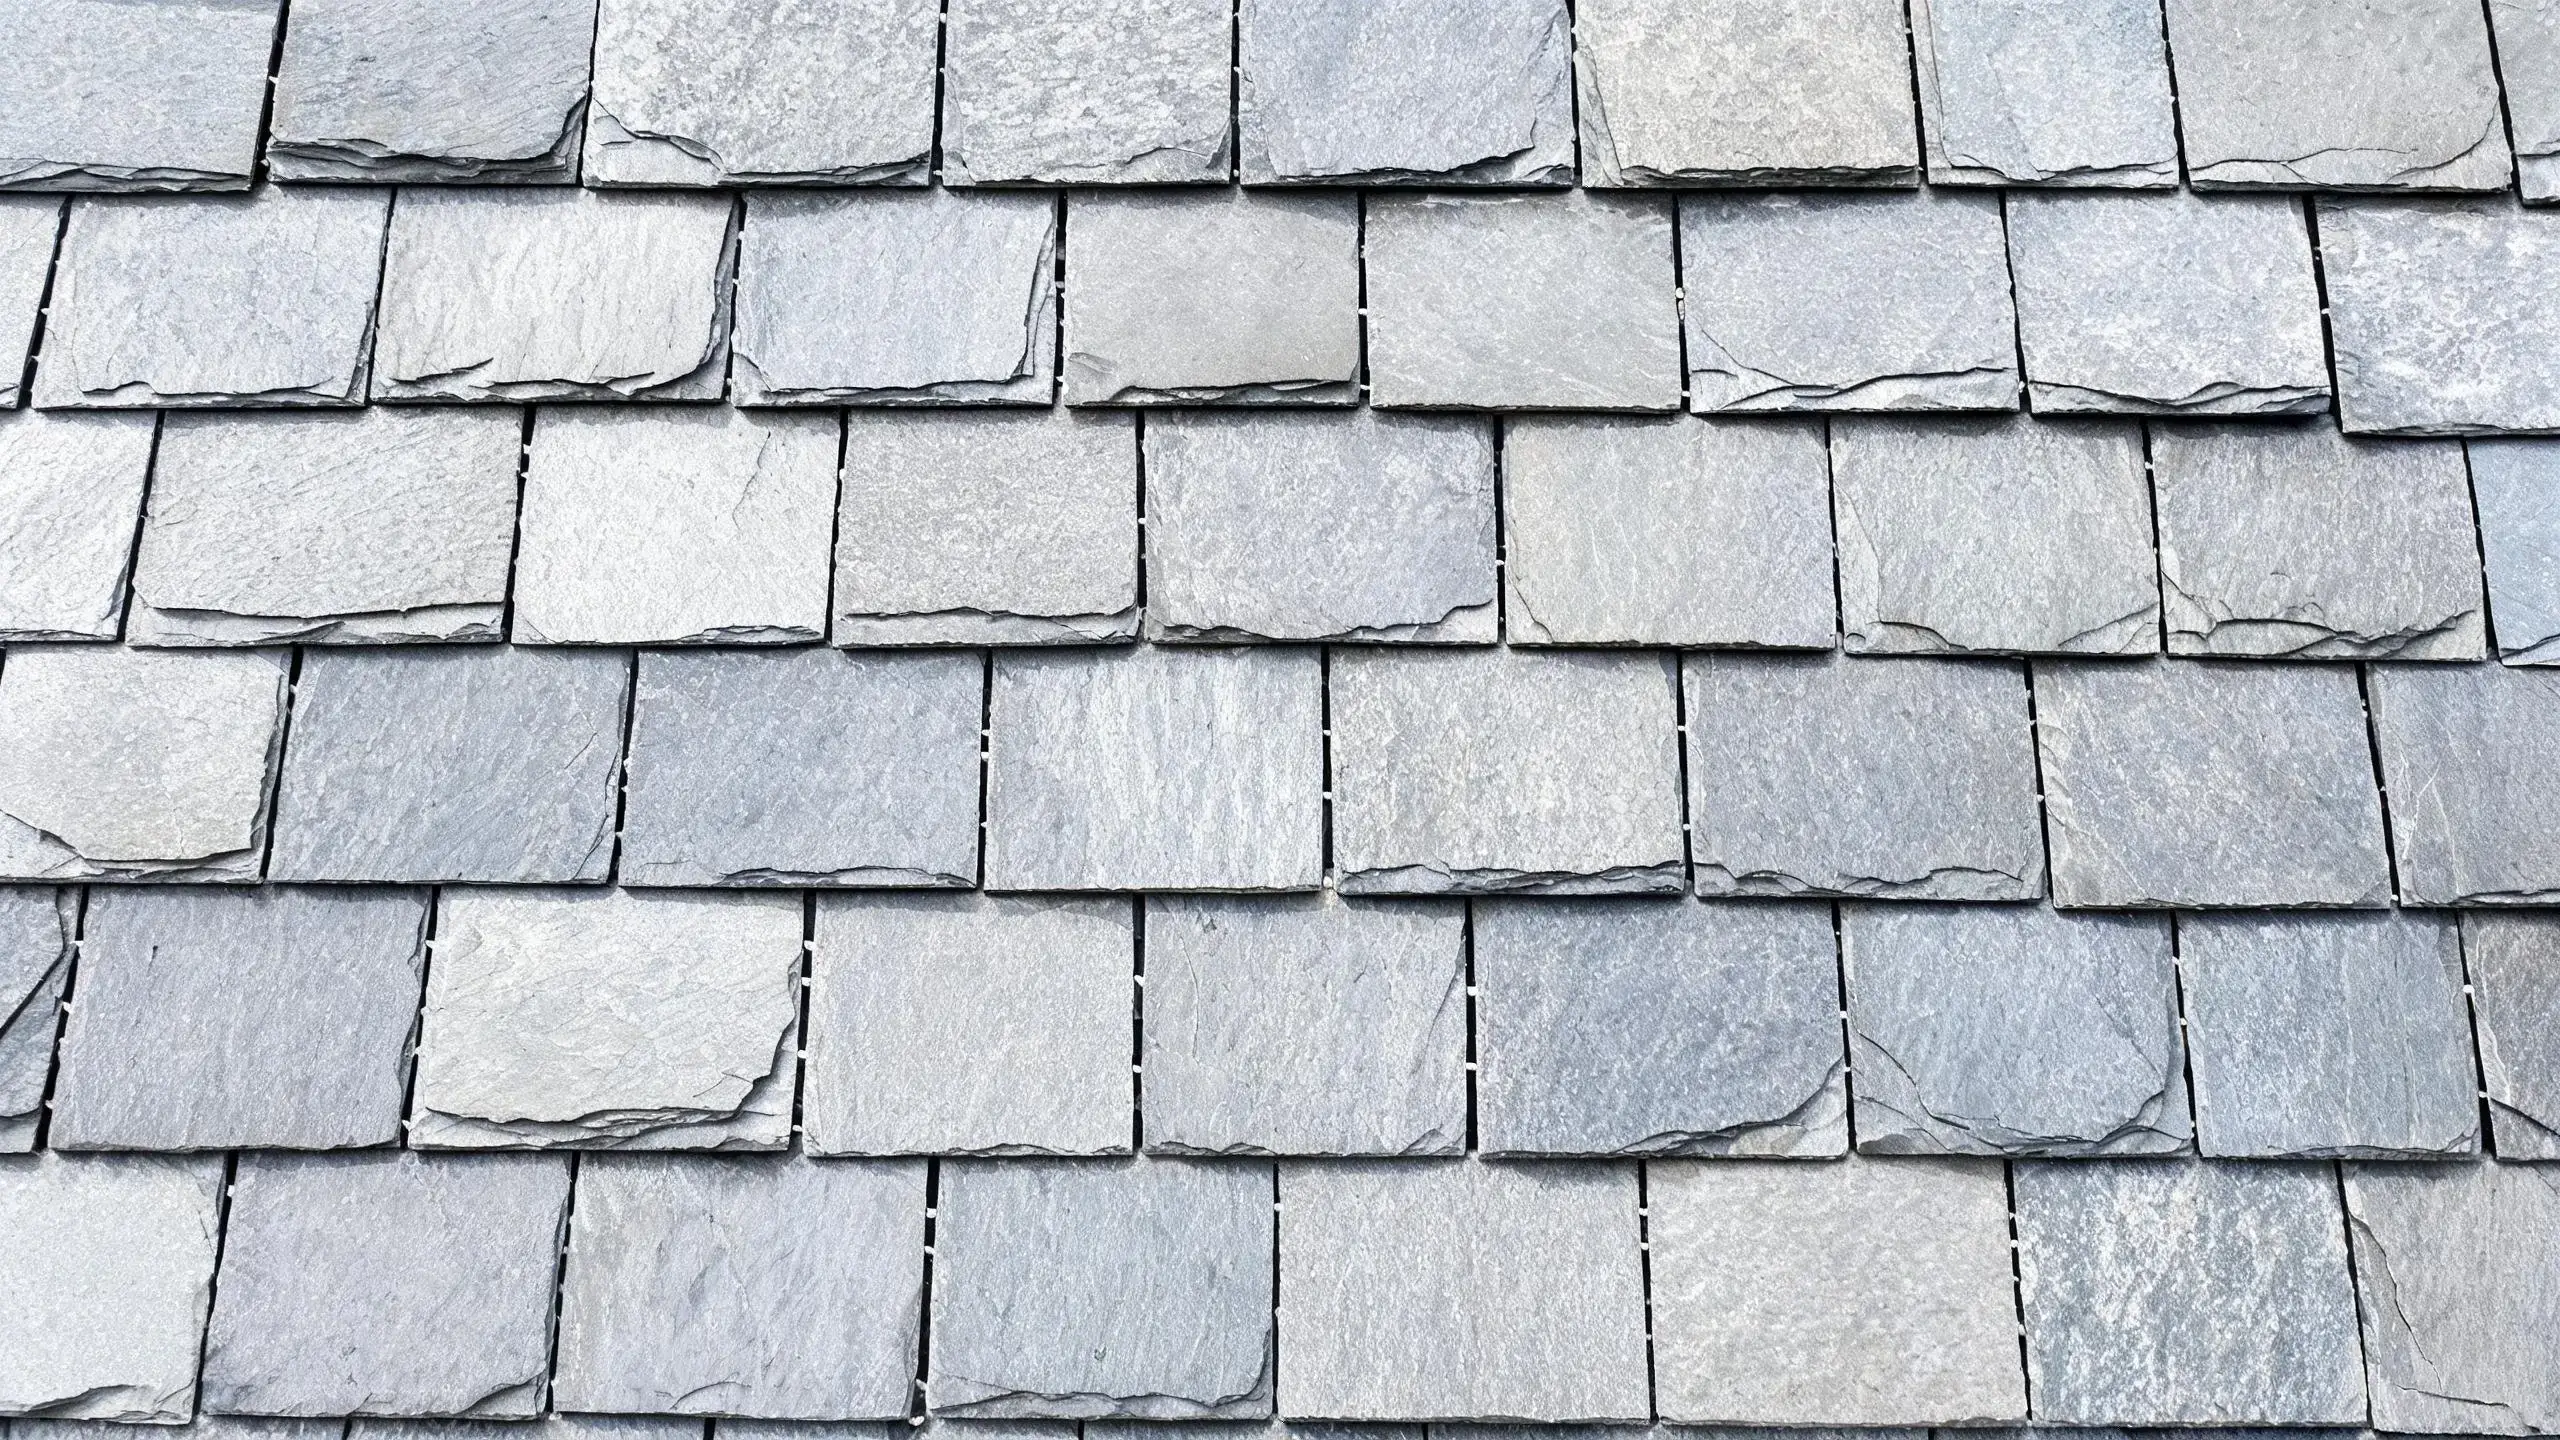
Follow the roof's own geometry. The replacement must sit at the same gauge as the course it joins, keep the same small side gaps as its neighbours — a few millimetres, the width of a nail head or so, never tight-jammed — and keep the vertical joints staggered exactly as the surrounding courses do. A patch that lines up its vertical joint with the tile two courses below introduces the only thing a slate roof must never have: a straight line of joints that water can follow. The joint pattern below is what the new tile must join, not just fill.
If you have several candidate positions for several repairs, spend the best-matched tiles where the roof is most seen, and the next-best tiles where the slope turns away from the road. A tile that is one step fresher disappears on the north slope within two or three winters; the same tile on the sun-bleached south slope may take five years or more to settle in, simply because that slope's weathering runs faster and further.
Then let time work. Weathering is not the enemy of a patch; it is the finisher. Every rain darkens fresh slate a little, every year bleaches it a little closer to the roof's own story. The restorers' test of a successful match is the five-metre rule: stand back five metres, on the ground, on a dry day. If you cannot point to your own patch, the job is done. One veteran I worked with put it more bluntly: a good patch is one that even the roofer cannot find again.
When the Roof Has No Match Left
Some roofs defeat the method honestly. The quarry closed decades ago; the shade has drifted past every band on the market; the size was imperial oddball that no current catalogue lists. When that happens, the choice is between three honest paths — repair-and-replace reasoning at roof level, reclaimed slate sourced to the vintage, or a deliberate "conservation patch" on a hidden slope. What the method forbids is the dishonest fourth path: fitting a knowingly-wrong tile in the most visible spot and hoping nobody looks up. People always look up. It is the second thing every visitor to a slate-roofed house does.
A Checklist to Take Up the Ladder
- Fragment rescued — the broken pieces are off the roof, not in the skip.
- Three measurements recorded — length, width, thickness; written down, not remembered.
- Colour band defined by two endpoints — lightest and darkest dry-day readings from the ground.
- Order placed with purpose — supplier told it is a patch match, asked to select within the band.
- Samples auditioned on the ground — proportion, then thickness, then colour, in open daylight.
- Placement follows the pattern — same gauge, same side gaps, joints staggered to the courses.
- Allowance ordered — roughly 10% over the count, and the spares stored in the loft, labelled.
- Five-metre test passed — on a dry day, from the ground, the patch cannot be pointed out.
Frequently Asked Questions
Why does my new slate look different from the old roof even though the colour was "matched"?
Because colour is the last thing the eye notices from a distance. Size, thickness and surface texture register first: a tile of slightly different length breaks the course rhythm, a thicker tile casts a different shadow, and a smooth face against riven neighbours reads as a different material. Most "wrong colour" patches are actually wrong thickness or wrong texture. Match in the order the eye reads — proportion, thickness, then colour — and the problem usually disappears.
Can I match replacement slate from a photograph of the roof?
Not reliably. Phone cameras auto-correct white balance, indoor lighting shifts slate colour entirely, and no photograph can carry texture or thickness. Photographs are useful for recording position and pattern, but for colour the supplier needs the stone itself — a broken fragment, or a chip snapped from a hidden underside corner. A physical sample the size of a playing card is worth more than a full album of photos.
How long does it take for a new slate to blend in with an old roof?
Typically two to five years for the visible gap to close, depending on exposure. Rain darkens fresh slate step by step, and sunlight bleaches it towards the roof's own tone. A tile on a shaded north slope weathers slowly and evenly; a tile on a sun-bleached south slope takes longer because the surrounding tiles are further ahead. A patch that starts one step "fresher" than the roof closes the gap as it weathers — one that starts darker only drifts further away.
What if my roof size is no longer manufactured?
Three honest options exist: order a custom-cut size (many producers cut to order, and a patch of a few dozen tiles is a small custom job), source reclaimed slate of the same vintage and size from salvage merchants, or, if the roof is nearing end-of-life overall, weigh repair against replacement properly. What does not work is forcing a near-size tile into the gap — it disturbs the course rhythm and the joint pattern, which the eye notices from across the street.
Should I buy reclaimed slate for a patch repair?
If the roof is old and heavily weathered, reclaimed slate of matching vintage is often the fastest route to a seamless patch — it carries weathering you cannot buy new. Check two things before ordering: that the reclaimed tiles are sound (tap-test a few; a clear ring means the slate is intact, a dull thud suggests delamination), and that their size matches your courses. Reclaimed stock is usually sold as-is, so order a surplus and audition it on the ground like any other candidate.
How many spare tiles should I keep for future repairs?
Keep every leftover tile from the patch order, plus a few extras if you can, stored flat in the loft with a label recording the roof, date and supplier. Future repairs then start with a free audition instead of a new matching exercise. Ten percent over the patch count is a practical allowance for handling breakage during the job; anything left after that is an investment, not clutter — your roof will eventually ask for them, and the shade may no longer be available when it does.
Match Before You Order. Order Once.
Send us the fragment, the three measurements and your colour band — our team selects within your range from CNC-cut, individually inspected slate, and posts five sample tiles first so you can audition them on the ground before committing to the full order.